Learn how to winterize your shed for the first time, avoid common mistakes, and protect its structure, contents, and insulation from cold weather damage.
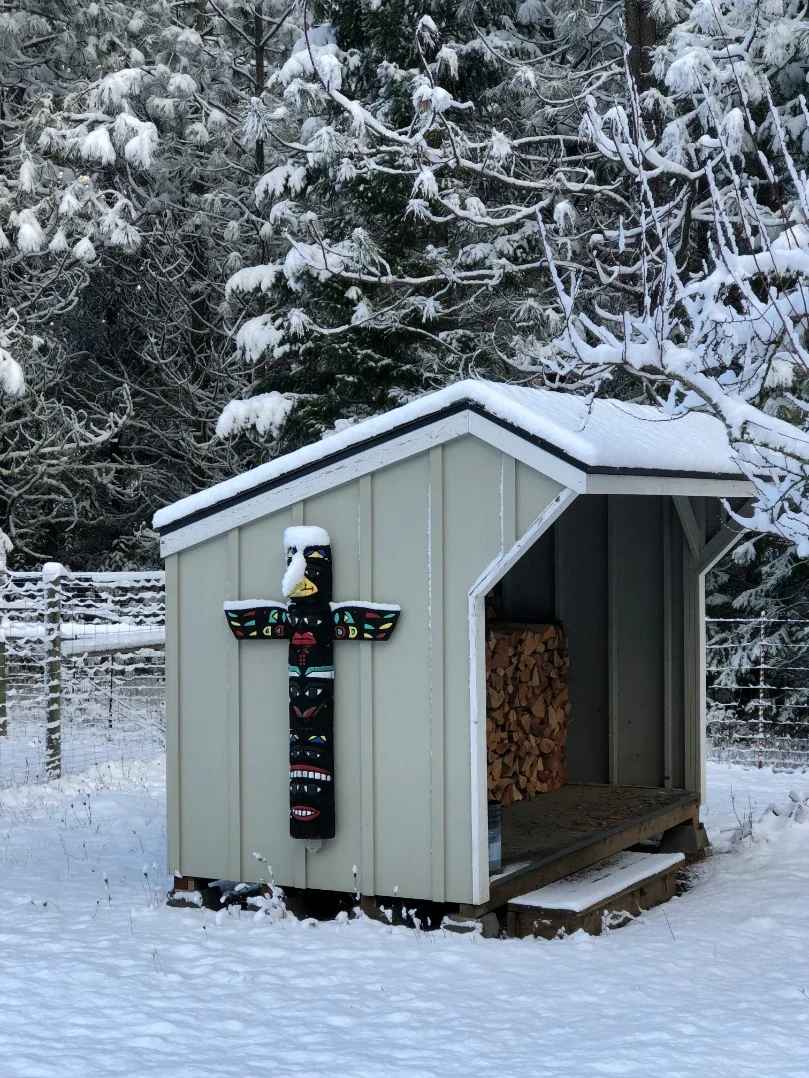
The first winter is where most shed problems start. Not because the structure was built poorly, but because nobody told the owner that a shed needs a little attention before the cold settles in. A storage building that sailed through summer can come out of its first freeze-thaw cycle with a bowed floor, a sticking door, rusted tools, and a faint smell of mildew that never quite leaves. Nearly all of that damage is preventable, and almost none of it comes from the mistakes people expect.
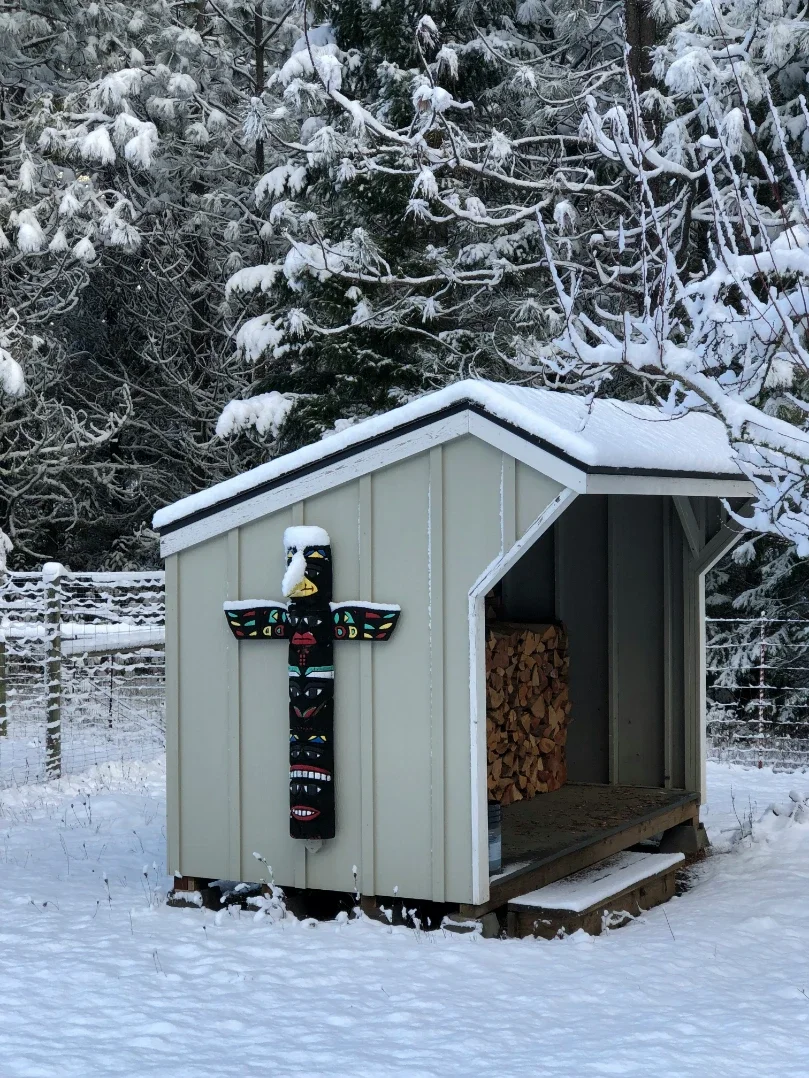
If you set up a little garden shed for your backyard this year, this guide walks through the errors that trip up first-time owners and what to do instead, in the order that actually matters.
Mistake #1: Treating Snow Load as the Main Threat
New owners tend to fixate on the roof. Snow is visible and heavy, so it feels like the obvious danger. In reality, the roof on most resin, metal, or properly framed wooden sheds handles a typical seasonal snow load without trouble. The far more common failure happens underneath, where moisture and frost heave do their work quietly.
What to do instead: shift your attention to the base. A shed sitting directly on soil or on a few scattered pavers will move as the ground freezes and thaws, and that movement is what racks door frames and opens gaps at the corners. Before the first hard freeze, confirm the structure is sitting on a level, well-drained foundation, whether that is a gravel pad, concrete, or a framed timber base on footings. If you notice low spots where water pools after rain, fix the grading now. Water that collects at the base in October becomes ice that lifts the floor in January.
Mistake #2: Sealing Everything Shut
The instinct is to make the building airtight. Owners caulk every seam, stuff gaps with foam, and tape over vents, assuming cold air is the enemy. It is not. Trapped moisture is the enemy, and an unventilated shed in winter becomes a condensation chamber. Warm, damp air from stored items and the ground below hits cold walls and roof panels, condenses, and drips back onto everything inside.
What to do instead: seal against water, not against air. Close up any gaps where rain or melting snow can get in, especially around the door threshold and roof edges. Then make sure the shed can still breathe. Most prefab units ship with ridge or gable vents for exactly this reason; leave them open. If your shed has none, install a pair of small louvered vents high on opposite walls to create enough cross-flow to keep humidity in check. A box of inexpensive moisture absorbers or a bag of desiccant helps in humid climates, but it supplements ventilation, it doesn't replace it.
Mistake #3: Storing the Wrong Things
Many first-time owners use the shed as overflow storage for whatever will not fit in the garage, and that habit bites in winter. Freezing ruins liquid-based products like latex paint, garden chemicals, and certain adhesives. Gas-powered equipment stored with fuel in the tank develops gummed carburetors by spring. Cardboard boxes wick moisture off the floor and collapse. Soft goods such as cushions, fabric covers, and seed packets attract rodents looking for a warm nest.
What to do instead: do a quick sort before the cold arrives. Bring anything that cannot survive a freeze indoors. Fuel either runs dry or gets treated with a stabilizer. Lift items that must stay in the shed off the floor onto shelving or pallets, and put them in sealed plastic bins rather than cardboard. This single step prevents more damage than any amount of insulation.
Mistake #4: Ignoring the Door Until It Sticks
Doors are the most-used and least-maintained part of any shed. Over the first season, hinges loosen slightly, the frame settles, and the weatherstripping compresses. Then the first ice storm hits, the door freezes to the threshold, and the owner forces it open, bending the track or splitting the frame.
What to do instead: tighten hinge hardware, clear debris from the track or threshold, and apply a silicone-based lubricant to moving parts before winter. Silicone is the right choice because petroleum-based sprays attract grit and stiffen in cold temperatures. Check that the door closes fully and latches without force; if it doesn't, adjust now rather than discovering the problem when the shed is half-buried.
Mistake #5: Skipping the Exterior Walk-Around
It takes five minutes, and almost nobody does it. The walls, roof, and base should get a once-over for cracks, lifted panels, loose fasteners, or worn finish. On wood, that means checking for bare grain that will soak up water. On metal, look for scratches that can rust. On resin, confirm panels are fully seated and no fasteners have backed out.
What to do instead: walk the perimeter, make the small repairs, and trim back any branches or shrubs touching the structure. Overhanging limbs drop snow and ice in concentrated loads, and vegetation against the walls holds moisture where you least want it.
Mistake #6: Assuming Winterizing Is a One-Time Job
The last error is thinking that once you prep the shed in autumn, you can forget it until spring. Winter conditions change, and so does the shed. After major storms, brush heavy snow off the roof. Clear drifts against the door so meltwater doesn't pool at the threshold. A mid-winter check for condensation on the ceiling tells you whether the ventilation is keeping up.
What to do instead: plan on two or three quick visits over the season. Each one takes a few minutes and catches problems while they are still small.
Winterizing a shed is not about fighting the cold. It is about managing water in all its forms: rain, snow, condensation, and ground moisture. First-time owners who focus on drainage, airflow, and smart storage come through the season with a dry, square, fully functional building and nothing to repair in spring. The ones who seal it shut and hope for the best usually learn the hard way.
Get the foundation right, let the shed breathe, store only what belongs there, and check in a few times before the thaw. That is the whole formula.