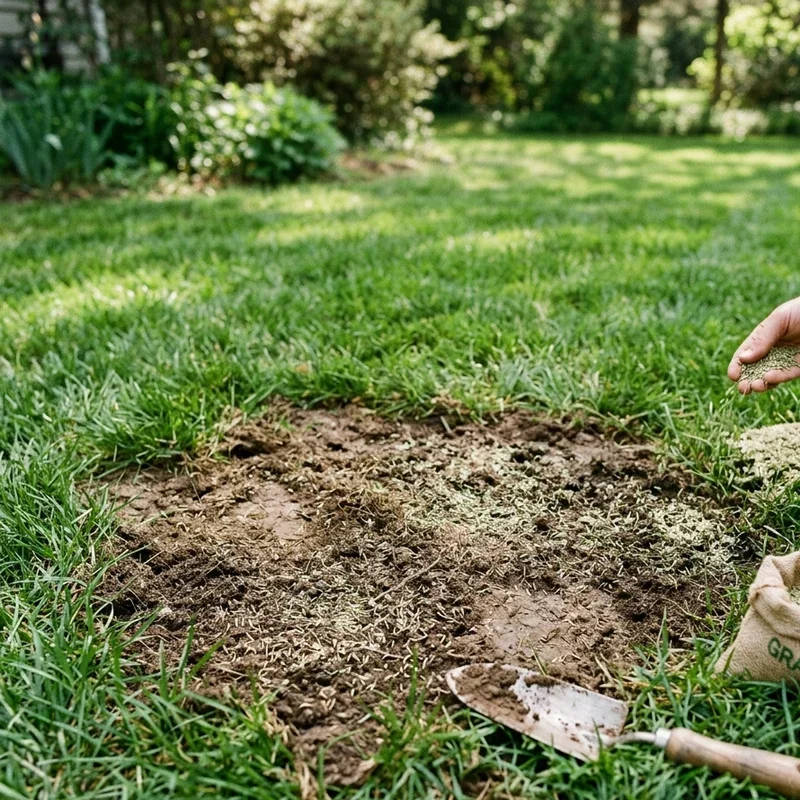
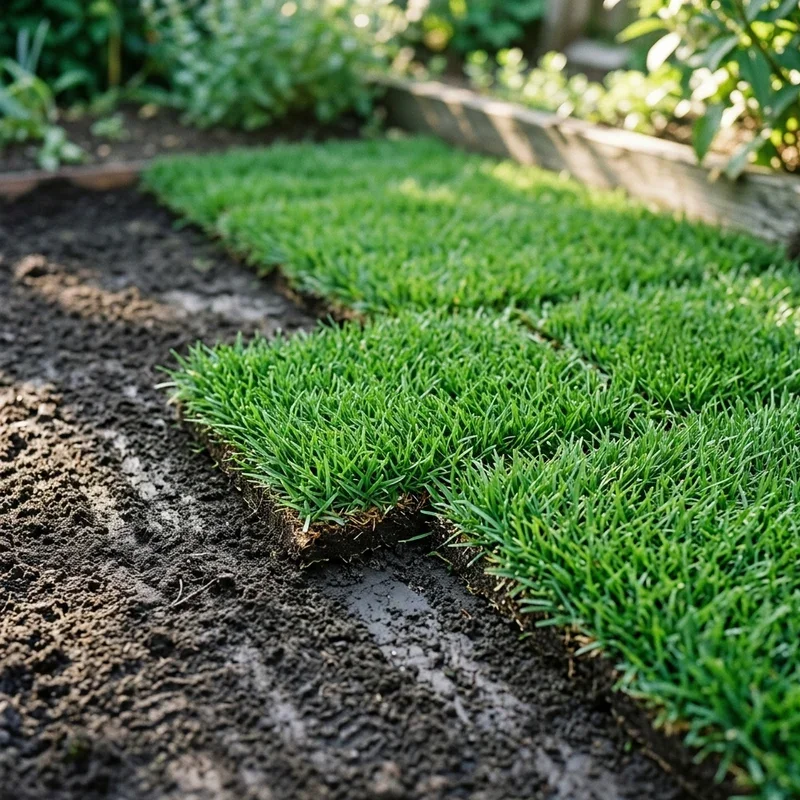
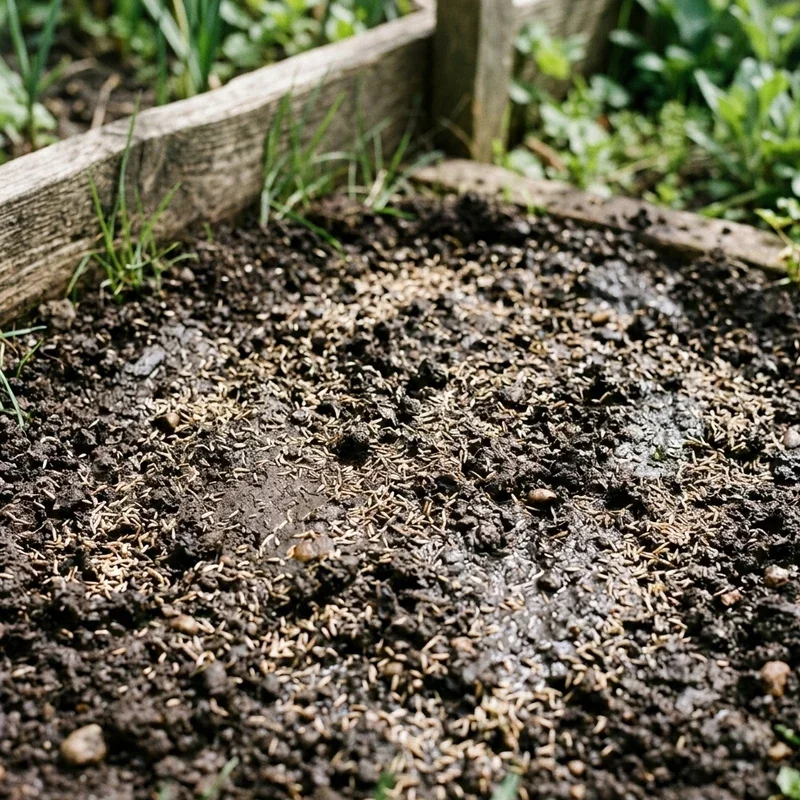
Learn how to plant grass seed in bare spots step by step with this easy guide to patching, seeding, and growing a lush green lawn.
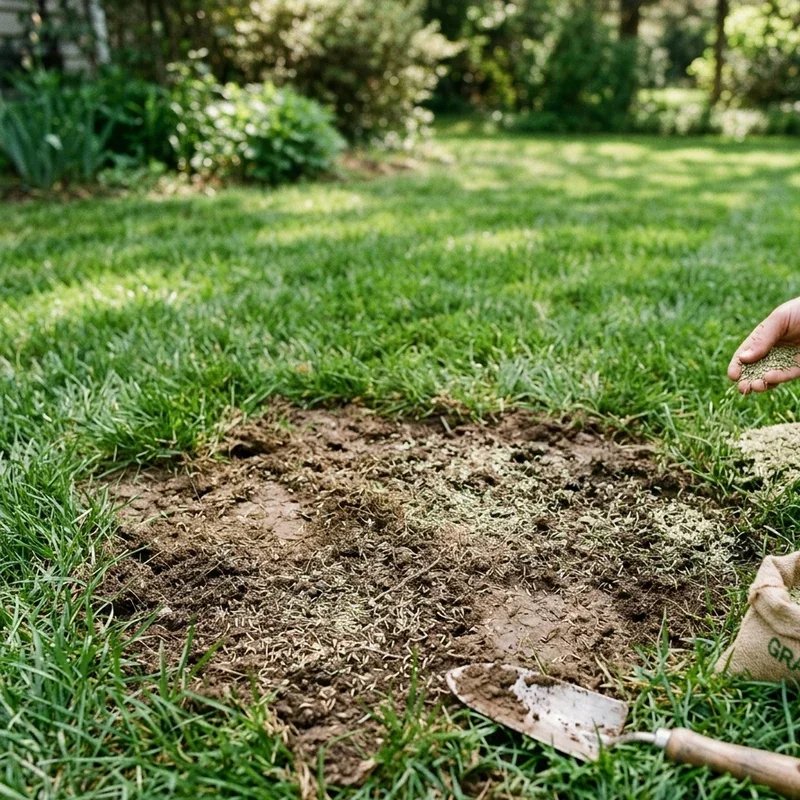
Every lawn has its rough patches. Maybe the dog has claimed a favorite corner of the yard as their personal digging zone. Perhaps that inflatable pool you set up last summer left behind a dead zone the size of a small country. Or it could be that a stubborn patch of shade, heavy foot traffic, or a nasty fungal infection has created bald spots that stick out like a sore thumb against the rest of your green grass.
Whatever the cause, bare spots in a lawn are one of those things that bug you every single time you look out the window. And the longer you ignore them, the worse they tend to get. Weeds move in, the soil compacts, and what started as a small bare patch gradually spreads into a bigger problem.
But here is the encouraging part. Fixing bare spots is one of the most straightforward lawn care projects out there. You do not need to be a landscaping professional or own a garage full of fancy equipment. With the right seed, a little bit of prep work, and some patience, you can fill in those ugly patches and get your lawn looking uniform and healthy again. This "How to Plant Grass Seed in Bare Spots Step by Step" guide will walk you through every stage of the process, from figuring out why the spot went bare in the first place to watching fresh green grass fill in like it was always there. So let us roll up our sleeves and get that lawn back in shape.
Why Do Bare Spots Show Up in the First Place
Before you start throwing seed at the problem, it is worth taking a minute to figure out what caused the bare spot. If you do not address the underlying issue, there is a good chance your new grass will suffer the same fate as the old grass, and you will be right back where you started in a few months.
Pet Damage
Dogs are notorious lawn destroyers. Their urine contains high concentrations of nitrogen, which essentially burns the grass in concentrated spots. Female dogs tend to cause more damage because they urinate in one focused area rather than marking multiple spots. The result is those telltale yellow circles surrounded by a ring of unusually dark green grass where the diluted nitrogen actually acts as fertilizer.
If pet damage is your culprit, you will need to address the behavior alongside the repair. Training your dog to use a designated bathroom area, watering the spot immediately after they go, or adding dietary supplements that reduce nitrogen concentration in their urine can all help prevent future damage.
Heavy Foot Traffic
Grass can only handle so much foot traffic before it gives up. Pathways between the driveway and the front door, play areas where kids run back and forth, and spots near gates and entryways all take a beating that eventually wears the grass down to bare soil.
For high-traffic areas, consider using a more durable grass variety when you reseed, or think about installing stepping stones or a small pathway to redirect foot traffic away from the lawn.
Shade and Sun Issues
Grass needs sunlight, and if a bare spot sits in an area that has become increasingly shaded by growing trees, new structures, or expanding garden beds, the grass may have simply starved for light over time. Different grass species have very different shade tolerances, so matching the right seed to the light conditions in that specific spot is crucial for a lasting fix.
Disease and Pest Problems
Fungal diseases like brown patch, dollar spot, and snow mold can kill grass in patches that range from a few inches to several feet across. Grubs and other soil-dwelling insects can also destroy grass roots from below, causing sections of lawn to die and pull up like loose carpet.
If disease or pests caused the damage, treat the underlying problem before reseeding. Throwing fresh seed into diseased soil or a grub-infested area is like painting over mold on a wall. It might look better for a minute, but the problem is not going anywhere.
Soil Compaction and Drainage Issues
Compacted soil prevents grass roots from penetrating deeply, which makes the grass weak and vulnerable to stress. Poor drainage creates waterlogged conditions that suffocate roots and encourage disease. Both issues can lead to bare spots that keep coming back no matter how many times you reseed.
Aerating the soil before planting and improving drainage in chronically wet areas addresses these root causes and gives your new grass a fighting chance at long-term survival.
How to Plant Grass Seed in Bare Spots Step by Step The Complete Process
Now that you understand the potential causes, let us get into the actual repair process. This method works for bare spots ranging from a few inches across to several square feet. For larger areas, you might want to consider a full overseeding or even re-sodding, but for patches and spots, this approach nails it every time.
Step 1: Choose the Right Time of Year
Timing is everything when it comes to planting grass seed, and getting this wrong is one of the most common reasons DIY lawn repairs fail. Grass seed needs specific soil temperatures to germinate properly, and planting outside the ideal window dramatically reduces your chances of success.
For cool-season grasses like Kentucky bluegrass, perennial ryegrass, and fescue, the best time to seed is late summer through early fall. Soil temperatures are still warm enough for germination, but the cooling air temperatures reduce stress on young seedlings. Early spring is the second-best window, but spring-planted grass often struggles through its first summer if conditions get hot and dry.
For warm-season grasses like Bermuda, zoysia, and St. Augustine, late spring through early summer is the sweet spot. These grasses need warm soil temperatures, typically above 65 degrees Fahrenheit, to germinate and establish properly. Planting too early when the soil is still cool leads to poor germination rates and wasted seed.
If you are not sure what type of grass you have, pull up a small sample and take it to your local garden center or cooperative extension office. They can identify the species and recommend the best seed match for your repair.
Step 2: Remove Dead Grass and Debris
Grab a garden rake, a stiff-bristled broom, or even your hands and clear out all the dead grass, thatch, leaves, and debris from the bare spot. You want to expose the bare soil underneath so the new seed can make direct contact with the ground.
If there is a thick layer of thatch, which is that spongy mat of dead grass stems and roots that builds up between the soil surface and the living grass blades, remove it thoroughly. Thatch acts as a barrier that prevents seed from reaching the soil and blocks water and nutrients from penetrating where they are needed.
For small spots, a hand rake or a stiff garden fork works perfectly. For larger areas, a dethatching rake or a power dethatcher makes the job go much faster. The goal is to get down to bare, clean soil with no organic debris creating a buffer between the seed and the ground.
Step 3: Loosen and Amend the Soil
This step is where a lot of people cut corners, and it almost always comes back to bite them. Compacted, hard-packed soil is terrible for seed germination. Grass seed needs to nestle into loose soil where it can maintain contact with moisture and send roots down easily.
Use a garden fork, a hand cultivator, or a small rototiller to loosen the top two to three inches of soil in the bare spot. Break up any clumps and remove rocks, roots, and debris that you uncover. You want the soil to have a loose, crumbly texture that you could easily press your finger into.
While the soil is loosened, this is the perfect time to amend it if needed. Work in a thin layer of compost, topsoil, or a seed-starting mix to improve the soil structure and provide nutrients for the new seedlings. About a half inch to an inch of compost blended into the top couple inches of native soil creates an ideal growing medium.
If you suspect your soil pH might be off, which is common in areas where grass has struggled, grab a simple soil test kit from the garden center. Grass generally prefers a pH between 6.0 and 7.0. If your soil is too acidic, a light application of lime brings the pH up. If it is too alkaline, sulfur or peat moss can bring it down. Getting the pH right might seem like a minor detail, but it has an outsized impact on how well your grass establishes and grows.
Step 4: Select the Right Grass Seed
Choosing the right seed is absolutely critical, and this is one area where spending a few extra dollars on quality really pays off. Cheap, bargain-bin grass seed often contains a high percentage of filler, weed seeds, and grass varieties that do not match your existing lawn. The result is a patch that looks noticeably different from the surrounding grass, which kind of defeats the whole purpose.
Your best bet is to match the seed to whatever grass species is already growing in your lawn. If you have a Kentucky bluegrass lawn, buy a high-quality Kentucky bluegrass seed or a blend that is predominantly bluegrass. If your lawn is fescue, match it with fescue. The closer the match, the more seamless the repair will look once the new grass fills in.
Many garden centers carry seed blends specifically designed for patch repair. These blends typically combine fast-germinating varieties like perennial ryegrass with slower-establishing but more permanent varieties like bluegrass. The ryegrass provides quick coverage while the bluegrass takes its time filling in for the long haul. It is a smart combination that gives you both immediate results and lasting quality.
Read the seed label carefully. Look for a high germination rate, low percentage of weed seeds and other crop seeds, and a named variety rather than just a generic "grass seed" label. Quality seed costs more upfront but saves you money and frustration in the long run because you are not reseeding the same spot three times.
Step 5: Spread the Seed Evenly
Now comes the moment of truth. Spreading the seed over your prepared bare spot might seem like the easiest step in this whole process, but doing it right matters more than you would think.
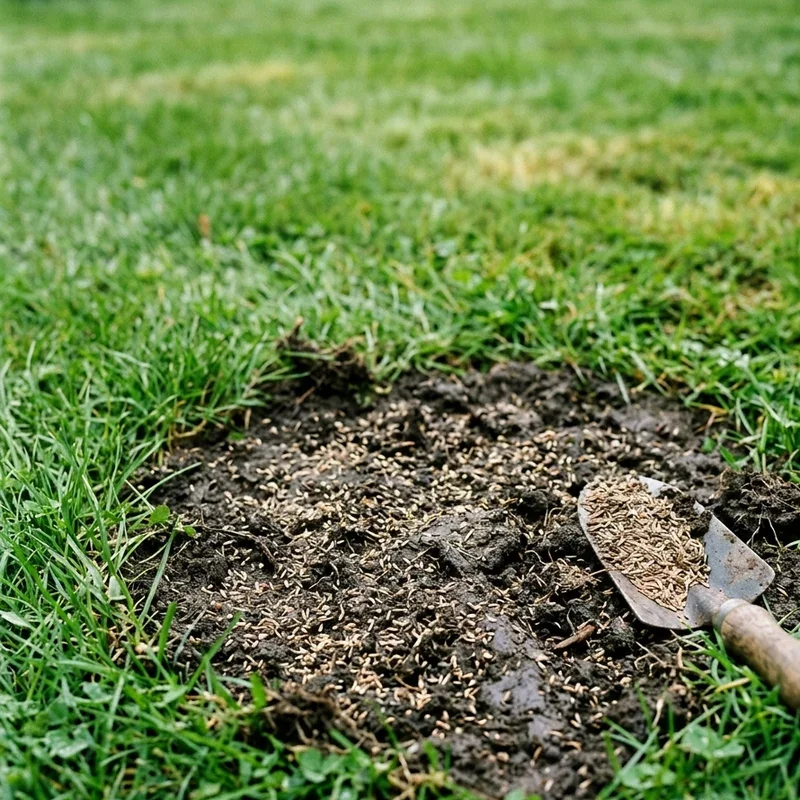
For small spots, you can spread seed by hand. Grab a handful of seed and scatter it evenly across the area using a gentle, sweeping motion. Try to achieve a distribution of about fifteen to twenty seeds per square inch for most grass types. That might sound like a lot, but not every seed will germinate, and you want enough coverage to create a dense, full patch.
For larger bare areas, a handheld broadcast spreader gives you more consistent coverage than hand-spreading. Set the spreader to the application rate recommended on the seed package and make two passes over the area in perpendicular directions. This crosshatch pattern ensures even distribution and eliminates the streaky, uneven look that comes from a single-direction application.
Resist the urge to pile on extra seed thinking it will give you thicker grass faster. Overseeding causes seedlings to compete with each other for water, nutrients, and sunlight, which actually results in weaker, thinner grass than if you had used the proper amount. More is definitely not better when it comes to seed density.
Step 6: Rake the Seed Into the Soil
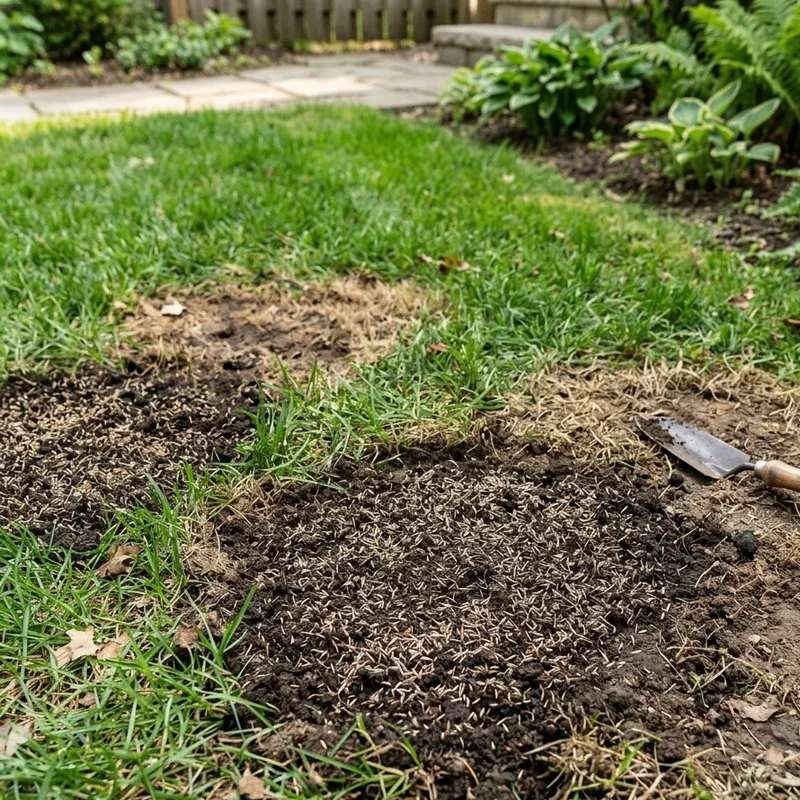
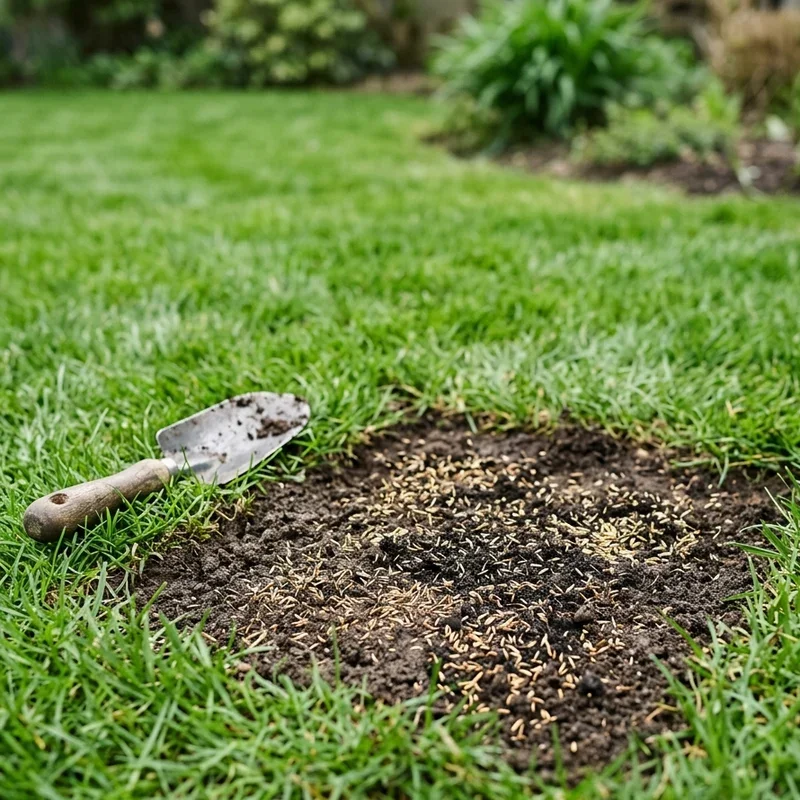
After spreading, lightly rake the seed into the top quarter inch of soil. You do not want to bury it deep. Most grass seeds need some light exposure to germinate, and burying them too far below the surface prevents the tiny seedlings from reaching the sunlight they need to grow.
A gentle pass with the back of a leaf rake is usually all it takes. The goal is to ensure the seeds have good soil contact without being completely covered. Some seeds will still be visible on the surface, and that is perfectly fine. The next step will take care of protecting those exposed seeds.
After raking, lightly tamp the area with the flat side of the rake head or walk gently across the spot to press the seeds firmly into the soil. This improves seed-to-soil contact, which is one of the most important factors in successful germination.
Step 7: Cover With a Thin Layer of Mulch or Straw
Covering the seeded area with a light layer of mulch serves several important purposes. It retains moisture, moderates soil temperature, protects the seeds from being washed away by rain or irrigation, and discourages birds from treating your freshly seeded spot as an all-you-can-eat buffet.
Straw is the most common and readily available mulch for grass seeding. Spread a thin layer, just enough to partially see the soil through the straw. You want about fifty to seventy-five percent coverage. Too much straw blocks light and air from reaching the seedlings, while too little leaves the seeds exposed and vulnerable.
Peat moss is another excellent option, especially for small spots. A light dusting of peat moss over the seeded area holds moisture beautifully and breaks down into the soil over time, actually improving the growing medium as it decomposes.
Some garden centers sell seed-starting mulch or erosion control blankets that combine mulch material with a biodegradable fabric. These products work exceptionally well on slopes or areas prone to washout, where loose straw might blow or wash away before the grass establishes.
Do not use hay instead of straw. Hay contains seeds from other grasses and weeds that will germinate alongside your grass seed and create a weedy mess. Straw, on the other hand, is the leftover stems from grain production and contains very few viable seeds.
Step 8: Water Consistently and Carefully
Watering is arguably the most critical factor in the success or failure of your grass seed patch. Get it right, and you will see green sprouts within a week or two. Get it wrong, and all that careful prep work goes right down the drain.
Newly planted grass seed needs to stay consistently moist, not soaking wet, but never allowed to dry out completely. The top inch of soil should feel damp to the touch at all times during the germination period. For most grass types, this means watering lightly two to three times per day for the first two to three weeks.
The key word here is lightly. You are not trying to flood the area. A gentle spray from a hose nozzle or a sprinkler set to a fine mist is ideal. Heavy watering washes seeds away, creates puddles that drown emerging seedlings, and compacts the soil surface into a crust that tiny sprouts cannot push through.
As the seedlings emerge and start growing, gradually transition to deeper, less frequent watering. Once the new grass is about two inches tall, you can switch to a normal watering schedule of about one inch of water per week, delivered in one or two deep soakings rather than daily light sprinklings. This encourages the young roots to grow deeper into the soil, creating a more resilient and drought-tolerant lawn.
Early morning is the best time to water. The cooler temperatures and calm winds reduce evaporation, and the grass has all day to dry before evening. Watering in the evening leaves the grass damp overnight, which creates conditions that favor fungal diseases. And the last thing your baby grass needs is a fungal infection before it even gets established.
Step 9: Stay Off the New Grass
This is the hardest step for a lot of people, especially families with kids and dogs who want to use the yard. But keeping foot traffic off the newly seeded area is essential for at least the first four to six weeks after planting.
Young grass seedlings are incredibly fragile. Their root systems are shallow and undeveloped, and even light foot traffic can uproot them, crush them, or compact the soil around them. One careless walk across a freshly seeded patch can undo weeks of careful nurturing.
Put up a temporary barrier around the seeded area using stakes and string, small garden fencing, or even a few strategically placed chairs. Make it clear to everyone in the household that the area is off-limits until the new grass is well established. A simple sign that says "grass growing, please keep off" works wonders for reminding family members and visitors.
If your dog needs access to the yard, try to redirect them away from the seeded area using temporary fencing or by creating an alternative path. Dogs have a remarkable talent for finding the one spot in the yard you do not want them to go and heading straight for it. A little physical barrier goes a long way toward preventing canine catastrophe.
Step 10: Mow at the Right Time
The first mow is a milestone moment, but do not jump the gun. Wait until the new grass reaches about three to four inches tall before you even think about pulling out the mower. Cutting too early stresses the young plants and can pull seedlings right out of the ground if the roots have not anchored firmly yet.
When you do mow for the first time, set your mower to its highest cutting height and never remove more than one third of the grass blade length in a single mowing. This gentle approach lets the grass continue building a strong root system while gradually adapting to regular mowing.
Make sure your mower blade is sharp. A dull blade tears the grass rather than cutting it cleanly, which damages the young plants and creates ragged edges that are vulnerable to disease. A fresh blade makes a clean cut that heals quickly and keeps the grass healthy.
After the first couple of mows, you can gradually lower the cutting height to your preferred level. Most grass types do best when maintained at two and a half to three and a half inches, which provides enough leaf surface for photosynthesis while keeping the lawn looking neat and tidy.
How to Plant Grass Seed in Bare Spots Step by Step Ongoing Aftercare
Getting the seed in the ground is only half the battle. The weeks and months following planting determine whether your repair becomes a permanent fix or a temporary patch that fades away.
Fertilizing New Grass
Hold off on fertilizing until the new grass has been mowed at least two or three times. Applying fertilizer too early can burn the tender young seedlings, and the nutrients you worked into the soil during the amendment step should provide enough nourishment for the initial growth phase.
Once the grass is established enough for its first feeding, use a starter fertilizer that is high in phosphorus. Phosphorus promotes root development, which is exactly what young grass needs to anchor itself and build the underground infrastructure for long-term health. A standard starter fertilizer with a ratio like 10-20-10 or something similar works perfectly.
After the initial starter fertilizer application, transition to a regular lawn fertilization schedule appropriate for your grass type and climate. Cool-season grasses benefit most from fall fertilization, while warm-season grasses respond best to spring and summer feeding.
Dealing With Weeds in the New Patch
Weeds are almost guaranteed to show up in your freshly seeded patch, and it can be incredibly frustrating to see dandelions and crabgrass sprouting alongside your new grass. But resist the temptation to spray herbicides on the area. Most weed killers will damage or kill young grass seedlings just as effectively as they kill the weeds.
For the first couple of months, pull weeds by hand as they appear. It is tedious work, but it is the safest approach for your baby grass. Once the new grass has been mowed four or five times and is well established, you can carefully apply a selective herbicide if weeds are still a problem.
The best long-term weed prevention strategy is a thick, healthy lawn. Dense grass crowds out weeds by shading the soil and competing for resources. Once your patch fills in completely, the grass itself becomes your best defense against weed invasion.
Troubleshooting Common Problems
Even with perfect execution, you might run into a few hiccups along the way. Here are the most common issues and how to handle them.
If your seed is not germinating after two to three weeks, the most likely culprits are insufficient watering, cold soil temperatures, or old seed with low viability. Check your watering consistency, verify that soil temperatures are within the ideal range for your grass type, and consider reseeding with fresh, high-quality seed.
If the new grass comes in thin and patchy, you might have used too little seed, the soil might lack nutrients, or the watering might have been inconsistent. Wait for the existing seedlings to establish, then overseed the thin areas with an additional light application of seed.
If the new grass looks noticeably different in color or texture from the surrounding lawn, you likely used a seed variety that does not match your existing grass. Unfortunately, the only fix for this is to reseed with the correct variety once the current patch can be removed. It is a frustrating setback, but it reinforces why matching the seed to your lawn is so important.
Conclusion
Fixing bare spots in your lawn is a satisfying project that delivers visible results in just a few weeks when you follow the right process. By preparing the soil properly, choosing quality seed that matches your existing grass, maintaining consistent moisture, and giving the new seedlings time to establish before subjecting them to foot traffic and mowing, you set yourself up for a seamless repair that blends right in. A little patience and attention to detail now pays off with a lush, uniform lawn you can enjoy for years to come.
Read next: How to Plant Zoysia Grass Step by Step Guide
Frequently Asked Questions
1.How long does it take for grass seed to germinate in bare spots?
Most grass seeds germinate within seven to twenty-one days depending on the species, soil temperature, and moisture.
2.Can I plant grass seed in bare spots during summer?
Summer seeding is risky because heat and drought stress make it difficult for young seedlings to survive.
3.Should I use topsoil or compost when repairing bare spots in my lawn?
A thin layer of compost mixed into loosened native soil provides the best growing medium for new grass.
4.How often should I water newly planted grass seed in bare spots?
Water lightly two to three times daily for the first two to three weeks to keep soil consistently moist.
5.Why does my grass seed keep dying after it sprouts in bare patches?
Common causes include inconsistent watering, foot traffic on young seedlings, and mowing before grass is fully established.