A Garden Shed Setup That Keeps Soil, Fertilizer, and Hand Tools Organized and Dry
Discover a garden shed setup that keeps soil, fertilizer, and hand tools organized and dry with smart storage ideas, proper ventilation, and easy access.
If you've ever opened the door to a garden shed and been hit with the smell of damp soil, rusting metal, and something you can't quite identify, you already know why organization matters. Most gardeners start with good intentions. They buy a shed, set their tools inside, and promise to keep it tidy. Three months later, it looks like a small disaster happened.
The good news is that a well-thought-out garden sheds setup fixes most of these problems before they start. The key is planning for the three things that cause the most trouble in any garden storage space. Moisture, clutter, and poor access. When you handle those three, everything else falls into place.
This guide walks through a practical setup that keeps soil, fertilizer, and hand tools organized, dry, and easy to reach when you need them.
Start With the Floor and Work Up
Before you put a single tool inside, think about the floor. A bare dirt or gravel floor might seem fine for a garden shed, but it's the main reason everything inside stays damp. Moisture rises from the ground, especially in humid climates, and it slowly works its way into bags of soil, fertilizer, and anything metal.
A solid floor, even a simple one, makes a real difference. If your shed already has a wood floor, check that it's in good shape and not soft in any spots. If you're working with a bare ground floor, consider laying down a moisture barrier and covering it with a durable surface. The goal is to create a separation between the ground and the things you're storing.
Once the floor is sorted, think about airflow. A shed that seals up tight traps humidity inside, and that humidity is what causes metal to rust and bags to go stale. Vents near the roof and lower walls let air move through. A small vent on each side is usually enough for a standard garden shed. You don't need anything fancy. You just need a path for air to come in and a path for it to leave.
Storing Soil Without Losing It to Moisture
Bagged soil is one of the most common things to store in a garden shed, and one of the most commonly ruined. Open bags absorb moisture from the air and the ground. Before long, you have a hard, useless lump instead of the loose, workable soil you paid for.
The fix is simple. Once you open a bag, seal it back up. A heavy-duty tape works for a quick fix, but a better approach is to move the soil into a lidded container. A plastic tub with a tight-fitting lid keeps moisture out and lets you stack the container without worrying about the bag splitting.
Keep soil off the floor even when it's in a sealed container. A low shelf or a simple pallet keeps air moving underneath and prevents the cold, damp layer near the ground from reaching your supply. If you store multiple types of soil, label the containers. Potting mix, garden soil, and seed-starting mix all look similar once they're in an unmarked tub.
For bulk soil or amendments like compost and vermiculite, a galvanized trash can with a tight lid works well. It keeps the contents dry and keeps curious animals out. These cans are inexpensive and they last for years.
Fertilizer Needs Its Own Approach
Fertilizer is a different animal. Some types, especially dry granular fertilizers, pull moisture out of the air and clump hard. Once that happens, they're difficult to use and sometimes ruined. Liquid fertilizers have their own issues. Cold temperatures can cause separation, and heat can degrade the contents.
Start by keeping all fertilizer in its original container when you can. Those bags and jugs are designed to protect the product. If a bag is damaged, transfer the contents to a sealed container and label it clearly with the type and the date you opened it.
Store fertilizer up off the floor on a shelf, away from direct sun and away from any heat source. A consistent temperature helps the product last longer. If your shed gets very hot in the summer, consider moving temperature-sensitive products to a cooler spot during the hottest months.
Keep different types of fertilizer separated. Granular, liquid, and organic amendments each behave differently, and mixing them up leads to mistakes when you're out in the garden and reaching for the right thing. A simple shelf system with labeled bins keeps everything where it belongs.
One more thing worth mentioning. Keep fertilizer away from seeds if you store both in the same shed. Moisture and gases from some fertilizers can affect seed viability over time. A little separation goes a long way.
Hand Tools: The Things You Use Most
Hand tools are the backbone of any garden, and they're also the things most likely to end up in a pile by the door. The problem isn't usually a lack of storage. It's a lack of a system.
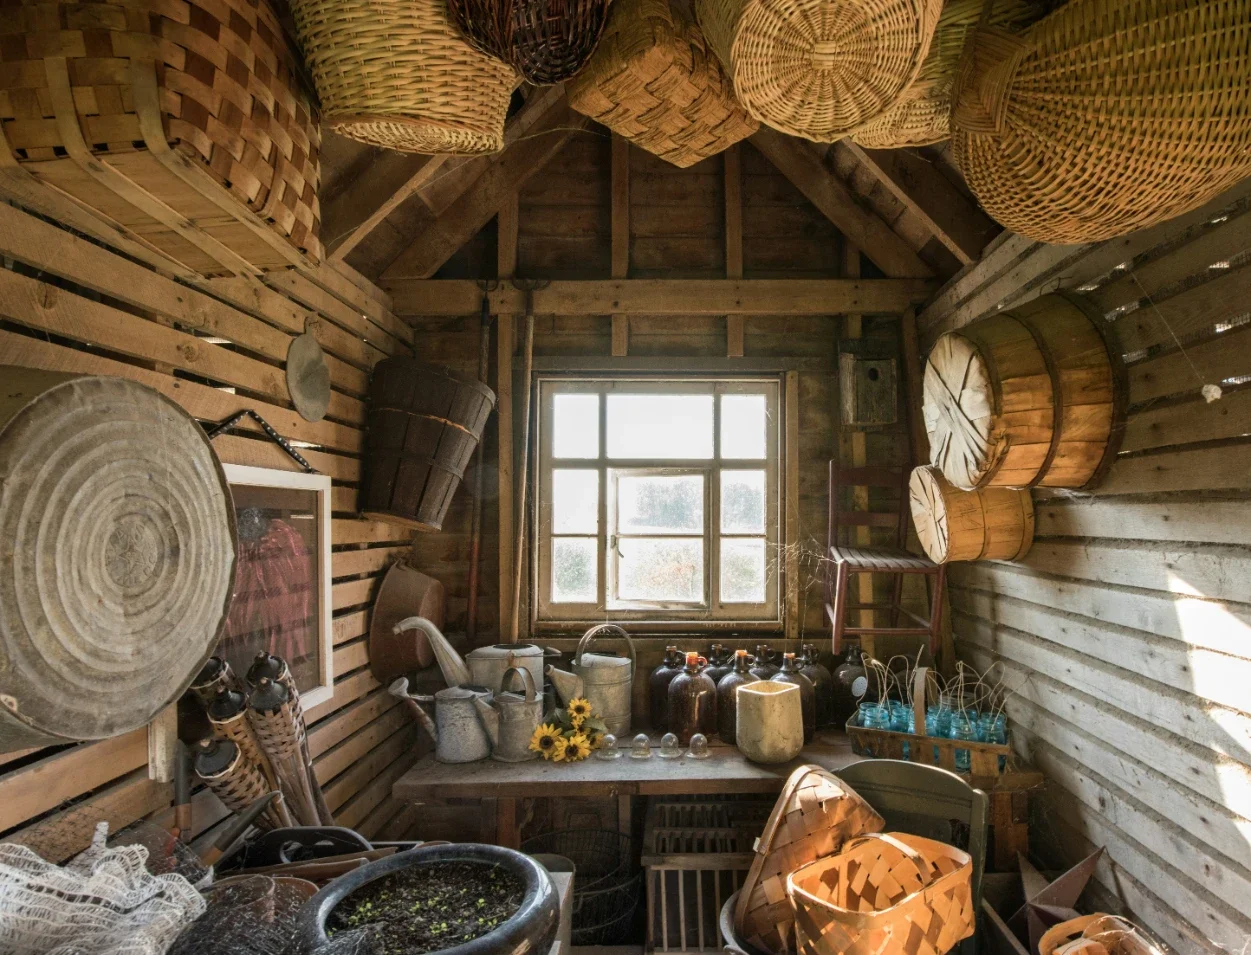
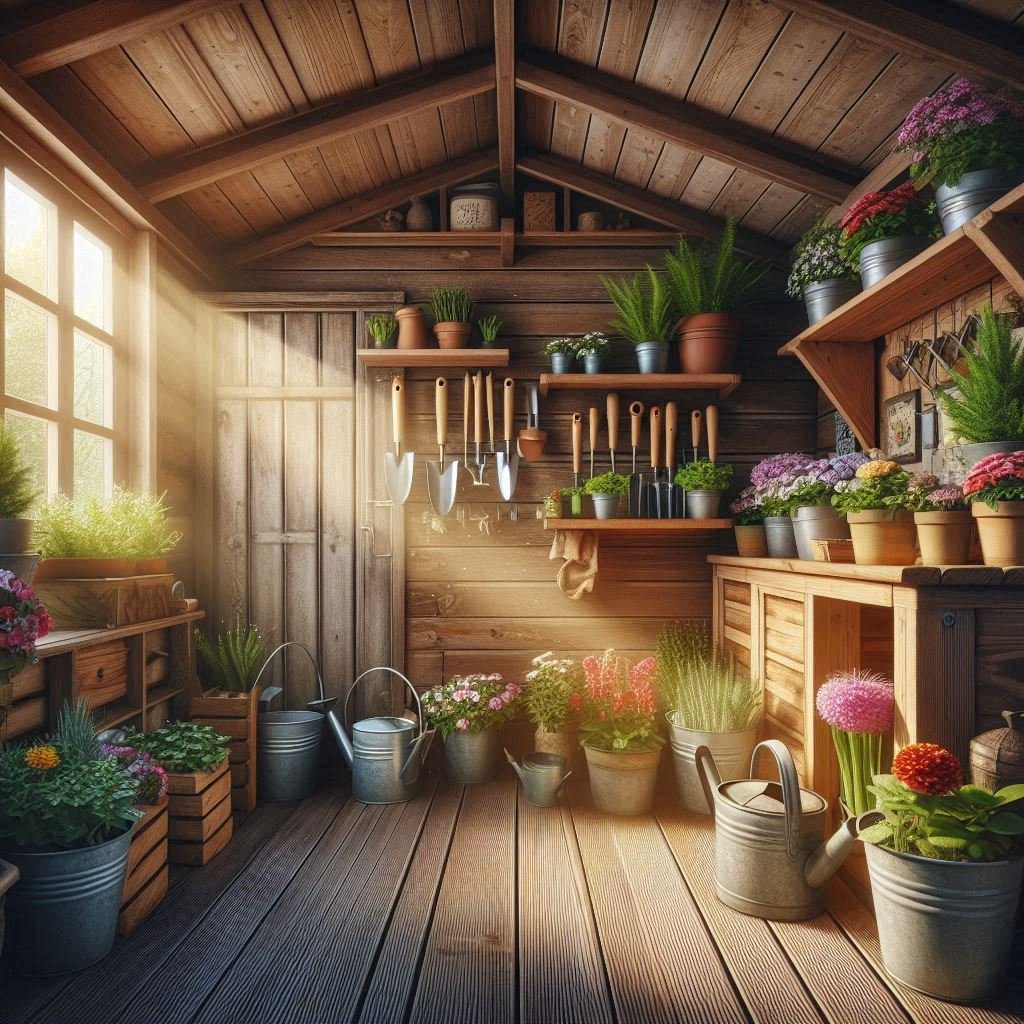
Start with the tools you use most often. Trowels, pruners, hoes, and hand forks should be the easiest things to reach. A wall-mounted rack with hooks keeps them visible and off the floor. When you can see every tool at a glance, you're less likely to waste time searching, and you're more likely to put things back where they belong.
Long-handled tools like rakes, shovels, and hoes do well on a wall rack too. The handles stay straight, the heads stay off the ground, and the whole collection takes up a fraction of the space it would if you leaned them in a corner.
For smaller hand tools, a bucket with a tool organizer insert works well if you want to carry a set out to the garden with you. Keep one set near the door for quick access and a second set deeper in the shed for backup.
Keep Metal from Rusting
Rust is the enemy of any metal tool, and a damp shed is the perfect place for it to start. The best defense is keeping tools clean and dry before you put them away. Wipe off soil and moisture after each use. It takes ten seconds, and it adds years to the life of a tool.
For an extra layer of protection, wipe metal parts with a light coat of oil a few times a year. Any general-purpose oil works. This is especially important at the end of the growing season when tools sit unused for months.
Store tools with the heads up when you can. It keeps moisture from pooling around the metal parts and makes it easier to spot any rust starting to form. A quick check at the start of each season catches problems while they're still small.
Shelves, Bins, and the Layout That Makes It All Work
A good shed layout puts the things you use most close to the door and the things you use rarely toward the back. This sounds obvious, but most people do the opposite and end up moving five things to reach the one thing they need.
Build or install shelves along one or two walls. Open shelves are better than closed cabinets for a garden shed because you can see everything at a glance. Use bins for grouping similar items. One bin for seed-starting supplies. Another for soil amendments. Another for twine, ties, and small supports.
Label every bin and every shelf. It feels unnecessary until you're standing in the doorway trying to remember where you put the plant markers. A label maker is a small investment that saves real time over a season.
Leave a clear path down the middle of the shed. You should be able to walk in, reach what you need, and walk back out without climbing over anything. If you can't, the shed is too full, and it's time to move something out.
Keep Pests from Becoming a Problem
A garden shed will attract attention from mice, insects, and other visitors if you give them a reason to come inside. Open bags of soil, spilled fertilizer, and seeds in loose containers are all invitations.
The best approach is to make the shed less appealing. Store everything in sealed containers. Sweep up spills right away. Keep the door closed and check that it seals properly. If you have gaps under the door or around the walls, a little weatherstripping helps.
A shed that's clean, dry, and organized is naturally less attractive to pests than one that's cluttered and damp. You can also take simple steps like keeping grass and weeds trimmed around the outside so there's less cover for animals near the shed.
A System That Holds Up Over Time
The real test of any garden shed setup is whether it still works in six months. A lot of sheds look great the day after they're organized and then slowly fall apart as the season gets busy.
The way to avoid that is to build a system that's easy to maintain. Hooks that hold tools in plain sight. Labeled bins that tell you where things go. A floor that stays dry. Air that moves through the space. When putting something back is easier than dropping it on the floor, the system works.
Check the shed once a month. Look for signs of moisture, rust, or pests. Restock anything you're running low on. A few minutes of upkeep keeps the space useful all season long.
A garden shed is only as good as the setup inside it. When you take the time to organize soil, fertilizer, and hand tools the right way, you spend less time looking for things and more time actually gardening. That's the whole point.