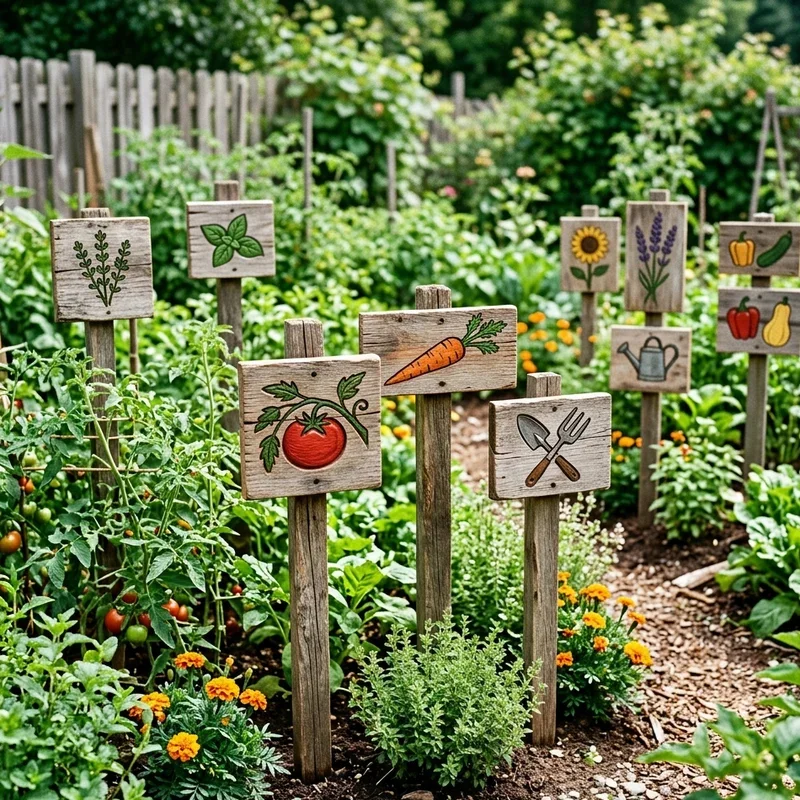
How to Plant Onion Bulbs for a Healthy Harvest
Master onion bulb planting with expert tips on soil prep, spacing, and care for a bountiful harvest that'll make your garden shine.
Well, let me tell you something about growing onions. There's nothing quite like pulling a fresh, plump onion from your own garden, knowing you've nurtured it from a tiny bulb. If you're looking to get your hands dirty and grow some of the crunchiest, most flavorful onions around, you've come to the right place. Planting onion bulbs isn't rocket science, but there are definitely some tricks of the trade that'll help you avoid common pitfalls and ensure you get a harvest that's worth bragging about to your neighbors. Growing onions from bulbs, also called sets, is honestly one of the easiest ways to get started with vegetable gardening. Unlike seeds that require patience and perfect conditions, bulbs give you a serious head start.
Understanding Onion Bulbs and Varieties
Before you rush out to buy the first onion bulbs you see, it's worth taking a moment to understand what you're working with. Onion bulbs, or sets as they're commonly called, are essentially baby onions that were grown the previous season and then stored. They're already partially developed, which is why they give you such a fantastic advantage over starting from seed.
Now, here's where it gets interesting. Onions are actually pretty picky about daylight hours, believe it or not. You've got short-day varieties that need about 10 to 12 hours of daylight to form bulbs, intermediate-day types that need 12 to 14 hours, and long-day varieties that require 14 to 16 hours. If you're living in the southern states, short-day onions are your best bet. Folks up north should stick with long-day varieties. Get this wrong, and you'll end up with onions that just won't bulb up properly.
Color is another consideration that goes beyond just aesthetics. Yellow onions are the workhorses of the kitchen, perfect for cooking and storage. Red onions bring a mild, sweet flavor that's fantastic in salads. White onions pack a sharper punch and are traditional in Mexican cuisine. Each type has its own personality, so think about how you plan to use them before making your choice.
Timing Your Onion Planting
Timing, as they say, is everything. And when it comes to onion bulbs, this couldn't be more true. These plants have a bit of a unique growing cycle that you'll want to respect if you're after a healthy harvest. Generally speaking, onions are cool-season crops that prefer to do their leafy growth in cooler weather before the real heat kicks in.
For most gardeners, early spring is the sweet spot for planting onion bulbs. You're aiming for that window when the soil temperature hits around 50 degrees Fahrenheit. Plant too early when the ground's still frozen solid, and your bulbs might just sit there rotting. Wait too long, and they won't have enough time to develop proper foliage before bulbing begins.
In warmer climates, fall planting is actually the way to go. You can pop those bulbs in the ground in October or November, let them establish over winter, and then watch them take off when spring arrives. This method often produces larger onions because the plants have more time to develop their leaf structure. The more leaves you can get growing before bulbing starts, the bigger your final onions will be. It's a simple equation that pays dividends.
Keep an eye on your local frost dates too. Onions can handle a light frost without batting an eye, but a hard freeze can damage tender young growth. That being said, they actually need a bit of cold exposure to grow properly, so don't coddle them too much.
Preparing Your Soil for Success
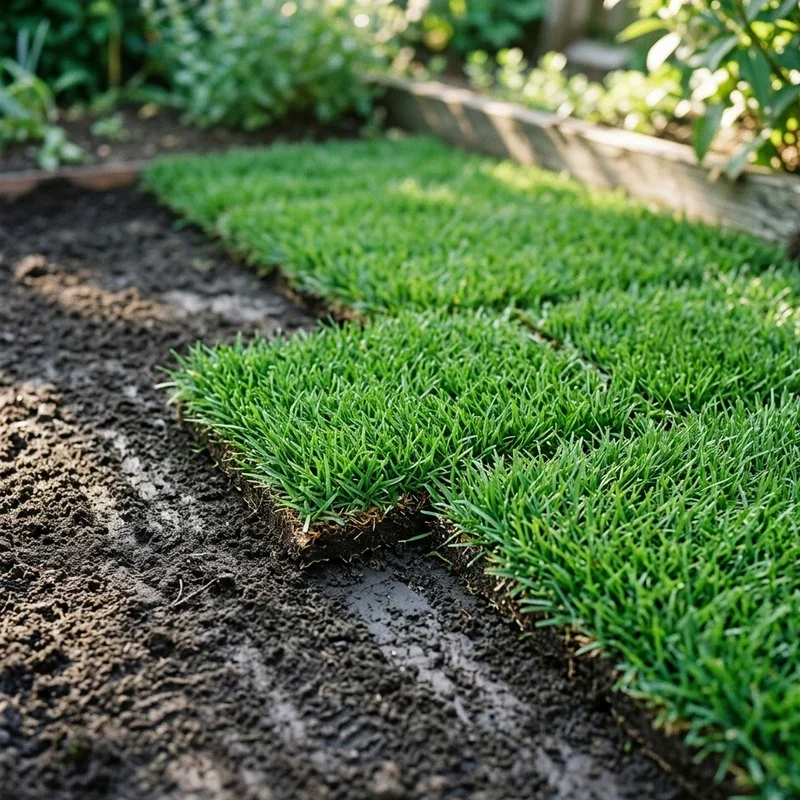
Here's where the rubber meets the road, folks. You can have the best onion bulbs money can buy, but if your soil isn't up to snuff, you're fighting an uphill battle. Onions are somewhat demanding when it comes to soil conditions, though they'll forgive you for a few mistakes if you get the basics right.
First off, drainage is absolutely critical. Onions hate wet feet with a passion. If your soil holds water like a sponge, you're going to run into problems with rot and disease. The ideal soil is loose, well-draining, and rich in organic matter. If you're dealing with heavy clay, you'll want to work in some compost, aged manure, or other organic material to improve structure. Sandy soil needs organic matter too, but for different reasons. It helps hold moisture and nutrients that would otherwise wash away.
The pH sweet spot for onions sits somewhere between 6.0 and 7.0. Anything too acidic, and you'll see yellowing leaves and poor growth. Too alkaline, and nutrient uptake becomes an issue. A simple soil test from your local extension office will tell you exactly where you stand. If adjustments are needed, lime will raise pH while sulfur brings it down. Just remember these changes take time, so plan ahead.
Working the soil to a depth of at least 8 to 10 inches gives those roots room to stretch out and explore. Remove any rocks, sticks, or debris that might get in the way. A smooth, fine seedbed makes planting easier and ensures good contact between bulb and soil. Some gardeners swear by raised beds for onions, and honestly, they've got a point. Raised beds offer superior drainage and warm up faster in spring.
How to Plant Onion Bulbs for a Healthy Harvest Step by Step
Alright, let's get down to the nitty-gritty of actually getting those bulbs in the ground. The process itself is straightforward, but attention to detail here really sets you up for success down the road.
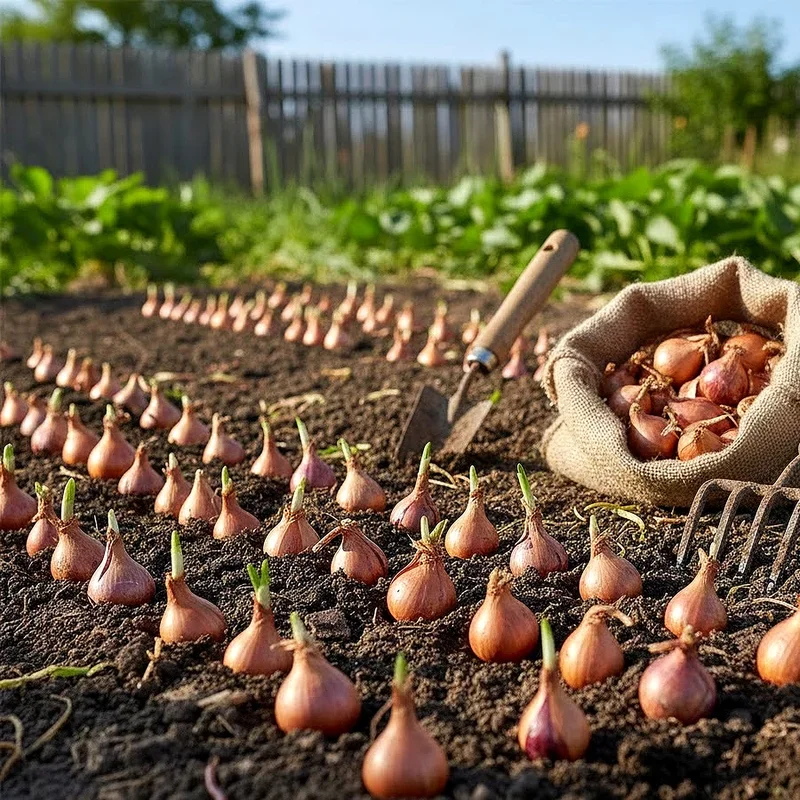
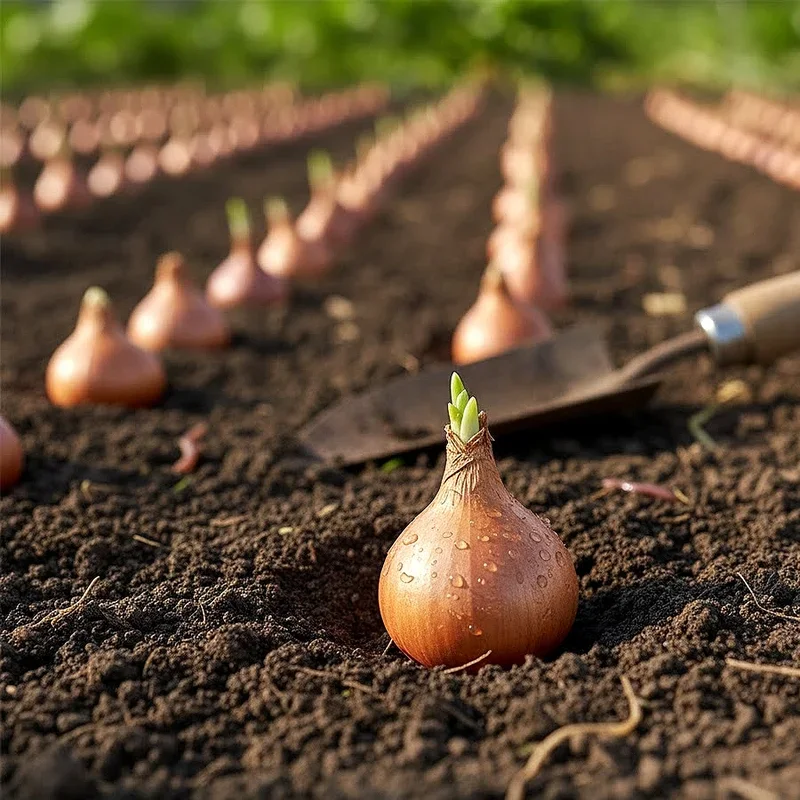
Start by inspecting your bulbs before planting. You want firm, healthy bulbs without any soft spots, mold, or obvious damage. Anything that looks sketchy should be tossed aside. Some folks like to soak their bulbs in warm water for a few hours before planting, claiming it gives them a jumpstart, but this step is entirely optional.
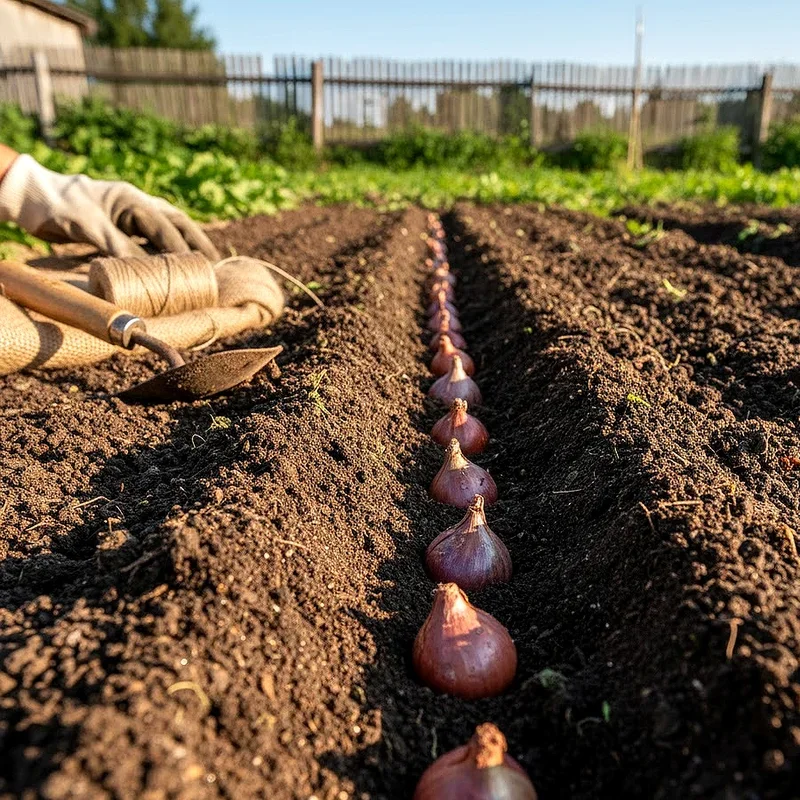
Spacing matters more than you might think. Plant your bulbs about 4 to 6 inches apart in rows that are 12 to 18 inches apart. Yeah, it seems like a lot of room, but onions need space for air circulation and to develop without competing with neighbors. If you're growing smaller varieties or scallions, you can cheat a bit and plant them closer together.
Here's a crucial tip that trips up beginners all the time. Plant the bulb with the pointy end facing up and the root end down. The pointy end is where the leaves will emerge, while the roots grow from the flatter, sometimes slightly hairy bottom. Push the bulb into the soil so the top is just barely covered, about a half inch to an inch deep. Plant too deep, and you might end up with long, thick necks that don't cure well. Too shallow, and the bulbs might push themselves out of the ground as they grow.
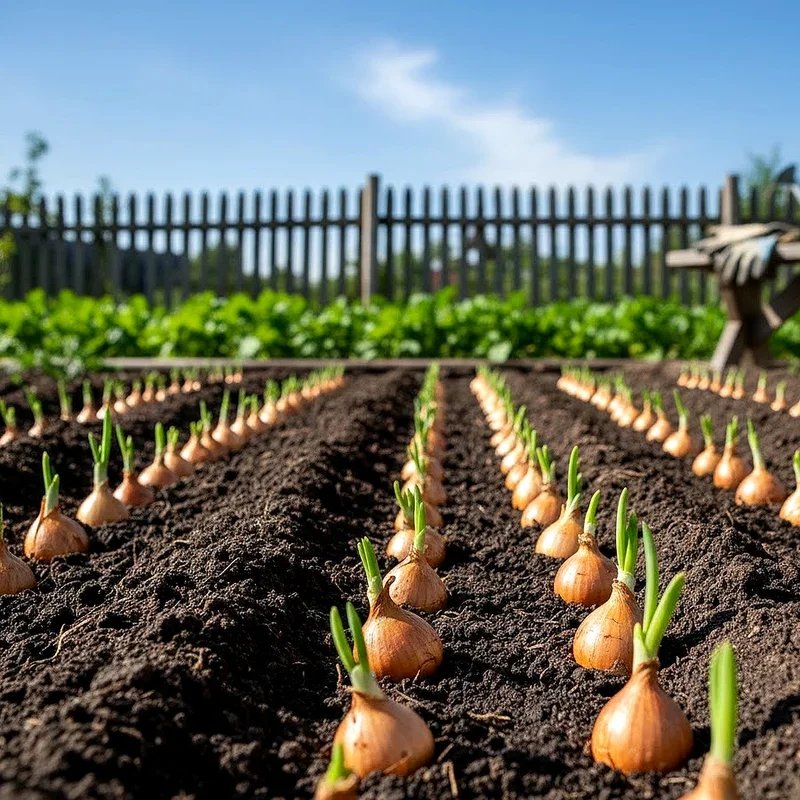
After planting, give everything a good watering to settle the soil around the bulbs and eliminate air pockets. Then comes the waiting game. Within a week or two, you should start seeing green shoots poking through the soil. That's when you know you're in business.
Watering and Feeding Your Growing Onions
Once those green shoots appear, your job shifts to maintenance mode. And the two big players here are water and nutrients. Get these right, and you're well on your way to a stellar harvest.
Onions need consistent moisture, especially during bulb formation. We're talking about 1 to 1.5 inches of water per week, either from rainfall or irrigation. The key word here is consistent. Wild fluctuations between bone-dry and waterlogged will cause bulbs to split and can lead to all sorts of quality issues. A good rule of thumb is to water deeply once or twice a week rather than giving them frequent shallow drinks.
As the season progresses and bulbs start to swell, you can actually back off on watering a bit. In fact, about two to three weeks before harvest, you should stop watering altogether. This helps the bulbs cure in the ground and develops those papery outer skins that are so important for storage.
Fertilization is another piece of the puzzle. Onions are considered heavy feeders, meaning they pull a lot of nutrients from the soil. A balanced fertilizer applied at planting time gives them a solid foundation. Then, side-dress with nitrogen when the plants are about 6 inches tall and again when they're about a foot tall. This encourages robust leaf growth, which translates to bigger bulbs later on.
That said, go easy on the nitrogen as bulbing begins. Too much nitrogen late in the game creates thick-necked onions that don't store well. Phosphorus and potassium become more important during bulb development, so a fertilizer with a different ratio might be in order for that final push.
Maintaining Your Onion Patch Throughout the Season
Growing onions isn't a plant-it-and-forget-it situation. Regular maintenance keeps problems at bay and ensures you're maximizing your harvest potential. Fortunately, the tasks involved aren't particularly demanding.
Weeding is probably the most important ongoing chore. Onions have shallow root systems and don't compete well with weeds. Those invasive plants will steal water, nutrients, and light faster than you can say "harvest time." The trick is to stay on top of weeds when they're small and easy to remove. Once they establish deep roots, pulling them can disturb your onion roots too.
Mulching around your onions can be a game-changer. A thin layer of straw, grass clippings, or shredded leaves suppresses weeds, conserves moisture, and moderates soil temperature. Just don't pile it right up against the plants themselves. Leave a little breathing room to prevent rot and pest problems.
Keep an eye out for pests and diseases as the season progresses. Thrips can damage leaves, creating silvery streaks and distorted growth. Onion maggots are another common pest that tunnel into bulbs, causing rot. Diseases like downy mildew and purple blotch can devastate crops if conditions are right. Good air circulation, proper spacing, and avoiding overhead watering all help prevent many of these issues.
Recognizing When Your Onions Are Ready to Harvest
Knowing when to harvest is an art form all its own. Pull too early, and you've got immature bulbs that won't store. Wait too long, and quality can decline. Luckily, onions give you some pretty clear signals when they're ready.
The telltale sign is when the tops start to fall over naturally. Once about 50 to 75 percent of your plants have flopped, it's go time. This usually happens in late summer or early fall, depending on when you planted. The tops turn yellow and brown as the plant redirects all its energy into the bulb. Some gardeners actually bend the tops over manually to speed up the process, though this is a bit controversial and not strictly necessary.
On a nice, dry day, use a garden fork to gently loosen the soil around your bulbs. Lift them carefully to avoid bruising or cutting the outer skins. Handle them like eggs at this stage because any damage can lead to rot during storage.
Curing and Storing Your Onion Harvest
Fresh-pulled onions aren't quite ready for long-term storage. They need to go through a curing process that dries out the outer layers and seals the neck. This step is absolutely critical if you want your onions to last through winter.
Spread your harvested onions in a single layer in a warm, dry, well-ventilated area. A covered porch, garage, or shed works great. Direct sunlight is fine for a few days but can eventually bleach and damage the outer layers. Let them cure for two to four weeks until the necks are completely dry and the outer skins are papery and crisp.
Once cured, trim the tops to about an inch above the bulb and remove any loose, dirty outer layers. Sort through your harvest and set aside any onions with thick necks, bruises, or soft spots. These should be used first as they won't store well. The rest can be placed in mesh bags, braided together, or stored in ventilated boxes in a cool, dark location.
Proper storage conditions make all the difference. You're aiming for temperatures between 32 and 40 degrees Fahrenheit with low humidity. A basement, root cellar, or even an unheated garage can work depending on your climate. Check your stored onions periodically and remove any that are starting to sprout or soften.
Common Mistakes to Avoid When Following How to Plant Onion Bulbs for a Healthy Harvest
Even experienced gardeners sometimes stumble when growing onions. Learning from others' mistakes is way easier than making them all yourself, so let's talk about some common pitfalls.
Planting the wrong variety for your location is mistake number one. Remember that whole daylight thing we talked about earlier? It really does matter. A short-day onion planted in Minnesota just won't perform, no matter how well you care for it. Check with local gardeners or your extension office to find out what varieties thrive in your area.
Overcrowding is another frequent problem. It's tempting to squeeze in extra bulbs to maximize your harvest, but this backfires spectacularly. Crowded onions compete for resources, have poor air circulation, and end up smaller than they should be. Trust the spacing recommendations and resist the urge to cram them in.
Inconsistent watering causes all sorts of issues. If you're someone who tends to forget about your garden for weeks at a time, maybe set up a simple irrigation system or at least a reminder on your phone. Onions need regular attention throughout the growing season.
Finally, harvesting too late is a mistake that's easy to make. Once those tops fall over, don't dawdle. Leaving mature onions in the ground invites problems and can actually cause them to start sprouting again, which ruins storage quality.
Conclusion
There you have it, folks. Everything you need to know about How to Plant Onion Bulbs for a Healthy Harvest. From selecting the right varieties and timing your planting perfectly to maintaining your crop and storing your bounty, each step builds on the last. Sure, you might make a few mistakes along the way. That's just part of the learning process. But armed with this knowledge, you're set up for success. So get out there, get those bulbs in the ground, and enjoy the satisfaction that comes from growing your own food.
Read next: How to Plant Watermelon Seeds in Your Garden
Frequently Asked Questions
Q1. What is the best time to plant onion bulbs?
A: Early spring when soil reaches 50 degrees Fahrenheit, or fall in warmer climates.
Q2. How deep should I plant onion bulbs?
A: Plant bulbs with tops barely covered, about half inch to one inch deep maximum.
Q3. How far apart should onion bulbs be planted?
A: Space bulbs four to six inches apart in rows twelve to eighteen inches wide.
Q4. Can I grow onions in containers?
A: Yes, use containers at least ten inches deep with excellent drainage and quality soil.
Q5. Why are my onion tops falling over early?
A: Premature falling indicates stress from inconsistent watering, pests, or disease problems requiring immediate attention.