How to Plant Garlic for a Flavorful Harvest
Master how to plant garlic for a flavorful harvest with expert tips on timing, soil prep, varieties, and care for bumper crops year after year.
Well, butter my biscuit! If you've ever wondered about growing your own garlic, you're in for a treat. There's nothing quite like the satisfaction of pulling up those papery bulbs from your own backyard, knowing they'll add that perfect punch to your favorite dishes. Learning how to plant garlic for a flavorful harvest isn't rocket science, but boy oh boy, it does take a bit of know-how to get those cloves growing just right.
Speaking from experience, once you taste homegrown garlic, store-bought stuff just won't cut it anymore. The flavor's richer, the aroma's stronger, and honestly? Growing it yourself feels like you've discovered some ancient garden secret. So let's dig into everything you need to know about transforming those little cloves into culinary gold!
Why Growing Your Own Garlic Makes Sense
Here's the thing: garlic from the grocery store often travels thousands of miles before reaching your kitchen. By the time it gets there, it's lost much of its oomph. When you grow your own, you're getting peak flavor, plus you know exactly what went into growing it. No mystery chemicals, no questionable storage methods, just pure, unadulterated garlic goodness.
Not to mention, growing garlic is surprisingly easy once you get the hang of it. It's one of those set-it-and-forget-it crops that doesn't demand constant attention. Perfect for busy folks who still want to dabble in gardening!
Understanding Garlic Varieties: Hardneck vs. Softneck
Hardneck Garlic: The Cold Weather Champion
Hardneck varieties are the tough cookies of the garlic world. They produce a flower stalk called a scape (which, by the way, is delicious sautéed with butter), and they absolutely thrive in colder climates. If you're dealing with harsh winters, these babies are your best bet.
The flavor profile? Oh man, it's complex and robust, with subtle notes that'll make any foodie swoon. Popular hardneck varieties include:
Rocambole (rich and full-bodied)
Purple Stripe (beautiful coloring with a mild heat)
Porcelain (large cloves with a strong kick)
Softneck Garlic: The Keeper
Softneck varieties are what you typically find braided and hanging in Italian kitchens. They don't produce scapes, but what they lack in flower stalks, they make up for in storage life. These varieties can last up to a year when stored properly!
Living in a warmer climate? Softnecks are probably your go-to. They include:
Artichoke varieties (mild and versatile)
Silverskin types (the braiding champions)
Creole garlic (perfect for the Deep South)
When to Plant: Timing Is Everything
Alright, here's where things get interesting. Garlic's a bit backwards compared to most garden vegetables. While everyone else is pulling up their summer crops, you'll be getting ready to plant garlic. Fall planting is the name of the game!
In most regions, you'll want to get those cloves in the ground about four to six weeks before your first hard freeze. For many folks, that's somewhere between October and November. The cold weather actually helps garlic develop properly through a process called vernalization. Basically, garlic needs to chill out (literally) to form nice, plump bulbs.
How to Plant Garlic for a Flavorful Harvest: Step-by-Step Guide
Preparing Your Soil
First things first, garlic loves loose, well-draining soil with plenty of organic matter. If your soil's heavy clay, don't panic! Just work in some compost or aged manure to lighten things up. Aim for a pH between 6.0 and 7.0, though garlic's pretty forgiving if you're a smidge outside that range.
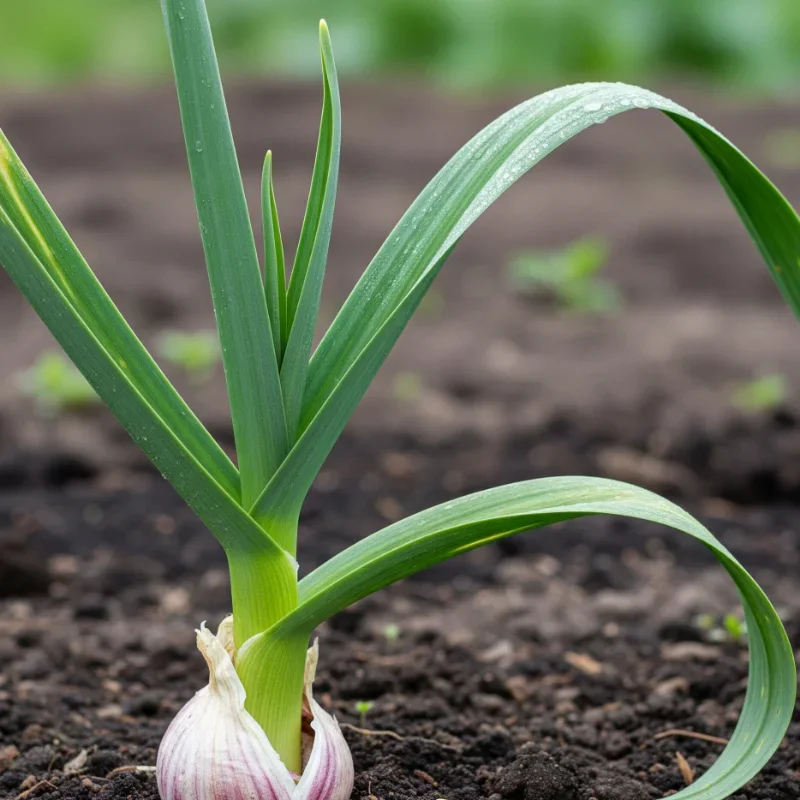
Breaking Apart the Bulbs
Here's a crucial tip: wait until planting day to break apart your seed garlic. Separating the cloves too early can dry them out and reduce your success rate. When you do break them apart, keep the papery wrapper on each clove. It's like a little protective jacket!
The Actual Planting Process
Now for the fun part! Follow these steps for planting success:
Make furrows about 2 inches deep
Place cloves pointy-side up (this is super important!)
Space them 4-6 inches apart in rows 12 inches apart
Cover with soil and water gently
Add a 4-inch layer of mulch for winter protection
Mulching: Your Secret Weapon
Speaking of mulch, don't skip this step! A good layer of straw or shredded leaves helps regulate soil temperature, retain moisture, and suppress weeds. In colder regions, it also provides insulation against harsh winter weather.
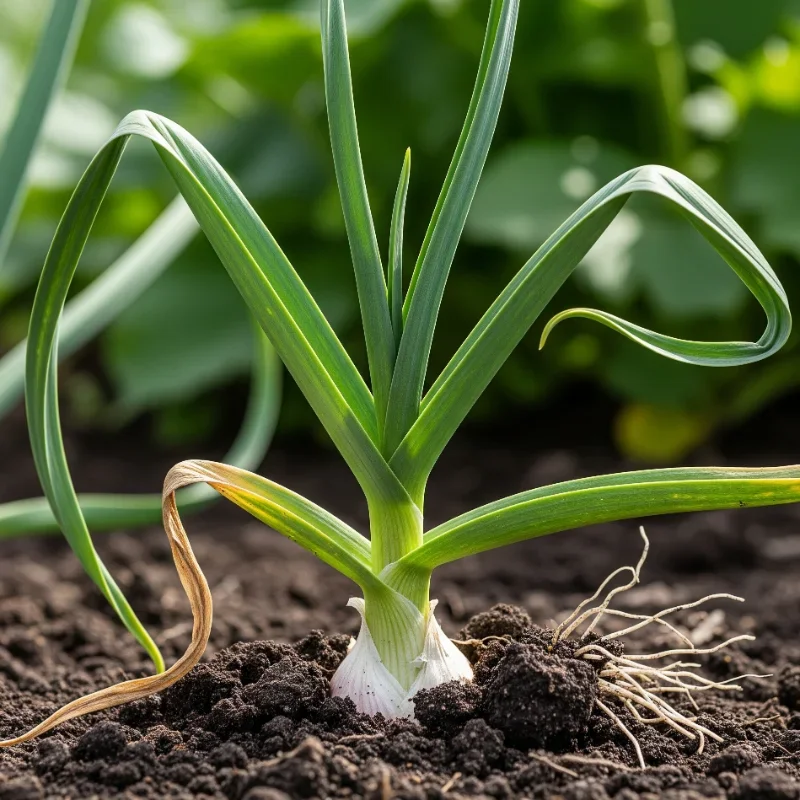
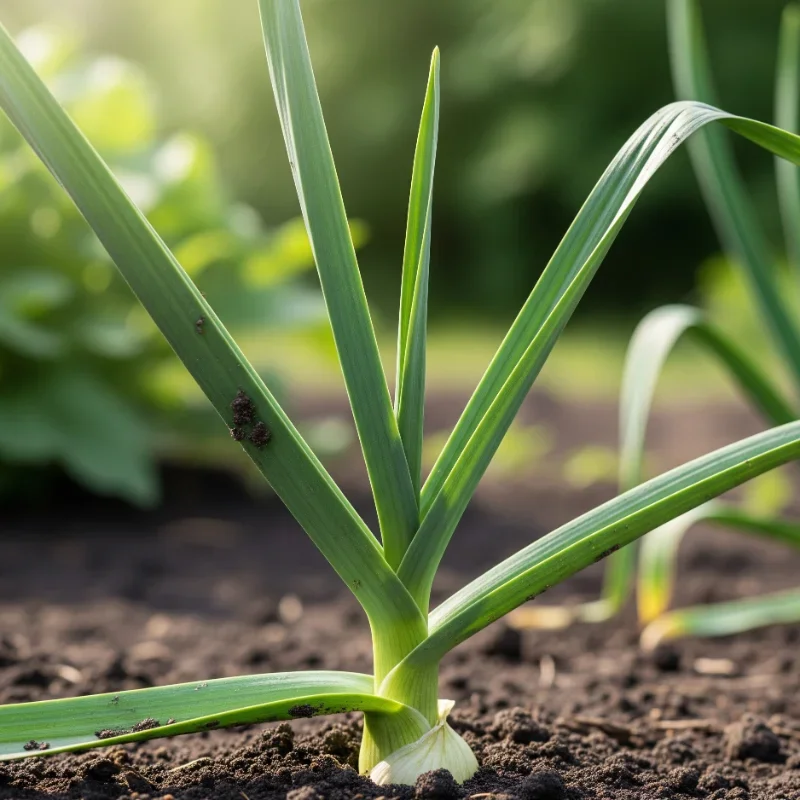
Caring for Your Growing Garlic
Spring Awakening
Come spring, you'll see green shoots poking through the mulch. Exciting stuff! Pull back some of the mulch if it's too thick, but leave enough to keep controlling weeds. This is when your garlic starts its serious growing phase.
Watering Wisdom
Garlic needs about an inch of water per week during its growing season. Too much water, and you risk rot. Too little, and your bulbs won't size up properly. Finding that sweet spot takes practice, but you'll get the hang of it!
Feeding Your Garlic
When those shoots are about 6 inches tall, give them a boost with a balanced organic fertilizer. Blood meal or fish emulsion works wonders. Feed them again when the bulbs start forming, usually in late spring.
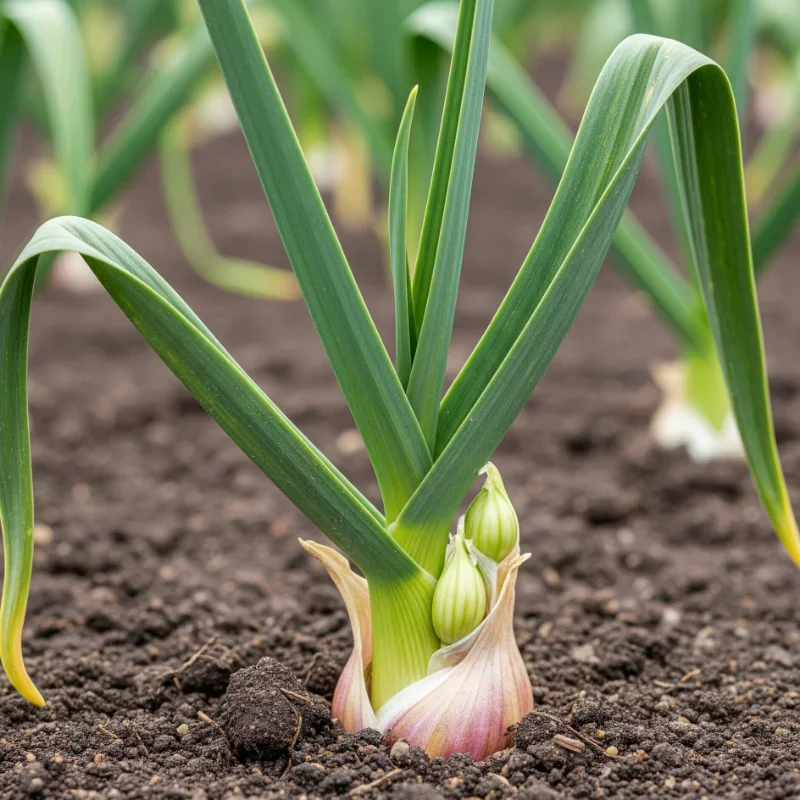
Dealing with Scapes
If you're growing hardneck varieties, you'll see curly flower stalks appear in late spring or early summer. Snip these off to redirect energy to bulb development. Pro tip: don't toss those scapes! They're delicious grilled, added to stir-fries, or blended into pesto.
Common Problems and Solutions
Pest Issues
While garlic's generally pest-resistant (most critters hate the smell), you might encounter:
Onion maggots: Use row covers early in the season
Thrips: Spray with insecticidal soap if needed
Nematodes: Rotate crops and add beneficial nematodes
Disease Challenges
Keep an eye out for:
White rot: Avoid planting in infected soil for several years
Rust: Ensure good air circulation and avoid overhead watering
Botrytis: Remove affected plants immediately
Harvesting Your Garlic Bounty
Knowing When to Harvest
This is where patience really pays off! Garlic's ready when about half the leaves have turned brown but several green ones remain. Usually, this happens in mid-summer, about 8-9 months after planting.
Gently dig up a test bulb to check. The cloves should fill out the skins, and the bulb wrapper should be intact but starting to dry. If the cloves haven't filled out yet, give them another week or two.
The Harvesting Process
When it's go-time:
Loosen soil with a fork (don't pull by the stems!)
Gently lift bulbs from below
Brush off excess dirt but don't remove all the wrapper layers
Keep roots and stems attached for now
Curing and Storing for Long-Term Success
The Curing Process
Curing's what transforms your fresh garlic into storage-ready bulbs. Hang them in bundles or spread them on screens in a warm, dry area with good air circulation. After 3-4 weeks, the wrappers should be papery and the roots dry.
Storage Solutions
Once cured, trim the roots and cut stems to about an inch (unless you're braiding softnecks). Store in a cool, dry place with good air circulation. Properly cured and stored garlic can last:
Hardneck varieties: 4-6 months
Softneck varieties: 9-12 months
Advanced Tips for How to Plant Garlic for a Flavorful Harvest
Companion Planting
Garlic plays well with others! Plant it near:
Fruit trees (deters borers)
Roses (prevents black spot)
Tomatoes and peppers (general pest deterrent)
Just keep it away from beans and peas, as garlic can stunt their growth.
Saving Your Best for Seed
Want to develop your own locally-adapted strain? Save your biggest, healthiest bulbs for replanting. Over time, you'll develop garlic that's perfectly suited to your specific growing conditions.
Succession Planting Strategies
While you can't succession plant garlic like lettuce, you can grow both early and late varieties to extend your harvest window. Plant some Asiatic or Turban types for early summer harvest, and standard varieties for mid-summer.
Conclusion
Growing garlic transforms you from a mere gardener into a flavor wizard! With proper timing, care, and patience, you'll harvest bulbs bursting with incredible taste. Remember, mastering how to plant garlic for a flavorful harvest takes practice, but even beginners can succeed. Start small, learn from each season, and soon you'll have enough garlic to share with jealous neighbors who'll wonder about your secret!
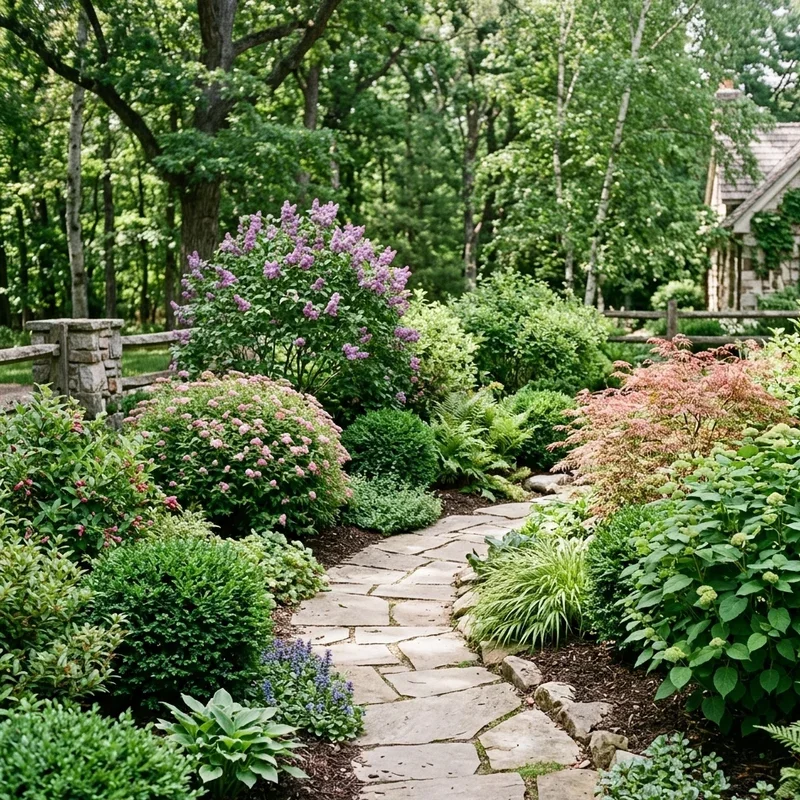
Read next: How to Plant and Maintain Healthy Shrubs
Frequently Asked Questions
Q1: Can I plant store-bought garlic cloves?
A: Better to use seed garlic for disease-free, variety-specific results.
Q2: How deep should I plant garlic cloves?
A: Plant cloves 2 inches deep in most soils.
Q3: Why didn't my garlic form proper bulbs?
A: Insufficient cold exposure or planting too late causes this.
Q4: Should I water garlic in winter?
A: No watering needed during winter dormancy period typically.
Q5: Can I grow garlic in containers?
A: Yes, use deep pots with excellent drainage holes.