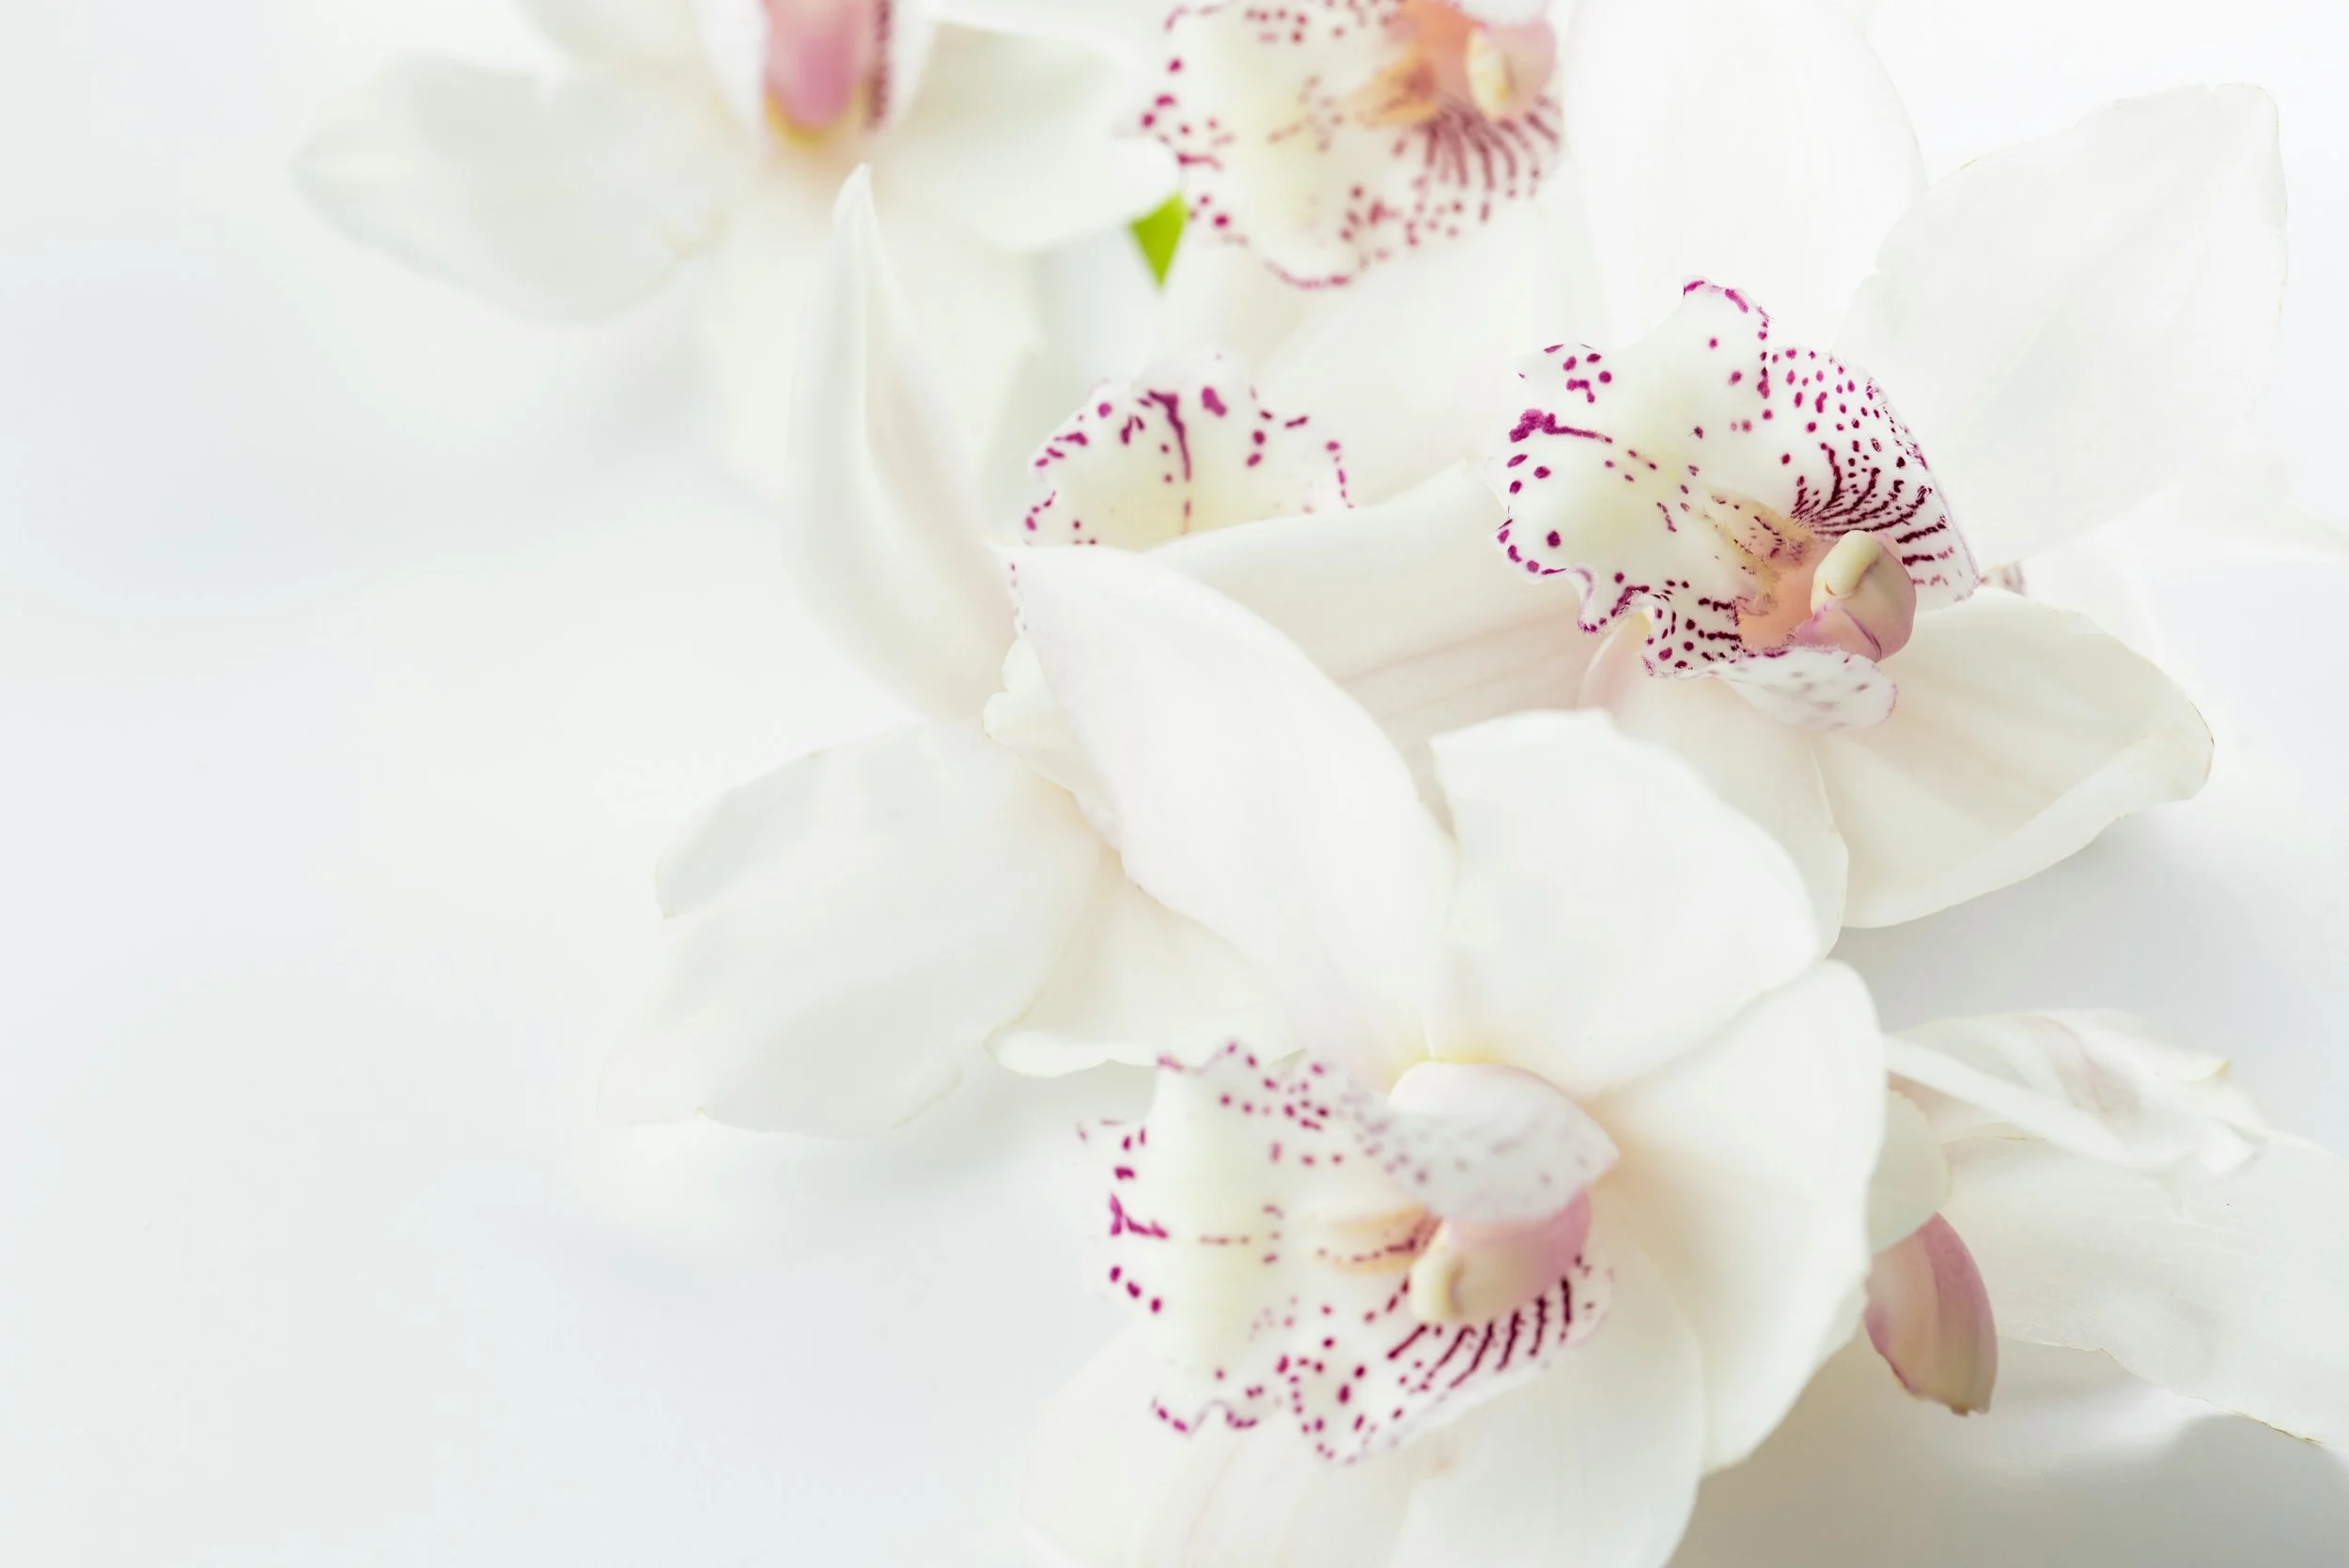
How to Revive a Dying Orchid Plant
Discover expert techniques to breathe new life into your struggling orchid. This comprehensive guide covers diagnosis, treatment, and prevention strategies to transform your wilting beauty back to its full, blooming glory.
Gosh, there's nothing quite as heartbreaking as watching your once-vibrant orchid slowly wither away, is there? Those drooping leaves and yellowing stems can make any plant lover feel like they've somehow betrayed their botanical companion. But hang on—don't toss that seemingly hopeless plant into the compost bin just yet! I've been there, staring at a sad-looking Phalaenopsis, wondering if there's any coming back from the brink. The good news? Orchids are surprisingly resilient little fighters, and with the right approach, even the most pathetic-looking specimen often has a fighting chance.
In this guide, we'll dig deep into how to revive a dying orchid plant, exploring everything from identifying what's actually wrong (because let's face it, orchids can be drama queens sometimes) to implementing rescue techniques that actually work. Whether you're a seasoned orchid enthusiast or a newbie who inherited a struggling plant from a well-meaning friend, you're about to discover practical, proven methods to bring your orchid back from the edge. Let's roll up our sleeves and get those gorgeous blooms back, shall we?
Recognizing a Truly Dying Orchid vs. Normal Dormancy
Before diving into rescue operations, let's clear up a common misunderstanding. Many perfectly healthy orchids get tossed out simply because their owners mistake normal life cycle changes for imminent death. Talk about a plant parent faux pas!
Signs Your Orchid Is Actually in Trouble
Not all worrisome symptoms mean your orchid is dying. Here's how to tell the difference between normal behavior and actual distress:
Yellowing leaves: If only the bottom one or two leaves are turning yellow and falling off, that's often just normal aging. If many leaves are yellowing simultaneously, especially with brown spots, you've got a problem.
No blooms: Orchids aren't perpetual bloomers, folks! Most types bloom once a year and then rest. A lack of flowers isn't death—it's just your plant taking a well-deserved vacation.
Wrinkled leaves: Slightly wrinkled leaves that remain firm indicate minor dehydration. Severely wrinkled, soft leaves suggest more serious issues.
Root appearance: Healthy orchid roots should be firm and green or silvery when dry. Black, mushy roots are rotting, while completely dried, brittle roots indicate severe dehydration.
Normal Orchid Growth Patterns
Your orchid might just be going through a natural phase. After flowering, many orchids enter a vegetative growth period where they focus on producing new leaves and roots rather than flowers. During this time, the plant might drop its blooms and even an old leaf or two, but it's not dying—it's just redirecting energy.
Remember that orchid drama I mentioned? Well, here's the kicker: sometimes what looks like decline is actually your orchid shedding old parts to make way for new growth. Before you jump into emergency mode, make sure your plant actually needs rescuing!
Diagnosing Common Orchid Problems
Now that we know your orchid truly needs help, let's figure out what's wrong. Proper diagnosis is half the battle when learning how to revive a dying orchid plant.
Overwatering Issues
Ironically, too much love—in the form of excessive watering—is the number one orchid killer. Orchids are epiphytes in nature, growing attached to trees with their roots exposed to air, not sitting in soggy soil. Signs of overwatering include:
Yellowing, soft leaves (often starting from the bottom)
Black, mushy roots that may have a foul smell
Leaf tip edema (swelling that looks like blisters)
Crown rot (blackening at the center where leaves emerge)
If you've been watering your orchid weekly regardless of conditions, or if it's sitting in a decorative pot with no drainage, overwatering is likely your culprit.
Underwatering and Dehydration
On the flip side, underwatering causes its own set of problems:
Leathery, wrinkled leaves that remain somewhat firm
Extremely dry potting medium that pulls away from the pot edges
Dried, brittle aerial roots
Buds that shrivel and fall before opening
In my experience, underwatering is easier to fix than overwatering, so there's a silver lining if this is your diagnosis!
Light Problems
Orchids are quite particular about their lighting needs:
Too much light: Leaves turn yellow-green, develop red-purple patches, or show sunburn (black scorched areas)
Too little light: Dark green leaves (seems counterintuitive!), leggy growth, and failure to bloom
Pest Infestations
Even indoor orchids aren't immune to pest problems. Look for:
Sticky residue on leaves (honeydew from sap-sucking insects)
Tiny brown or white specs that move (spider mites or scale)
Distorted new growth
Black sooty mold growing on honeydew deposits
Temperature and Environmental Stress
Orchids can also decline due to environmental factors:
Cold damage appears as sudden blackening of tissues
Heat stress causes wilting even when the medium is moist
Air that's too dry leads to bud blast (buds falling before opening)
How to Revive a Dying Orchid Plant: Step-by-Step Rescue Plan
Alright, now that we've pinpointed the problem, let's get to the actual rescue! Here's a comprehensive approach to reviving your struggling orchid:
Emergency Assessment and Triage
Evaluate overall damage: Is the crown (growth point) still healthy? Are there any green roots left? If yes to both, your chances are excellent.
Remove the orchid from its pot: Gently take the plant out and inspect the root system thoroughly. This gives you the full picture of what you're dealing with.
Trim away dead tissue: Using sterilized scissors or pruning shears, remove any dead roots (black, mushy, or hollow), yellowed leaves, and dead flower spikes.
Reviving an Overwatered Orchid
If root rot is your problem, follow these steps:
Remove all soggy medium: Get rid of all the old potting material, which may be harboring fungi and bacteria.
Trim away all rotted roots: Be ruthless here—rotted roots will never recover and can spread problems to healthy tissue.
Apply cinnamon to cut surfaces: This kitchen spice is actually a mild natural fungicide that helps prevent further infection.
Allow to dry: Place your bare-root orchid in a dry, shaded spot for 12-24 hours to allow cut surfaces to callus over.
Repot in fresh medium: Use a high-quality orchid mix appropriate for your specific type of orchid. For most common Phalaenopsis orchids, a chunky bark mix provides good drainage.
Adjust your watering routine: Only water when the medium is nearly dry (for bark, this means it's light tan rather than dark brown).
Saving a Dehydrated Orchid
For severely underwatered orchids:
Soak the entire root system: Submerge the roots (not the leaves or crown) in room-temperature water for 10-30 minutes.
Mist aerial roots daily: Help rehydrate those exposed roots that have become brittle.
Consider humidity boosting: Place your orchid on a humidity tray or near (not in) a humidifier.
Gradually increase watering frequency: Don't compensate by drowning your orchid—aim for consistent, moderate moisture.
Dealing with Light and Temperature Issues
Gradually adjust light exposure: Move plants slowly to more appropriate locations, allowing them to acclimate.
Create microclimate adjustments: Use sheer curtains for filtering harsh light, or add supplemental grow lights for orchids in too-dark spots.
Shield from drafts: Keep your recovering orchid away from heating vents, air conditioners, and cold windowsills.
Pest Treatment Protocol
If pests are the problem:
Isolate the infected plant: Prevent spreading to your other houseplants.
Treat with appropriate methods: For most pests, a soft cloth with isopropyl alcohol works well for manual removal. For larger infestations, insecticidal soap specifically formulated for orchids can be effective.
Repeat treatments: Most pest protocols require multiple applications 7-10 days apart to catch newly hatched generations.
Advanced Rescue Techniques for Severely Compromised Orchids
Sometimes, your orchid might be so far gone that standard approaches won't cut it. Don't despair! Here are some last-resort techniques that have saved seemingly hopeless orchids:
The Sphagnum Moss Revival Method
This technique works wonders for orchids with few remaining roots:
Prepare a clear container with drainage holes (even a plastic cup with holes poked in the bottom works).
Moisten fresh sphagnum moss (not too wet—just damp).
Nestle your trimmed orchid so its remaining root nubs make contact with the moss.
Place in bright, indirect light and maintain higher humidity around the plant.
Watch for new root growth emerging as small green nubs. This can take months, so patience is essential!
The Bag Method for Extreme Cases
For orchids on their very last legs:
Prepare a small amount of moistened sphagnum moss in a clear plastic bag.
Place your cleaned, trimmed orchid on the moss, making sure the crown doesn't sit in moisture.
Inflate the bag slightly and seal it, creating a mini greenhouse.
Place in bright, indirect light but not direct sun (which could cook your plant in the bag).
Open the bag every few days to allow for air exchange.
This high-humidity environment often stimulates new root growth even from severely compromised plants.
Keiki Propagation as a Last Resort
Some orchids, particularly Phalaenopsis, will produce baby plants (keikis) when stressed. If your orchid has a keiki but the mother plant seems too far gone:
Allow the keiki to develop until it has at least three leaves and some roots of its own.
Carefully separate it from the mother plant using sterilized cutting tools.
Pot up the keiki in appropriate orchid medium.
Care for it as a new plant, which it essentially is—containing the same genetic material as your original orchid.
Rehabilitation and Ongoing Care
Bringing an orchid back from the brink is just the first step. Now let's talk about rehabilitation and preventing future crises:
Recovery Timeline Expectations
Let's be real—orchids don't bounce back overnight. The recovery process typically follows this timeline:
First 2-4 weeks: Stabilization period; the plant may not show much improvement but shouldn't decline further
1-3 months: New root tips may begin to appear
3-6 months: Noticeable improvement in leaf firmness and color
6-12 months: New leaf growth begins
1-2 years: Return to blooming capability
Yep, you read that right—it could be up to two years before your rescued orchid blooms again. Orchids teach us patience like few other plants!
Adapting Care Routines
As your orchid recovers, you'll need to gradually transition it to normal care:
Slowly reduce any special measures: If you've been misting more frequently or using the bag method, gradually reduce these interventions as the plant strengthens.
Monitor closely for setbacks: Recovery isn't always linear. Watch for any signs of returning problems.
Introduce normal feeding: Once new growth is evident, begin a diluted fertilizing regimen (typically "weakly, weekly"—¼ strength fertilizer applied weekly).
Preventing Future Orchid Crises
They say prevention is better than cure, and that certainly applies to orchid care. Here's how to keep your newly revived plant healthy:
Creating an Ideal Orchid Environment
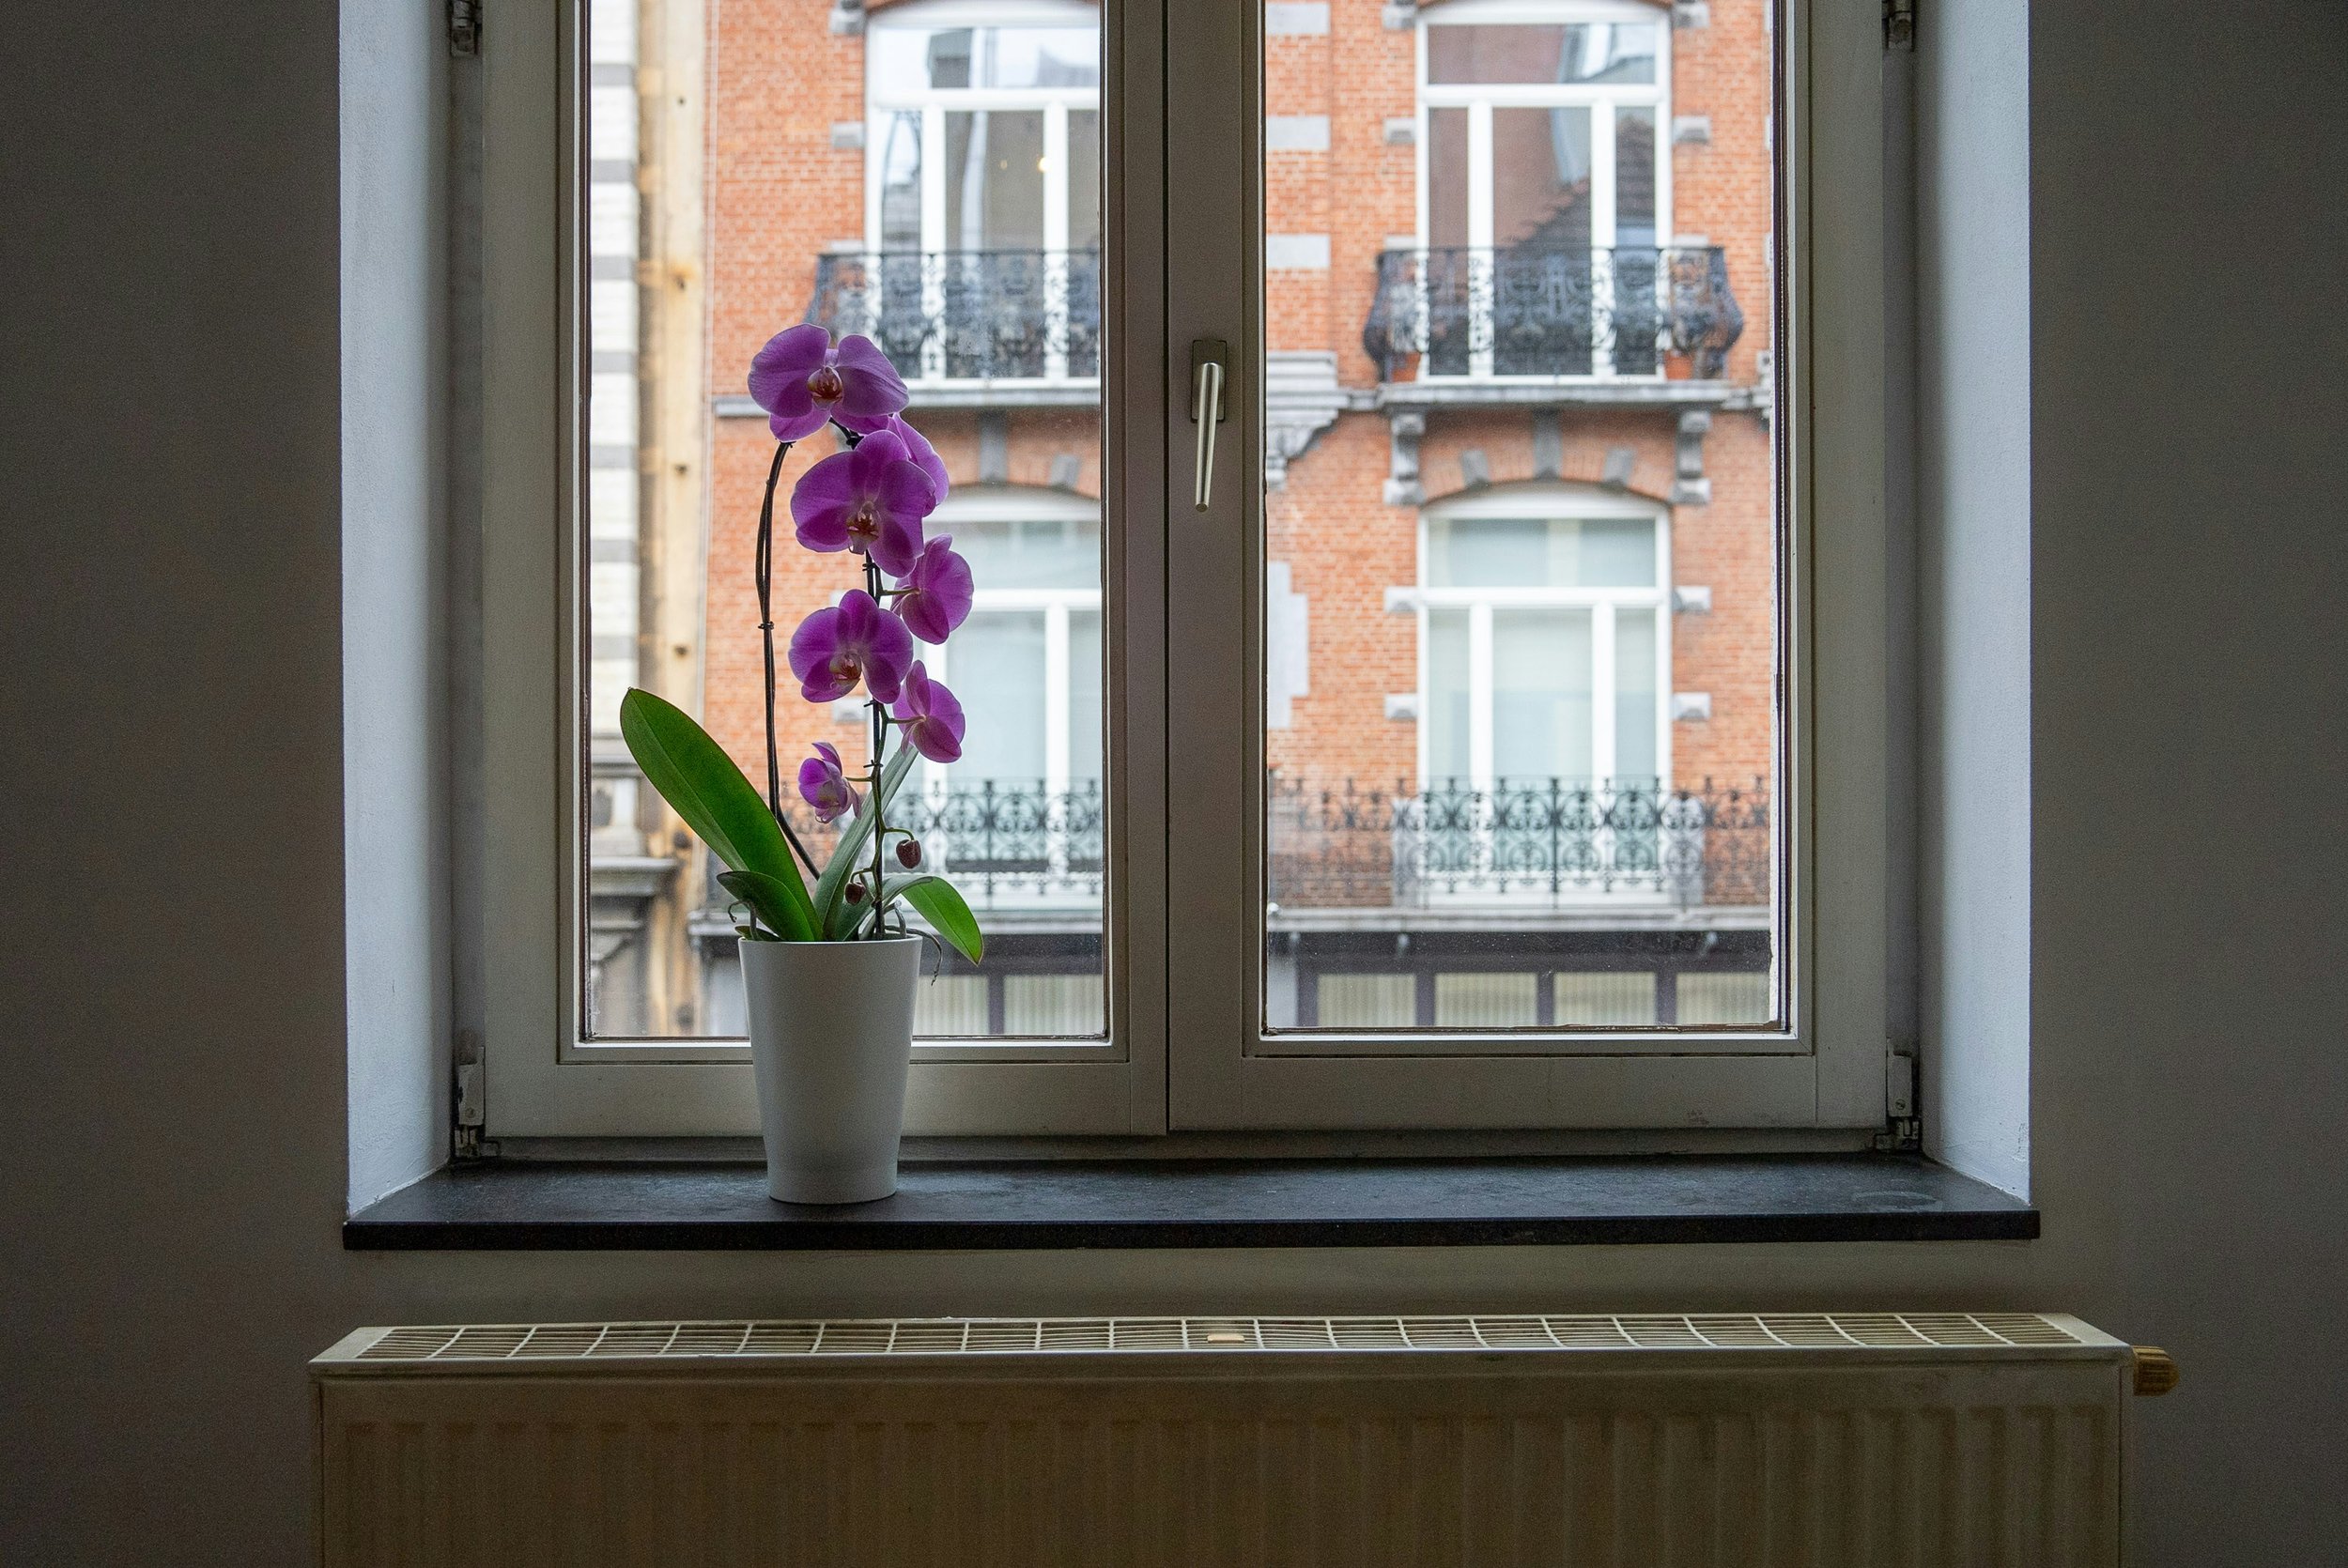
Light: Most popular orchids like bright, indirect light. An east-facing window is often perfect.
Temperature: Most home-grown orchids prefer temperatures between a shivering 65°F at night and a balmy 75-85°F during the day. They actually enjoy this fluctuation!
Humidity: Most orchids prefer 40-70% humidity, higher than typical home environments. Consider humidity trays or room humidifiers.
Air circulation: Good air movement prevents fungal and bacterial issues. A small fan set on low can work wonders.
Developing a Reliable Watering Method
Here's my foolproof approach to orchid watering:
Test before watering: Insert a bamboo skewer into the potting medium. If it comes out dry, it's watering time.
Water thoroughly: When you do water, do it properly—soak the entire medium until water runs freely from the drainage holes.
Never leave standing water: Ensure the orchid doesn't sit in water in its decorative outer pot.
Adjust for seasons: Most orchids need less frequent watering in winter and more in summer.
Conclusion
Reviving a dying orchid plant isn't just possible—it can be one of the most rewarding experiences for any plant enthusiast. That moment when you spot the first new root tip or leaf emerging after weeks of careful nurturing? Pure magic! Remember that orchids operate on their own timeline, and patience truly is the key virtue here. By accurately diagnosing the problem, taking appropriate rescue measures, and committing to improved ongoing care, you can transform that struggling plant back into the showstopper it was meant to be. Your efforts won't just save a plant—they'll deepen your understanding of these fascinating flora and make future success with orchids far more likely.
Read next: How to Water an Orchid: A Step-by-Step Guide
Frequently Asked Questions
Q1: My orchid has no roots left at all. Is there any hope?
A: Believe it or not, yes! As long as the crown (the central point where leaves emerge) is still green and firm, orchids can regenerate an entirely new root system. The sphagnum moss or bag method described above offers the best chance of success in this case.
Q2: How long should I wait before repotting a newly purchased orchid that's declining?
A: Don't wait! If your new orchid is showing signs of decline, it's often because the growing medium is breaking down or inappropriate for your home conditions. Repotting with fresh medium can make an immediate difference.
Q3: Can a defoliated orchid with only a flower spike survive?
A: Unfortunately, if an orchid has lost all its leaves but still has a flower spike, the prognosis isn't good. The flowers are essentially the plant's last hurrah. However, check carefully for any tiny growth at the base—sometimes there's a hidden new growth point that can be saved.
Q4: Is it normal for my orchid to look worse before it gets better during rehabilitation?
A: Yes, this is actually common. After repotting or significant changes in care, orchids often appear to decline slightly before they rally. The plant is adjusting and redirecting energy to where it's most needed.
Q5: How can I tell if my revival efforts are working?
A: The first sign of successful rehabilitation is often new root growth—look for green or reddish root tips emerging. This may happen weeks or even months before you see any improvement in the leaves or other visible parts of the plant.