How to Sharpen Garden Tools for Better Performance
Tired of hacking and hacking with dull pruners and shovels? In this guide, discover “How to Sharpen Garden Tools for Better Performance,” protect your blades, and maintain a lush, thriving landscape with less effort and frustration.
Ever stand in your garden, shears in hand, and feel like you’re fighting a losing battle against that wayward shrub? Or maybe you’ve whacked at the same patch of soil with your shovel, sweating bullets, yet it feels like you’re making zilch progress? Ah, we’ve all been there—dull garden tools can transform a simple chore into a grueling workout. But guess what? A few quick passes with the right sharpening methods can have your trusty implements slicing through soil and stems like butter.
Sharpening garden tools might not sound like the most glamorous job in the world, but it pays you back in spades (pun intended). Not only do sharp tools make your work easier, but they also promote cleaner cuts, healthier plants, and a more polished look in your flowerbeds and borders. If you’re scratching your head about how exactly to get those blades back in tip-top shape, you’ve come to the right place.
In this detailed, step-by-step guide, we’ll explore How to Sharpen Garden Tools for Better Performance—from choosing the proper files and stones to mastering the correct angles and finishing touches. Ready to level up your gardening game? Let’s get rolling!
Why Bother Sharpening?
1. Less Strain, More Gain
A dull blade is like a moody teenager—resistant and downright exhausting. When your pruners, shovels, or hoes lose their edge, you end up working harder, pressing and pushing to achieve the same result. This not only tires you out but also increases the likelihood of accidents. A quick honing can switch your experience from sweaty slog to smooth operator.
2. Healthier Plants
Believe it or not, hacking away at a stem with a dull blade can leave ragged, uneven wounds that struggle to heal. Plants that suffer from such damage often become prime real estate for pests and diseases. Conversely, a clean cut means faster healing and healthier growth—so your garden remains vibrant, not riddled with brown edges or withered foliage.
3. Tool Longevity
They say, “If you take care of your tools, your tools will take care of you.” Regularly sharpening removes minor nicks, rust, and burrs, extending the life of your shovel, pruners, or hedge trimmers. Plus, routine maintenance often allows you to spot issues before they become catastrophes, like a loose handle or a bent shaft.
4. The Quiet Bragging Rights
Okay, so maybe you won’t go bragging at the family barbecue about your super-sharp garden shears. But there is a certain satisfaction in possessing well-maintained tools that reflect your pride and joy in gardening. It elevates the entire experience, making you feel more like a pro horticulturist rather than a reluctant weekend warrior.
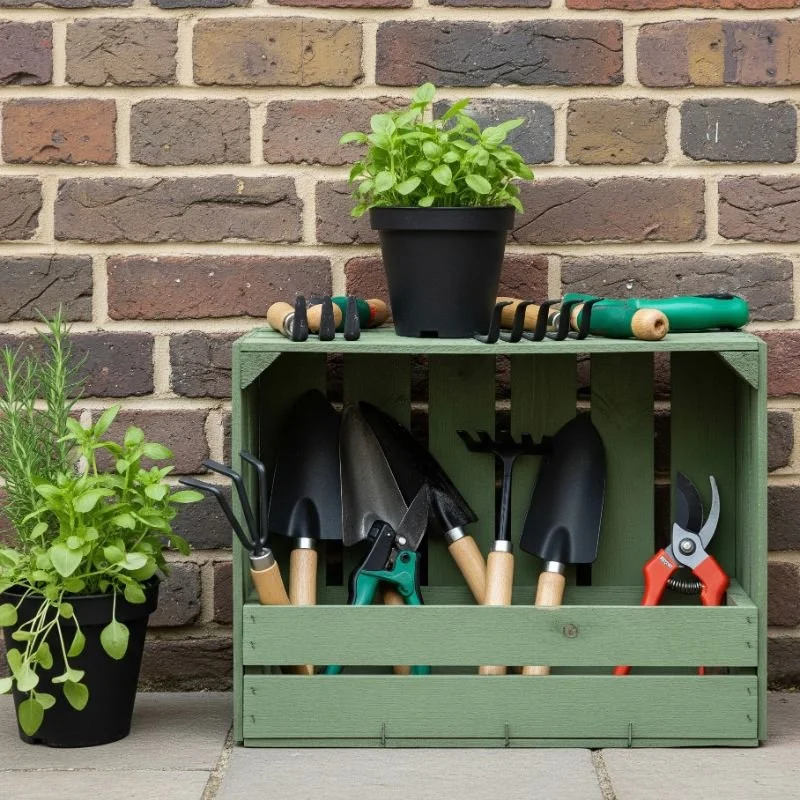
Tools You’ll Need to Get Your Garden Tools Sharp
Before plunging into the nitty-gritty of How to Sharpen Garden Tools for Better Performance, let’s gather your arsenal. No need to break the bank on fancy gizmos, but a few essentials ensure you do the job right:
Flat Mill File (Bastard File)
This is your go-to item for most garden tools like shovels, hoes, and spades. Aim for a file around 10-12 inches in length.
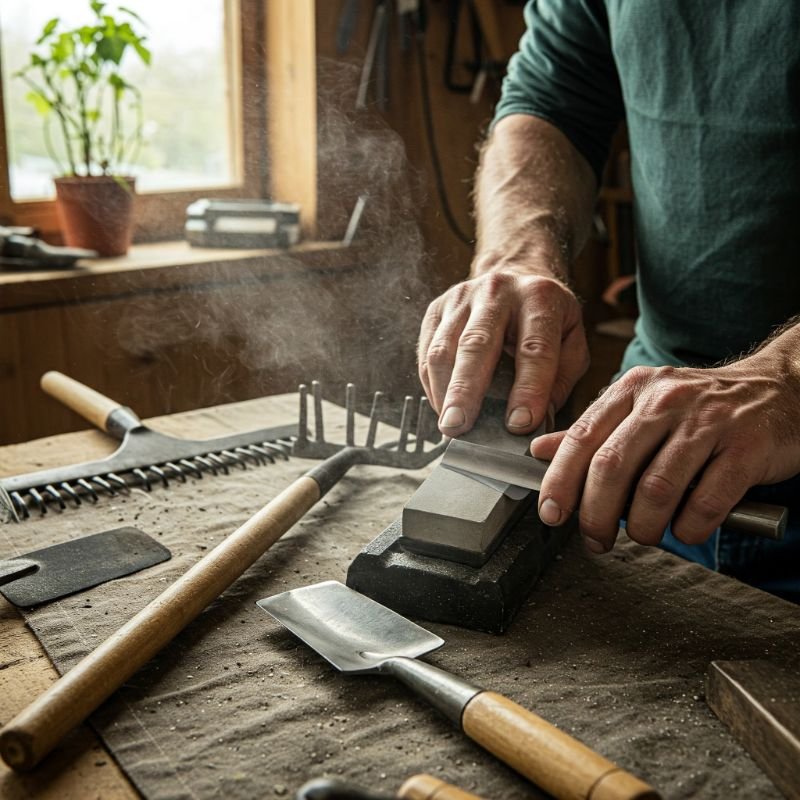
Sharpening Stone or Whetstone
Perfect for smaller, more delicate blades such as pruners, loppers, and even knives. A dual-grit stone (coarse on one side, fine on the other) adds versatility.
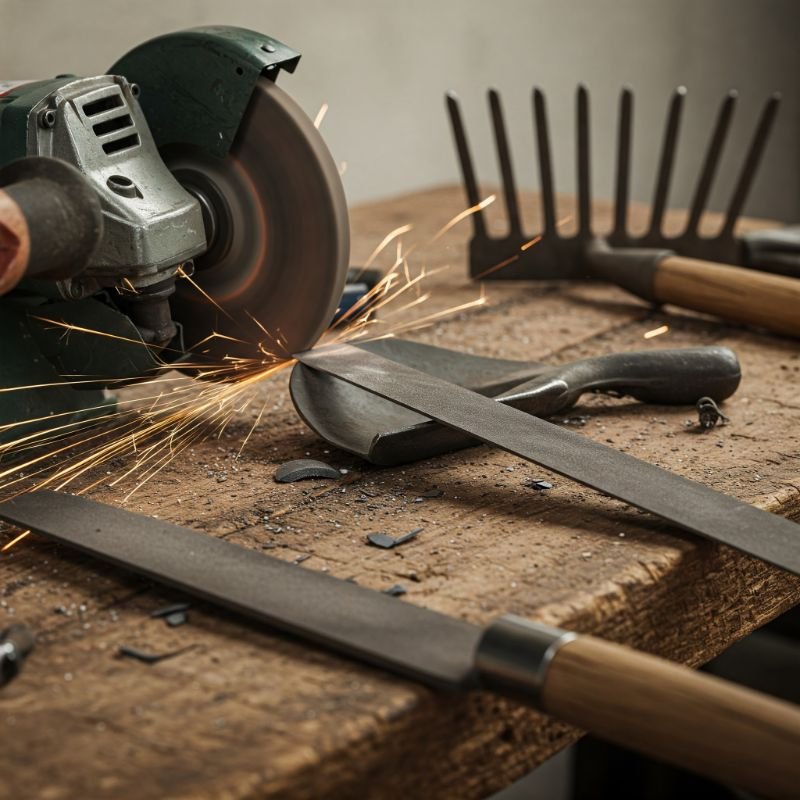
Bench Grinder (Optional)
If you have a mountain of seriously dull or chipped tools, a bench grinder could speed things along. But it requires a steady hand and some practice to avoid damaging the blade.
Wire Brush or Steel Wool
Helps remove rust or caked-on debris before you start filing or honing.
Lubricant/Oil
Use something like WD-40, 3-in-1 oil, or even household oil. Lubrication keeps the metal from overheating and prevents rust buildup.
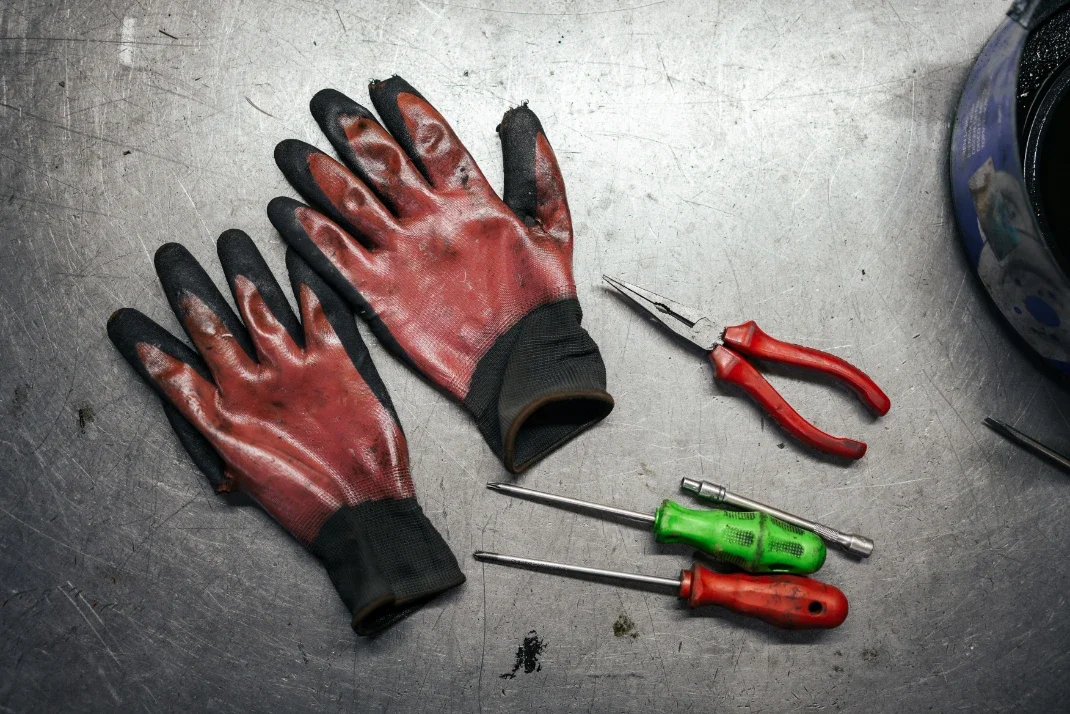
Protective Gear
Don’t skip safety, folks! Goggles (or safety glasses) to guard those peepers, and gloves to protect your digits from nicks or flying sparks (especially if you’re using a grinder).
Once you’ve got your lineup set, you’re well on your way to breezing through How to Sharpen Garden Tools for Better Performance with confidence
Step-by-Step Sharpening Guide
1. Prep Your Workspace
Find a Stable Surface: Whether it’s a workbench or a sturdy table, make sure you have good lighting and enough elbow room to maneuver.
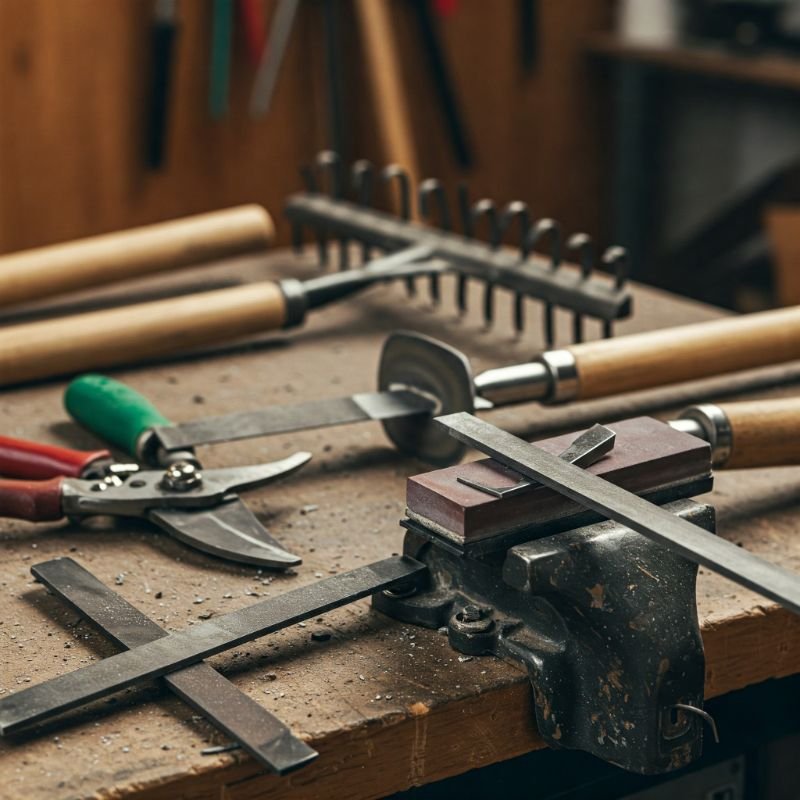
Clamp or Secure the Tool: If you’re sharpening larger tools like a shovel or hoe, clamp them in place so they don’t shift mid-file. Trust me, you don’t want your tool wiggling around like a caffeinated squirrel.
2. Clean and Inspect
Remove Dirt and Rust: A wire brush or steel wool can tackle caked-on soil and rust spots. If the tool is extremely gunked up, you might even soak it in warm, soapy water first.
Check for Damage: Look for cracks in wooden handles, broken hardware, or significant warping. If it’s severely damaged, you might need more than just a sharpening session.
3. Angle Awareness
Identify the Bevel: Most garden tools have an obvious bevel (the angled edge). Pay attention to it; your goal is to follow the original angle rather than creating a brand-new one.
Typical Angles: A shovel or hoe often sits around 30-45 degrees, while pruners and shears may sport sharper angles around 15-25 degrees.
4. File or Grind with the Correct Technique
Forward Strokes Only: When using a mill file, apply pressure on the forward stroke, lifting slightly on the return stroke. This method ensures even metal removal and avoids clogging the file.
Bench Grinder Tips (Optional): If you use a grinder, press gently, and move the blade consistently along the wheel. Pause frequently to avoid overheating, which can weaken the metal.
5. Deburr and Refine
Remove Burrs: After filing one side, you might notice a “burr” or tiny flap of metal on the blade’s edge. Flip the tool over and file lightly to remove it.
Hone with a Stone (If Needed): For extra precision on smaller blades (like pruners), use a whetstone. Apply a bit of oil or water (depending on the stone) and move the blade in a circular or sweeping motion along the stone.
6. Test the Sharpness
Paper Test: Lightly run the blade across a piece of paper. If it slices smoothly, you’re golden. If it tears or drags, you might need a few more strokes.
Visual Inspection: Look for a consistent, clean edge with no shiny spots or dull patches.
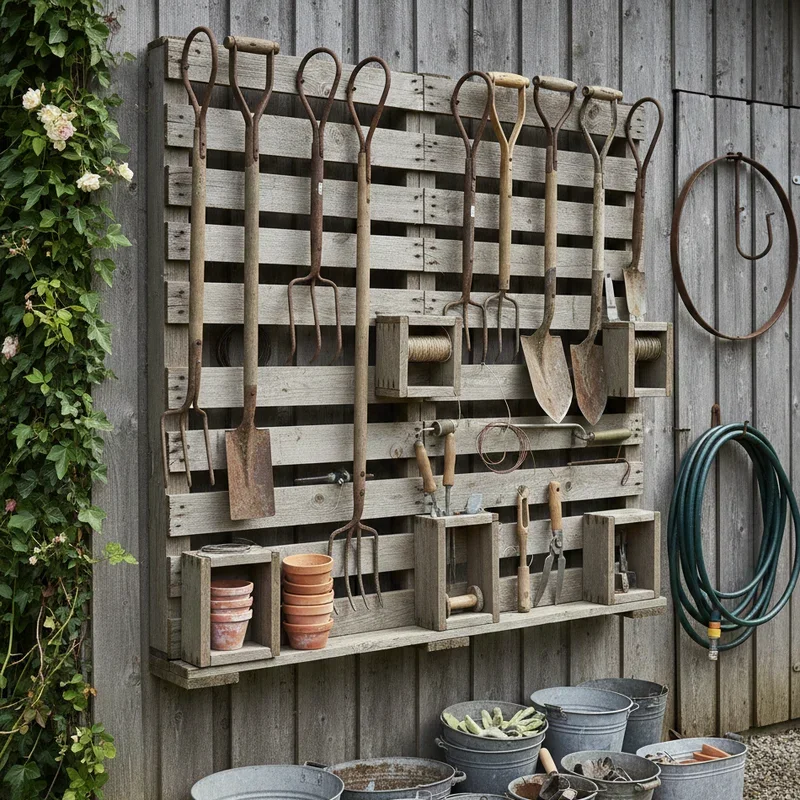
7. Protect and Store
Oil the Blade: Wipe your freshly sharpened tool down with a light coat of oil to prevent rust.
Choose Good Storage: Stash tools in a dry place, preferably hung up so the edges don’t get chipped or banged around.
And voilà—you’ve just mastered the main process of How to Sharpen Garden Tools for Better Performance. Give yourself a pat on the back or treat yourself to a fresh lemonade (or your beverage of choice)

Specific Tools, Specific Tricks
While the general method works for most garden implements, some tools crave a little extra TLC. Let’s break it down:
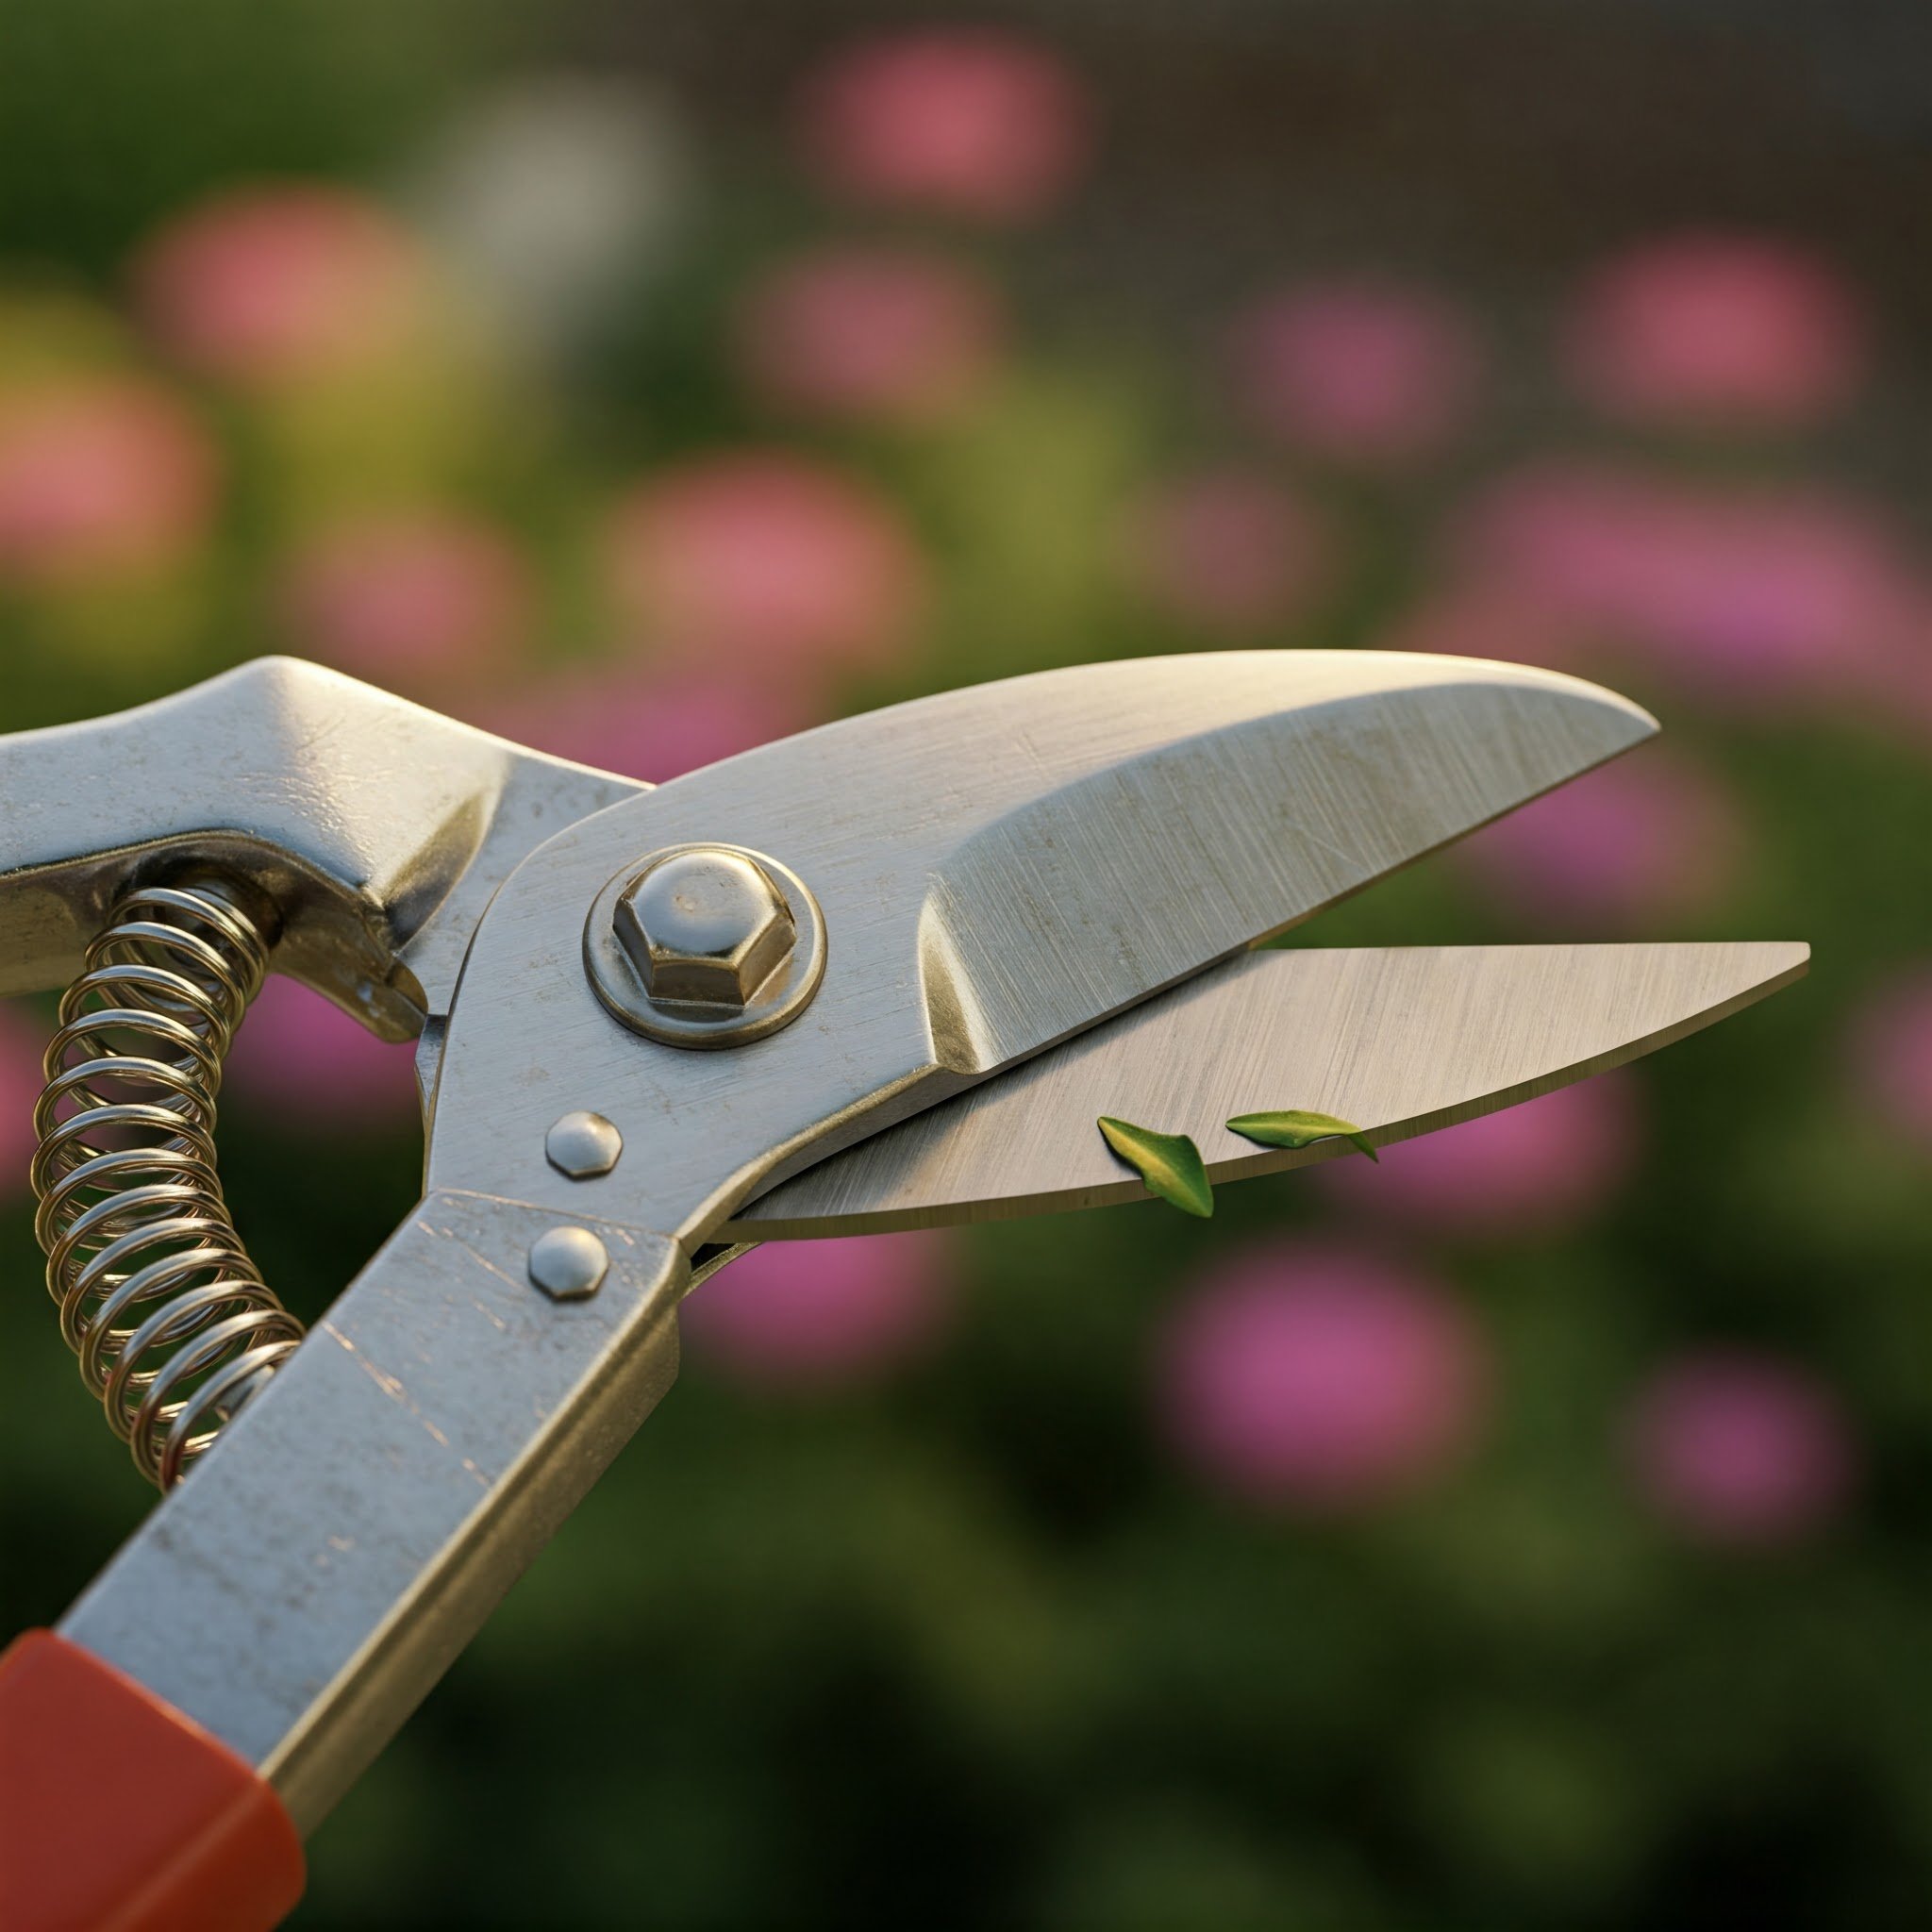
Pruners, Shears, and Loppers
Disassemble If Possible: Removing the pivot bolt can let you sharpen each blade independently, ensuring a thorough job.
One Blade at a Time: Often, one side (the cutting blade) has a bevel, while the other side (the anvil) is flat. Concentrate on the beveled side for maximum sharpness.
Shovels, Hoes, and Spades
Work the Leading Edge: Sharpen the edge that first contacts the ground or material. This is typically the outer curve on a shovel or the bottom edge on a hoe.
Maintain a Moderate Angle: Aim for about 35 degrees. Too steep can create a fragile edge that chips easily, while too shallow might dull quickly in tough soil.
Axes, Hatchets, and Machetes
Heavier Material Removal: These are bigger, thicker blades. A grinder can expedite the process.
Focus on Symmetry: Axes need an even bevel on both sides for stable chopping. Machetes might have a single bevel, depending on design.
Avoiding Common Mistakes
Who hasn’t rushed through a project, only to realize they goofed up along the way? Let’s sidestep a few typical blunders:
Forgetting to Clean: Filing a rust-caked blade can embed debris in your file or grinder, wearing it out and leaving your blade patchy.
Overzealous Filing: Removing too much metal shortens your tool’s lifespan. A few controlled strokes usually do the trick.
Ignoring Handle Issues: A super-sharp blade with a rickety handle is a recipe for disaster. Check your handles, tighten screws or rivets, and replace if necessary.
Skipping Safety Gear: Eye protection, folks—seriously. A tiny shard of metal in your eye can ruin your day faster than you can say “Where’s the nearest ER?”
Not Testing Sharpness: Don’t guess—do the paper test or prune a small twig. It’s the only surefire way to confirm you’re on track.
Maintenance Frequency
Now you know how to sharpen them, but how often should you do it? The answer: it depends on usage. If you’re out in the garden daily trimming, pruning, or transplanting, you might want a quick touch-up every couple of weeks. More casual gardeners might only need a major sharpening session at the start and end of each season.
Light Use: Inspect monthly, sharpen seasonally or as needed.
Heavy Use: Inspect weekly, sharpen every few uses.
Off-Season Storage: Give everything a thorough sharpening and oiling before putting tools to rest for winter.
Pro Tips for Keeping Tools Sharp Longer
Clean After Each Use
Wash off sap, dirt, or moisture. Letting grime fester leads to corrosion and dull edges.
Dry Thoroughly
Even stainless steel tools can rust if left damp. Pat them dry or let them air-dry in a well-ventilated spot.
Use Sheathes or Blade Guards
If your pruners or saws came with a protective cover, use it! Protecting the edges in storage keeps them from clinking against other metal.
Mind the Soil
Yes, shovels and hoes go into the dirt, but hard rocks, gravel, or concrete edges can nick the blade. Be mindful of contact with extra-tough surfaces, and sharpen after especially rigorous tasks.
Store Responsibly
Hang tools on pegboards or store them in a garage or shed. Damp basements or rainy corners of the yard are a surefire way to invite rust.
Conclusion
Congratulations—you’re now primed to handle How to Sharpen Garden Tools for Better Performance like a total boss! If you follow these steps and tips, you’ll find your pruning, digging, hoeing, and snipping adventures become a lot more enjoyable—and a lot less sweaty. No longer will you battle stubborn branches that refuse to be trimmed or fling dirt haphazardly because your shovel’s edge is as blunt as a doorknob.
Keep in mind that sharpening isn’t a one-and-done activity. Regular maintenance is key if you want your tools to consistently deliver crisp, clean cuts. So don’t toss your file in a dusty corner and forget about it. Make sharpening a part of your gardening routine—maybe once a month, or whenever you notice your tools struggling—and you’ll be rewarded with better plant health, fewer headaches, and a deeper sense of satisfaction in your gardening prowess.
So go forth, gather your gear, and show those dull edges who’s boss. Because every gardener deserves to wield tools that work as hard as they do. Trust me, once you get a taste of how it feels to slice through stems like butter, you’ll wonder how you ever endured the drag and pull of a dull blade in the first place. Here’s to sharper tools—and a sharper garden game!
Read next: How to Sharpen Garden Shears with Simple Steps
Frequently Asked Questions
1. Can I sharpen serrated blades?
Serrated edges (like on some pruning saws) often need a special round file or a triangular file that fits each gullet between the teeth. It’s trickier than sharpening a flat edge, so if you’re unsure, you might consult a professional or check the manufacturer’s guidelines.
2. Is there a difference between using oil or water on a whetstone?
Yes, some stones are designed for water, while others are labeled as oil stones. Always follow the manufacturer’s recommendation—using the wrong fluid can clog or damage the stone.
3. Do I need to buy expensive diamond stones or fancy sharpeners?
Not necessarily. Basic sharpening stones and files work well for most garden tools. Diamond stones are more durable and can be faster, but they’re not mandatory unless you’re sharpening particularly tough metals or you simply prefer the upgrade.
4. What if my tool has a coating on the blade?
Some tools come with protective coatings or Teflon-like finishes. Sharpening these edges might remove that coating near the blade. It’s usually not a big deal, but note that the uncoated edge could be more prone to rust if left unprotected.
5. How can I tell if I’m sharpening at the correct angle?
You might notice tiny metal filings (steel dust) as you file. If they’re evenly distributed along the bevel and you’re not creating a second, unintentional angle, you’re likely on track. For perfectionists, angle guides or jigs can help maintain consistency.