How to Prune Butterfly Bush: Step-by-Step Guide
Want abundant blooms that dazzle all summer? Discover “How to Prune Butterfly Bush: Step-by-Step Guide” to keep your shrubs vibrant, healthy, and irresistible to pollinators—without the fuss or confusion.
Raise your hand if you’ve ever watched a horde of butterflies flutter around your garden with wide-eyed wonder. If you’re nodding fervently, you’ve probably got at least one butterfly bush (Buddleia) in your yard—or you’re planning to plant one stat. Known for their head-turning, cone-shaped flower clusters, butterfly bushes act like sweet nectar magnets for pollinators, from monarchs to hummingbirds. But here’s the kicker: if you want those bushes to keep churning out glorious blooms, you’ve got to prune them regularly.
Cue the sighs (or maybe the excited squeals) because pruning can be a mixed bag of dread and delight. Some folks can’t wait to shape their shrubs; others quake at the thought of accidentally butchering their beloved plants. Fear not! In this easy-to-follow piece, we’ll explore How to Prune Butterfly Bush: Step-by-Step Guide so you can snip, clip, and shape your shrubs without fear of fiasco. By the end, you’ll understand the best times to prune, the essential tools you’ll need, and insider tips to keep your butterfly bush thriving, not just surviving.
So, grab your favorite pair of gardening shears, slip on a pair of gloves, and let’s set the record straight on butterfly bush pruning. We’ll cover:
The whys and whens of pruning
Top do’s and don’ts
A detailed, step-by-step procedure
FAQs and final thoughts to ensure you prune like a pro
Ready to dive in? Let’s get to it!
Why Prune a Butterfly Bush in the First Place?
1. Encourage More Blooms
Seriously, who doesn’t want an endless parade of blossoms? Butterfly bushes typically flower on new wood, which means pruning them encourages fresh growth that’s primed to produce those gorgeous, nectar-filled spires. Neglect pruning, and your bush can grow leggy, produce fewer blooms, and generally look a bit like it’s given up on life.
2. Promote Healthy Growth
Cutting back old or damaged branches breathes new life into the plant, helps prevent diseases, and improves air circulation around the center. Think of pruning as a minor “surgery” that removes the unproductive limbs so the plant can focus on pumping nutrients into healthy new shoots.
3. Shape and Size Control
While some gardeners appreciate a wild, free-form look, others prefer a more contained, sculpted shape. Since butterfly bushes can grow quite large (we’re talking 5 to 10 feet, sometimes more!), pruning helps maintain a manageable size—so you don’t end up with a backyard jungle.
4. Reduce Self-Seeding
Many butterfly bush varieties, especially older cultivars, can be invasive in certain regions, dropping seeds all over the place. Pruning before the seed pods mature lessens the chance of these self-seeded offspring popping up in unwanted areas (or, worse, escaping into local ecosystems).
When Is the Perfect Time to Prune?
1. Early Spring vs. Late Winter
Butterfly bushes are typically pruned in late winter or very early spring, right when the plant is still dormant or just about to break dormancy. Why then? Because pruning late in the dormant season ensures you’re clipping the older, unproductive wood before the new growth truly kicks in. If you wait until mid-spring, you might chop off promising new shoots and hamper your flower show.
2. Consider Climate Factors
Gardeners in colder zones (like USDA zones 5-6) might want to wait until the worst frosts have passed, ensuring you’re not snipping away any winter-killed wood that can protect the plant from temperature swings. Warmer-zone folks (zones 7-9) can afford to prune a bit earlier, though you still might want to avoid going too gung-ho if a sudden cold snap is in the forecast.
3. Is Summer Pruning Ever Okay?
Sometimes, you can do a light “tidy-up” in summer if you notice faded blooms turning into unsightly seed heads. This is more of a deadheading exercise than a full prune, though, so keep the big chop for those dormant or pre-growth months.
Tools of the Trade
Before you learn How to Prune Butterfly Bush: Step-by-Step Guide, let’s chat about gear. You’ll need a few staples to get the job done right.
Pruning Shears (Hand Pruners)
Great for smaller branches, typically up to half an inch in diameter. Look for high-quality, sharp blades to avoid ragged cuts.
Loppers
For branches thicker than half an inch, or if you’re dealing with an older, woodier butterfly bush that demands more muscle.
Pruning Saw (Optional)
Useful if you’re tackling super thick, old trunks—though this scenario is less common unless you’ve allowed your bush to go feral for several years.
Gloves
Thornless though they may appear, butterfly bushes can still be a bit scratchy. Gloves also shield your hands from sap and possible allergens.
Disinfectant
A 10% bleach solution or household disinfectant can help keep your tools clean between cuts—especially if your bush has shown any sign of disease.
How to Prune Butterfly Bush: Step-by-Step Guide
Step 1: Scope Out Your Shrub
Begin by simply observing. Walk around your butterfly bush, noting any dead, damaged, or diseased branches—these will be prime candidates for removal. Look for suspicious canes that appear brittle, are discolored, or have no green under the bark layer if you nick it slightly with your thumb.
Step 2: Grab Those Tools
Ensure your shears are sharp and clean. Dull blades can crush stems rather than slice them, increasing the risk of infection. If your shears or loppers have been lying in the shed all winter, give them a quick sharpening and disinfecting.
Step 3: Remove Dead and Damaged Wood First
Using your pruning shears, snip dead branches at their base, aiming to cut about a quarter-inch above a healthy bud or branch junction.
If you encounter large, gnarled stems, break out the loppers.
Make clean, angled cuts, which help water run off and minimize rot.
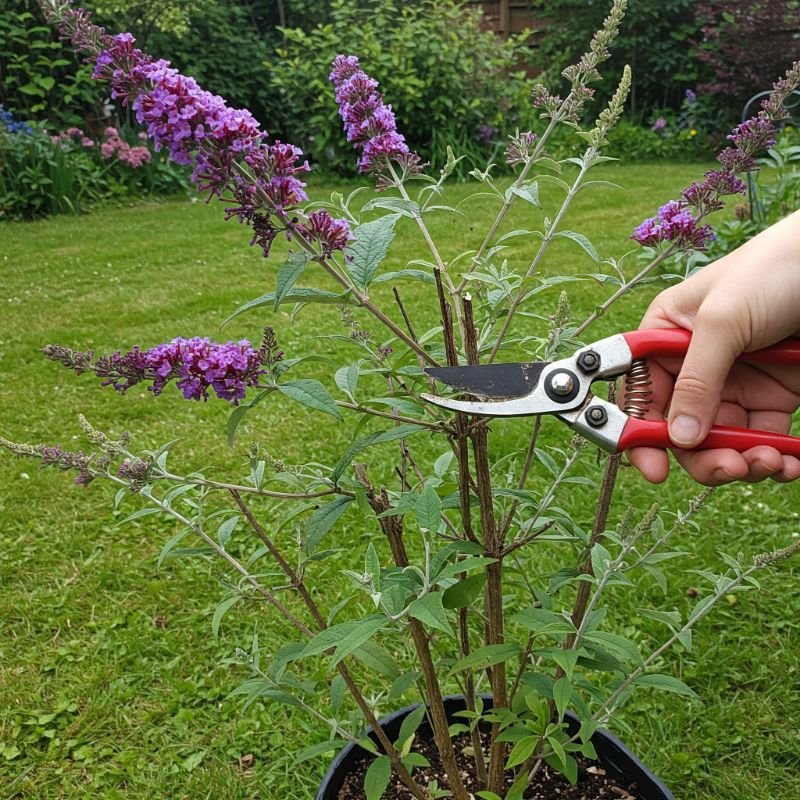
Step 4: Determine the Ideal Height
Depending on personal preference, you can trim your butterfly bush down to anywhere from 12 inches above ground to about half its existing height. For many folks, a mid-level chop (around waist height) balances robust new growth with manageable size.
Step 5: Make Your Cuts
Pick a point above a healthy outward-facing bud (a small bump where new leaves will sprout).
Angle your cut so moisture doesn’t pool on the cut surface.
Avoid leaving long “stubs” of wood above buds, as these can invite disease and look pretty awkward.
Step 6: Thin Out Crowded Stems
Butterfly bushes often produce multiple canes from the base. If your bush looks like a thatch of stems, consider removing a few at the ground level—especially older, unproductive canes—to boost airflow. You’ll also help new canes see the light of day, leading to a fuller but not overcrowded shape.
Step 7: Clean Up and Mulch
Rake up and dispose of trimmings—especially if any branches showed disease. You don’t want that creeping back into the soil.
Consider applying a layer of organic mulch around the base to help retain moisture and moderate soil temperature. Just keep the mulch a couple of inches away from the trunk to deter rot.
Step 8: Pat Yourself on the Back (and Watch the Show!)
Seriously, well done! Now comes the fun part: wait for those new shoots to emerge and bless you with an explosion of blooms by mid to late summer. Keep an eye on watering and fertilizing as your butterfly bush recovers from its haircut.
Pruning Variations Based on Butterfly Bush Type
While the general steps are similar, the extent of pruning can vary slightly depending on which type of butterfly bush you’re growing. Let’s explore:
Dwarf Varieties (e.g., ‘Lo & Behold’ series)
These smaller cultivars typically max out at 2-3 feet. You can be less aggressive with your trimming—maybe just remove spent blooms and shape lightly to maintain a compact look.
Large Varieties (Classic Buddleia davidii)
These can become lanky if left unchecked, easily surpassing 6-8 feet. Don’t be shy about cutting them back by half (or more) each spring to keep them from overshadowing neighboring plants.
Sterile Hybrids
Some newer hybrids produce fewer seeds or are sterile, reducing their invasive potential. Pruning remains essential for shape and maximizing blooms, but you might not need to worry as much about removing spent flowers to prevent self-seeding.
Tips and Tricks for Best Results
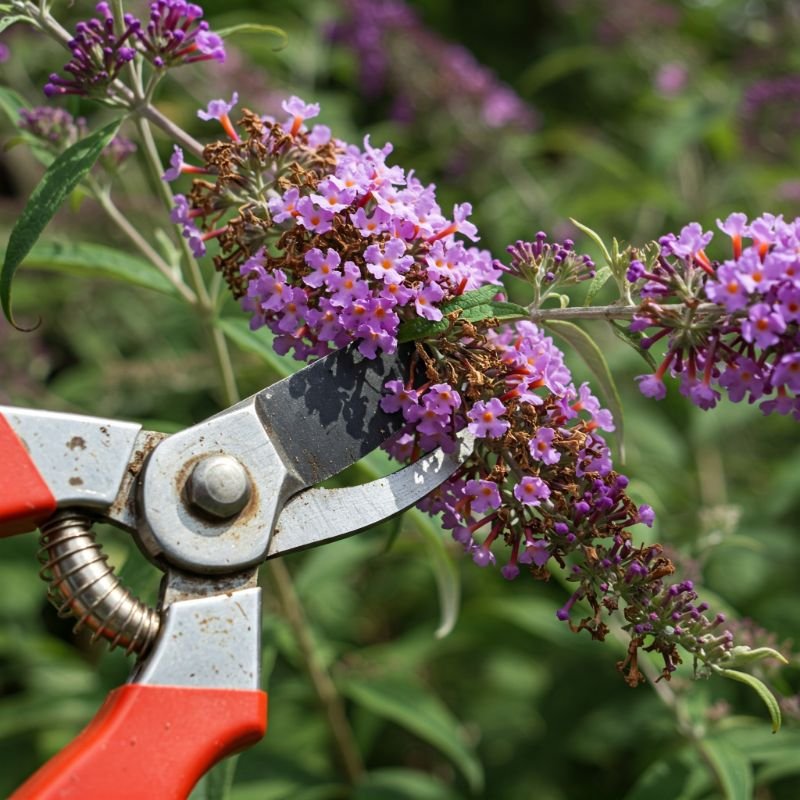
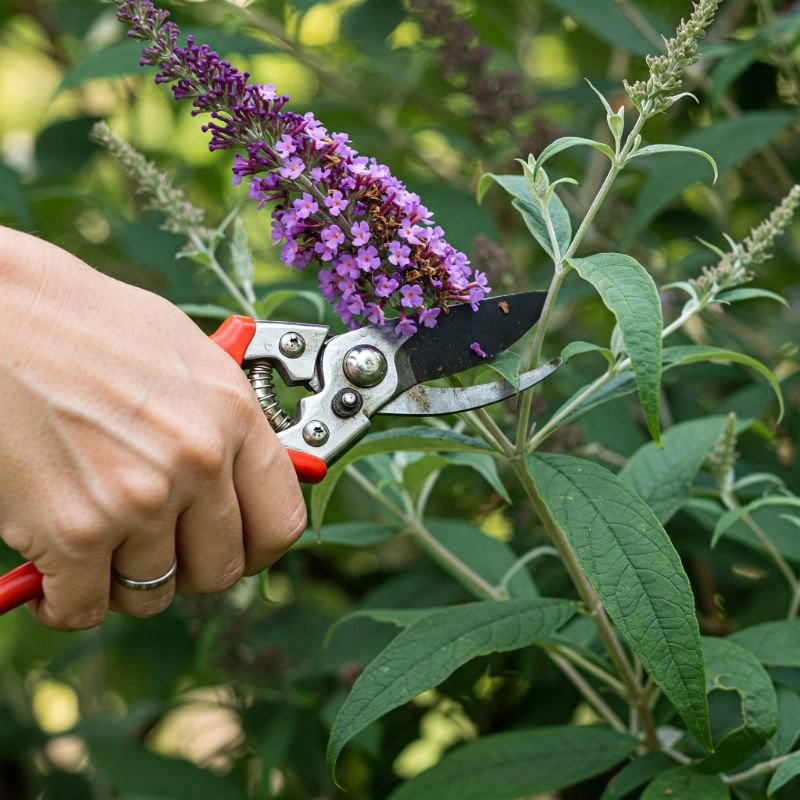
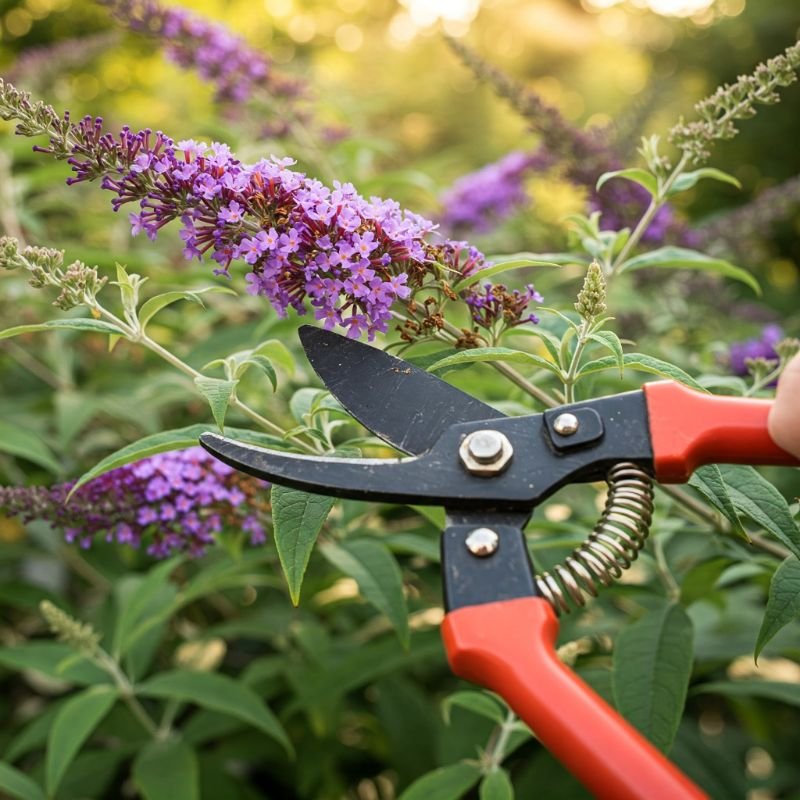
Deadhead Spent Blooms: Once your bush starts flowering, snip off withered blossoms. This often encourages a second (or even third) flush of blooms, stretching the color show deeper into the season.
Water Wisely: Post-prune, keep the soil consistently moist (but not waterlogged) to help your plant bounce back. A stressed or thirsty shrub can delay new growth.
Fertilize Modestly: A light application of a balanced, slow-release fertilizer in spring can give your butterfly bush the nutrients it needs. Go easy, though. Overdoing it can lead to leggy, weak growth instead of bountiful blooms.
Watch for Pests: Butterfly bushes are relatively low-maintenance, but spider mites or whiteflies can occasionally pop up. Inspect leaf undersides and new shoots. Early detection and appropriate treatments can keep your plant healthy.
Protect in Harsh Winters: In colder zones, you may want to mulch heavily around the base after pruning to insulate the roots. Some folks even leave a bit more top growth over winter to shield the crown from snow or ice.
Conclusion
Pruning might sound like an intimidating chore, but hopefully, this detailed “How to Prune Butterfly Bush: Step-by-Step Guide” has transformed it from scary to straightforward. Whether you’re gunning for a tidy shape, a bumper crop of blossoms, or a combination of both, a few thoughtful cuts at the right time can do wonders for your butterfly bush’s overall health and wow factor.
Remember: timing is everything—late winter or early spring is prime. Focus on removing dead or damaged wood first, then dial in the shape and height that floats your boat. Keep your eyes peeled for new shoots and—once those blooms appear—consider deadheading to prolong your bush’s color parade. With a little love and a few well-aimed snips, you’ll soon have pollinators and neighbors alike flocking to your yard, cheering on your thriving, gorgeous butterfly bush.
So go forth, brandish your pruning shears with confidence, and let your butterfly bush become the crown jewel of your garden. After all, a plant named “butterfly bush” deserves no less than a star performance, right?
Read next: 15 Deer Resistant Bushes for a Stunning Landscape
Frequently Asked Questions
1. Can I prune my butterfly bush in the fall?
While some gardeners do a light fall trim to tidy up, it’s generally better to hold off the big cuts until late winter or early spring. Fall pruning can stimulate fresh growth that may be damaged by frosts.
2. My butterfly bush looks dead in early spring—is it gone for good?
In colder regions, the top growth of Buddleia might appear lifeless after a harsh winter, but the roots can still be alive and kicking. Wait until temperatures warm up and see if new shoots emerge from the base.
3. Is it possible to prune butterfly bush too much?
Technically, yes—if you cut it down to the ground (like, below 6 inches) each year, you might get fewer blooms. But butterfly bushes can handle pretty aggressive pruning. If you’re worried, aim for about 12 inches from the ground as a comfortable “basal pruning” height.
4. Are there any buddleia varieties that don’t need pruning?
All buddleia benefit from some pruning. Even dwarf or sterile varieties appreciate a little snip-snip now and then to promote fresh growth and maintain shape.
5. How do I handle a butterfly bush that’s become overgrown and woody?
If your plant has morphed into a tangled monstrosity, consider a rejuvenation prune—cut it back severely in early spring (down to 12-24 inches). You might sacrifice some blooms the first year, but the subsequent regrowth is often healthier and more floriferous.


