How to Repair a Garden Hose Quickly and Easily
Master how to repair a garden hose quickly and easily with our step-by-step guide. Fix leaks, cracks, and breaks in minutes!
Ah, the dreaded moment when you're all set to water your prized tomatoes, only to discover your trusty garden hose has decided to throw in the towel! Water's spraying everywhere except where you need it, and frankly, it's enough to make anyone want to toss the whole thing in the trash. But hold your horses there, friend! Before you march off to the hardware store with your wallet in hand, let's talk about something that'll save you both time and money.
You see, most garden hose problems are actually pretty straightforward to fix, and you don't need to be some kind of plumbing wizard to tackle them. Whether you're dealing with annoying pinhole leaks, stubborn cracks, or even a completely severed hose, there's usually a simple solution that'll have you back to watering in no time. Learning How to Repair a Garden Hose Quickly and Easily isn't just about fixing today's problem; it's about becoming the kind of person who doesn't panic when things go sideways in the garden. So grab a cup of coffee, and let's dive into this surprisingly satisfying world of hose repair!
Understanding Common Garden Hose Problems
The Usual Suspects
Before we jump into the fix-it fun, it's worth knowing what you're up against. Garden hoses are tougher than they look, but they're not invincible. Over time, exposure to UV rays, temperature swings, and general wear and tear can create all sorts of headaches.
The most common culprits include tiny pinhole leaks that create those annoying little fountains, larger splits or cracks that turn your hose into a makeshift sprinkler system, and connection problems where the hose meets the spigot or nozzle. Sometimes you'll even find that the metal fittings have given up the ghost, leaving you with a perfectly good hose that just won't connect to anything.
Understanding these issues upfront helps you diagnose problems faster and choose the right repair method. After all, there's no point trying to patch a tiny hole with a coupling repair kit, right?
Essential Tools and Materials for Hose Repairs
Your Repair Arsenal
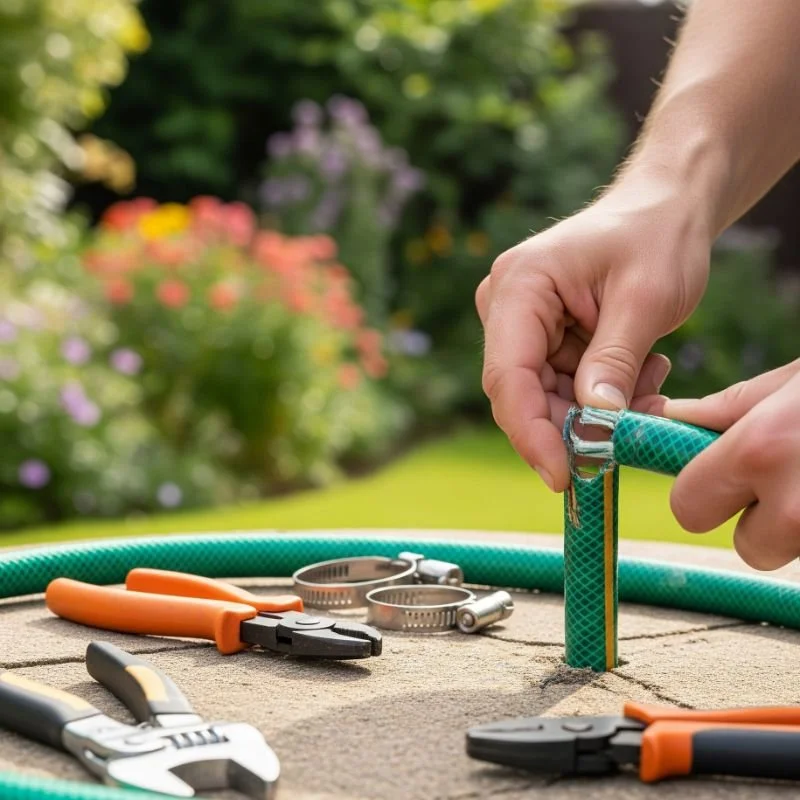
Good news! You won't need a workshop full of fancy tools to tackle most hose repairs. Here's what should be in your repair toolkit:
Basic Tools:
Sharp utility knife or hose cutter
Screwdriver (flathead and Phillips)
Pliers (needle-nose work great)
Measuring tape
Permanent marker
Clean rags or paper towels
Repair Materials:
Hose repair couplings (various sizes)
Hose clamps or jubilee clips
Electrical tape (waterproof variety)
Rubber cement or hose sealant
Replacement end fittings
Self-amalgamating tape
Most of these items are pretty inexpensive and can be found at any hardware store. The beauty of having them on hand is that you'll be ready for action when disaster strikes, instead of having to make an emergency run to the store while your garden wilts in the heat.
Quick Fixes for Minor Leaks and Pinholes
The Band-Aid Approach
Sometimes the simplest solutions are the most effective, and that's definitely true when dealing with small leaks. If you've got a tiny pinhole that's turning your hose into a mini water feature, don't despair! These quick fixes can buy you time or even provide a permanent solution.
For really small holes, a piece of waterproof electrical tape wrapped tightly around the damaged area often does the trick. Make sure the hose is completely dry first, then wrap the tape several times, overlapping each layer by about half its width. Press firmly to ensure a good seal.
Another neat trick involves using self-amalgamating tape, which bonds to itself and creates a waterproof seal. This stuff is fantastic because it stretches as you wrap it, conforming perfectly to the hose's shape. It's a bit more expensive than regular tape, but it's definitely worth having in your repair kit.
For slightly larger holes, a dab of rubber cement followed by a patch of tape can work wonders. Just clean the area thoroughly, apply the cement, let it get tacky, then apply your tape patch. It's not the prettiest fix, but it'll keep you watering until you can make a more permanent repair.
How to Repair a Garden Hose Quickly and Easily Using Coupling Methods
The Professional Approach
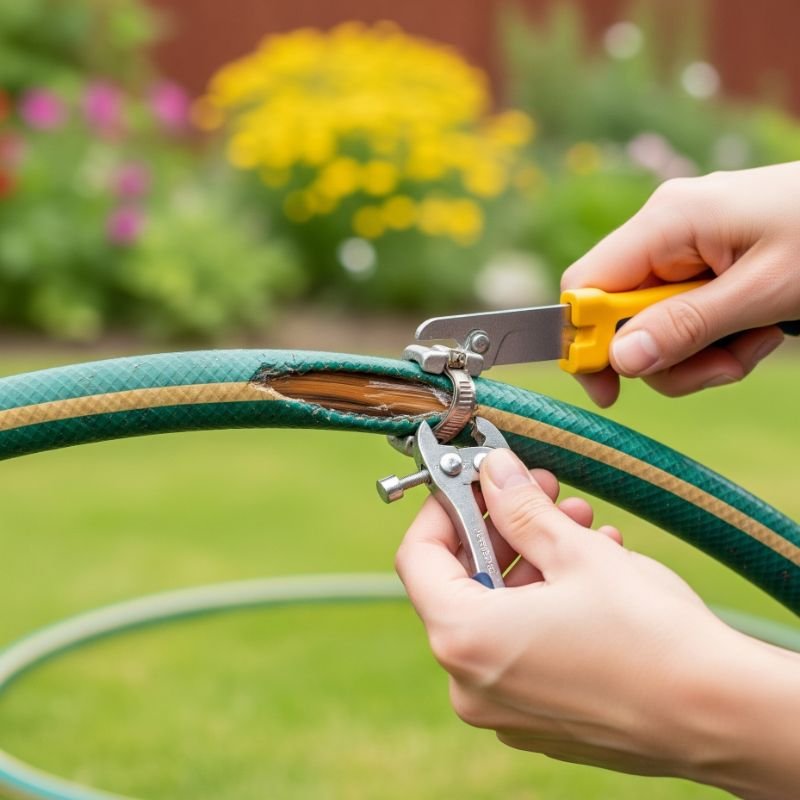
When your hose has a significant tear or crack, it's time to bring out the big guns. Hose repair couplings are your best friend here, and they're surprisingly easy to use once you get the hang of it.
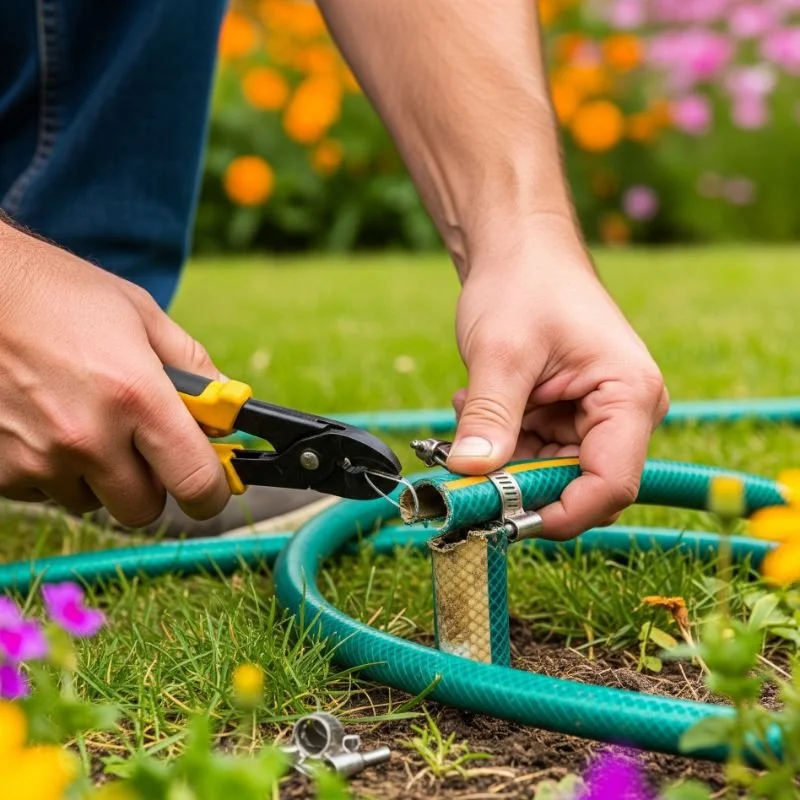
Start by cutting out the damaged section completely. Use a sharp utility knife or proper hose cutter to make clean, straight cuts on both sides of the damage. Ragged cuts make it harder to get a good seal, so take your time with this step.
Next, you'll insert the coupling into both ends of the cut hose. These fittings usually have barbed ends that grip the inside of the hose, plus clamps that secure everything from the outside. Push the coupling firmly into each hose end until it's fully seated, then position the clamps over the connection points and tighten them down with a screwdriver.
The key to success here is making sure everything's properly aligned before you tighten the clamps. A crooked connection is a leaky connection, and nobody wants that hassle.
Fixing End Connection Problems
When the Ends Don't Meet
There's nothing more frustrating than a hose that won't connect properly to your spigot or spray nozzle. Usually, this happens because the threaded fitting has gotten damaged, cross-threaded, or simply worn out from years of use.
If the threads are just a bit rough or dirty, sometimes a good cleaning with a wire brush and some penetrating oil can work wonders. Remove any dirt, calcium buildup, or rust that might be preventing a proper connection.
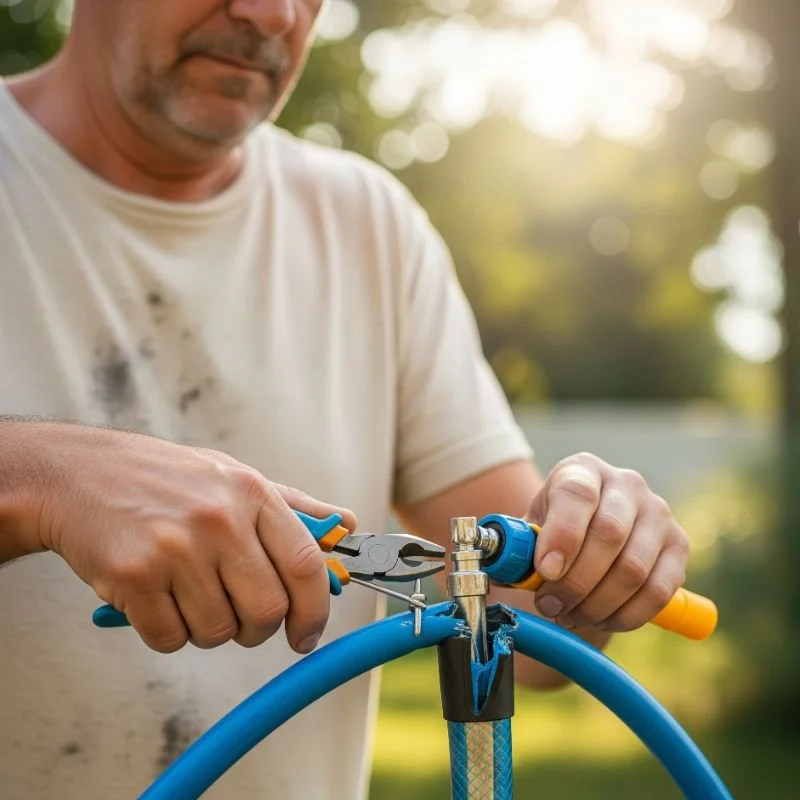
When the fitting is beyond cleaning, you'll need to replace it entirely. Cut off the old fitting with about an inch of hose, then attach a new male or female end fitting using the same coupling technique we discussed earlier. These replacement fittings are inexpensive and can extend your hose's life by years.
Pro tip: When installing new end fittings, wrap the threads with plumber's tape before connecting to your spigot. This creates a better seal and makes future disconnections much easier.
Advanced Repair Techniques for Severe Damage
When Things Get Serious
Sometimes your hose takes a real beating, and simple patches just won't cut it. Maybe the dog decided it looked like a chew toy, or perhaps you accidentally ran over it with the lawnmower. Don't worry; even severe damage doesn't necessarily mean it's time for a new hose.
For multiple tears close together, your best bet is often to cut out the entire damaged section and install a coupling. This might shorten your hose a bit, but it's better than dealing with multiple leak points that'll just cause problems down the road.
If you're dealing with a hose that's been kinked repeatedly in the same spot, you might notice permanent deformation or cracking. These areas are weak points that'll eventually fail, so it's worth addressing them proactively. Cut out the damaged section and couple the remaining pieces together for a repair that'll last.
For hoses with damaged outer layers but intact inner tubes, you can sometimes wrap the affected area with multiple layers of self-amalgamating tape to provide protection and prevent further deterioration.
Preventive Maintenance Tips
An Ounce of Prevention
Learning How to Repair a Garden Hose Quickly and Easily is great, but wouldn't it be even better to avoid problems in the first place? A little preventive care goes a long way toward extending your hose's lifespan.
First and foremost, always drain your hose completely before storing it, especially in freezing weather. Water left inside can freeze and expand, creating splits and cracks that'll ruin your day come spring. Coil your hose properly too; tight kinks create stress points that weaken over time.
Keep your hose out of direct sunlight when possible. UV rays gradually break down the rubber compounds, making the material brittle and prone to cracking. If you must leave it out, consider investing in a hose with UV-resistant coating.
Inspect your hose regularly for signs of wear. Catching problems early means you can fix them before they become major headaches. Look for soft spots, bulges, or areas where the outer layer is wearing thin.
Choosing the Right Repair Method
Matching the Fix to the Problem
Not every repair situation calls for the same solution, and choosing the right approach can mean the difference between a fix that lasts and one that fails next week. Here's how to match your repair method to the specific problem you're facing.
For tiny pinholes and minor surface damage, tape-based repairs often work perfectly and can last for years. They're quick, cheap, and don't require cutting your hose.
Medium-sized tears and cracks usually call for coupling repairs. While this involves cutting your hose, the result is often stronger than the original and provides a permanent solution.
Multiple problems close together, or damage near existing repairs, often indicate it's time to replace that section entirely rather than trying to patch things up again.
Connection problems almost always require replacement fittings. While you might be tempted to try threading tape or other workarounds, a proper fitting replacement is usually the most reliable long-term solution.
When to Replace vs. Repair
Knowing When to Call It Quits
Sometimes being handy means knowing when not to bother with repairs. While most hose problems can be fixed, there are situations where replacement makes more sense than repair.
If your hose has multiple repair sites already, adding another one might make it more trouble than it's worth. Each repair creates a potential weak point, and a hose with several patches is likely to develop new problems.
Hoses that are extremely old or have been stored improperly might have deteriorated beyond practical repair. If the rubber feels hard and inflexible, or if you notice cracking in multiple locations, it might be time to invest in a replacement.
Consider the cost factor too. If repair materials cost nearly as much as a new hose, especially for a shorter or lower-quality hose, replacement might be the smarter choice.
Seasonal Hose Care and Storage
Keeping Your Investment Safe
Proper seasonal care can dramatically extend your hose's lifespan and reduce the need for repairs. As winter approaches, it's crucial to prepare your hoses for storage properly.
Start by disconnecting all hoses from spigots and nozzles. Drain them completely by holding one end high while walking the length of the hose to force out trapped water. Even small amounts of water can cause freeze damage.
Store hoses in a location where they won't freeze. A garage, basement, or shed usually works well. Avoid storing them where they'll be compressed under heavy objects or bent at sharp angles.
Before first use each spring, inspect your hoses carefully for any damage that might have occurred during storage. It's much easier to fix problems before you need to use the hose than to discover them when you're trying to water your garden.
Cost-Effective Repair Strategies
Stretching Your Dollar
Hose repairs don't have to break the bank, and with smart planning, you can keep your repair costs minimal while maximizing effectiveness.
Buy repair supplies in bulk when possible. Hose clamps, couplings, and fittings are much cheaper when purchased in multi-packs, and you'll use them eventually anyway.
Consider generic or store-brand repair supplies. While premium brands might offer slight advantages, basic repair components usually work just as well at a fraction of the cost.
Learn to repurpose materials you already have. Sometimes a temporary repair using household items can buy you time to find proper repair supplies on sale.
Keep track of which repairs work well for your specific hoses and conditions. This knowledge helps you make better repair choices and avoid methods that don't hold up in your situation.
Conclusion
Mastering hose repairs isn't rocket science, but it's definitely one of those skills that'll make you feel pretty darn accomplished when you pull it off. Whether you're dealing with a tiny leak or a major break, the techniques we've covered will handle most situations you're likely to encounter. Remember that patience and the right materials matter more than fancy tools or years of experience. With a basic repair kit and this knowledge in your back pocket, you'll never again have to cut short a gardening session because of hose troubles!
Read next: What Size Is a Garden Hose Fitting? A Guide
Frequently Asked Questions
1. How long should a hose repair typically last?
A properly done coupling repair should last several years or more.
2. Can I repair a hose that's been run over?
Yes, if the damage is localized; cut out damaged section completely.
3. What's the strongest type of hose repair?
Coupling repairs with quality clamps provide the most durable long-term solution.
4. Is it worth repairing cheap hoses?
Generally no; repair costs often exceed replacement cost for inexpensive hoses.
5. Can I use duct tape for hose repairs?
Temporarily yes, but waterproof electrical tape or self-amalgamating tape works better.


