How to Build a DIY Wood Box Planter Step by Step
Learn how to build a DIY wood box planter step by step with our detailed guide. Transform your garden with custom wooden planters today!

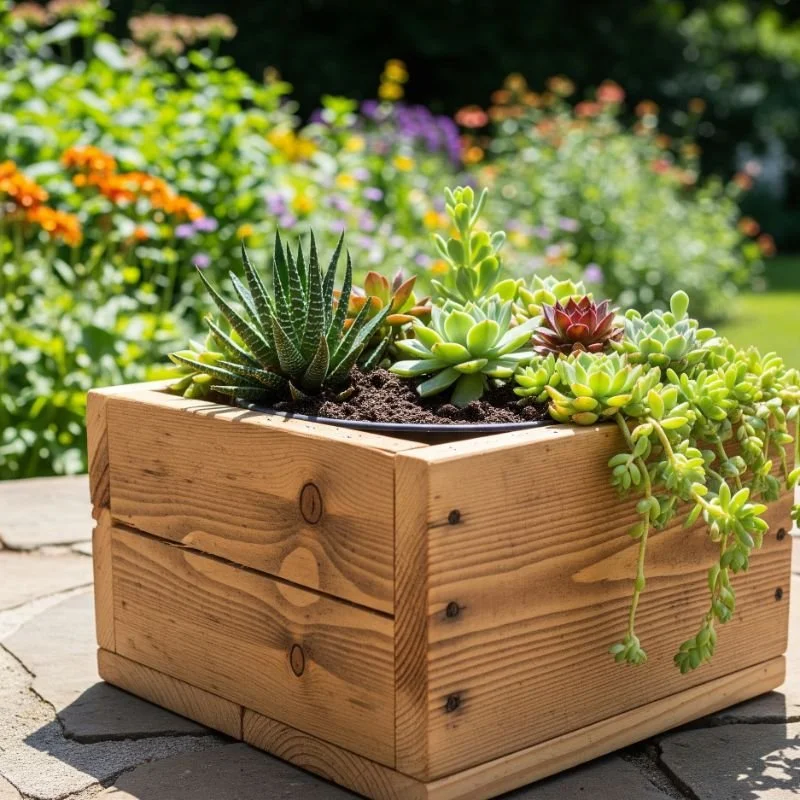
There's something magical about getting your hands dirty and creating something beautiful from scratch, isn't there? Well, if you've been itching to add some rustic charm to your garden or patio, you're in for a real treat! Building your own wooden box planter isn't just cost-effective; it's downright satisfying. Plus, you'll end up with a custom piece that perfectly fits your space and style.
Whether you're a complete newbie to woodworking or someone who's handy with tools, this guide on How to Build a DIY Wood Box Planter Step by Step will walk you through everything you need to know. From selecting the right materials to putting on those finishing touches, we've got you covered. So grab your coffee, roll up those sleeves, and let's dive into this rewarding project that'll have your neighbors asking where you bought such gorgeous planters!
Why Choose Wooden Box Planters?
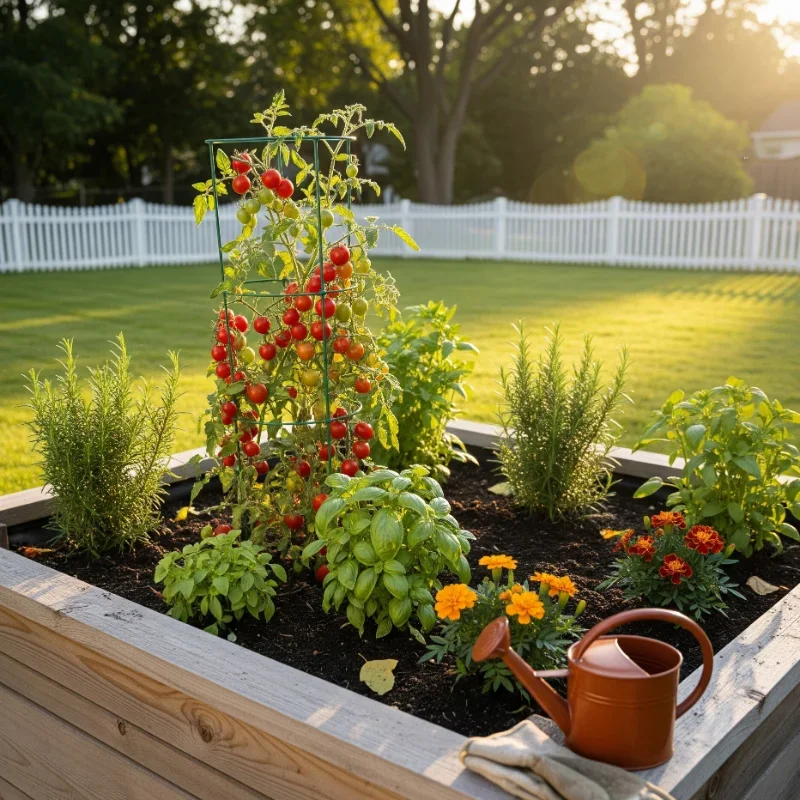
Before we jump into the nitty-gritty of construction, let's talk about why wooden planters are such a fantastic choice. First off, they're incredibly versatile. You can customize the size, shape, and finish to match your garden's aesthetic perfectly. Cedar and redwood naturally resist rot and insects, making them ideal for outdoor use. Plus, wood provides excellent insulation for plant roots, keeping them cozy during temperature fluctuations.
Unlike plastic containers that can crack in extreme weather or concrete planters that are heavy as heck, wooden boxes strike the perfect balance between durability and manageability. They age gracefully too, developing a beautiful patina over time that adds character to your outdoor space.
Essential Materials and Tools for Your DIY Wood Box Planter
Gathering Your Supplies
Alright, let's get down to business! Here's what you'll need to gather before starting your How to Build a DIY Wood Box Planter Step by Step adventure:
Wood Materials:
1x6 cedar or redwood boards (for sides and ends)
1x2 lumber strips (for corner supports)
1x4 boards (for the bottom slats)
Wood screws (2.5 inches and 1.5 inches)
Wood glue
Sandpaper (120 and 220 grit)
Wood stain or sealant (optional)
Tools You'll Need:
Circular saw or miter saw
Drill with bits
Measuring tape
Square
Pencil
Clamps
Safety glasses
Dust mask
Don't worry if you don't own every single tool on this list. Many hardware stores rent tools, and honestly, you might find a neighbor who's happy to lend a hand (and their equipment) in exchange for some homemade cookies!
Designing Your Perfect Planter Dimensions
Size Matters (But So Does Your Space!)
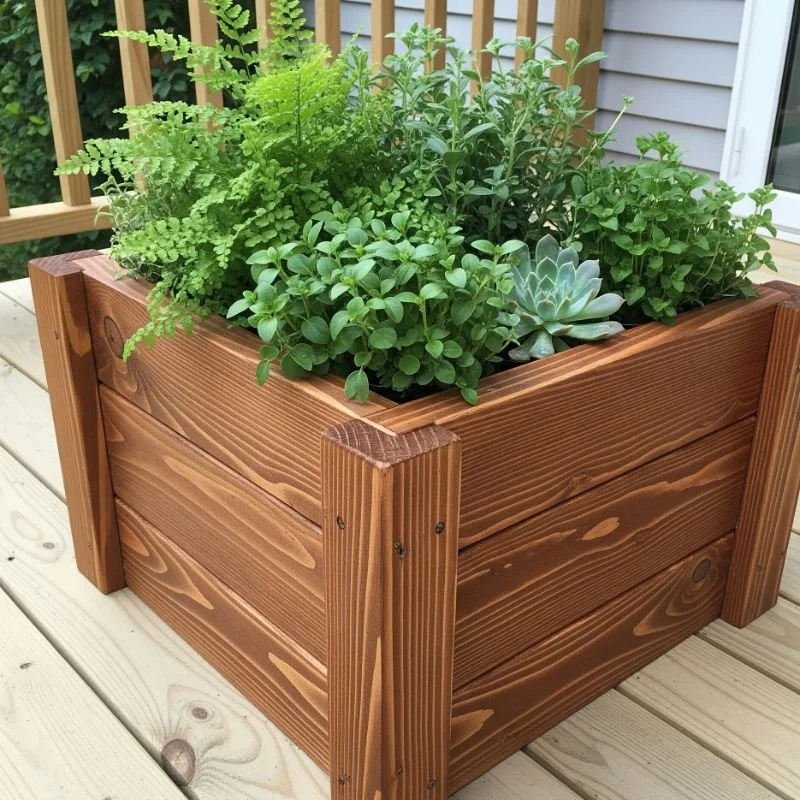
Before cutting any wood, you'll want to decide on the dimensions. Think about where you plan to place your planter and what you want to grow in it. A standard size that works well for most herbs and smaller vegetables is 24 inches long, 12 inches wide, and 12 inches deep. However, feel free to adjust these measurements based on your specific needs.
Keep in mind that larger planters will be heavier once filled with soil, so make sure you can move them if needed. Also, consider the root depth requirements of your chosen plants. Tomatoes and peppers need deeper containers than lettuce or herbs.
How to Build a DIY Wood Box Planter Step by Step: The Construction Process
Step 1: Cutting Your Lumber to Size
Time to fire up that saw! Measure twice, cut once, as they say. For our standard 24x12x12 planter, you'll need:
2 pieces of 1x6 at 24 inches (front and back)
2 pieces of 1x6 at 12 inches (sides)
4 pieces of 1x2 at 10.5 inches (corner supports)
3 pieces of 1x4 at 22.5 inches (bottom slats)
Pro tip: If you're not comfortable making these cuts yourself, most lumber yards will cut the pieces to your specifications for a small fee. It's worth it for the peace of mind!
Step 2: Prepping the Wood
Give all your cut pieces a good sanding, starting with 120-grit sandpaper and finishing with 220-grit for a smooth finish. This step is crucial because it prevents splinters and helps any finish you apply later adhere properly. Don't skip this part, even though it might seem tedious. Trust me, your hands will thank you later!
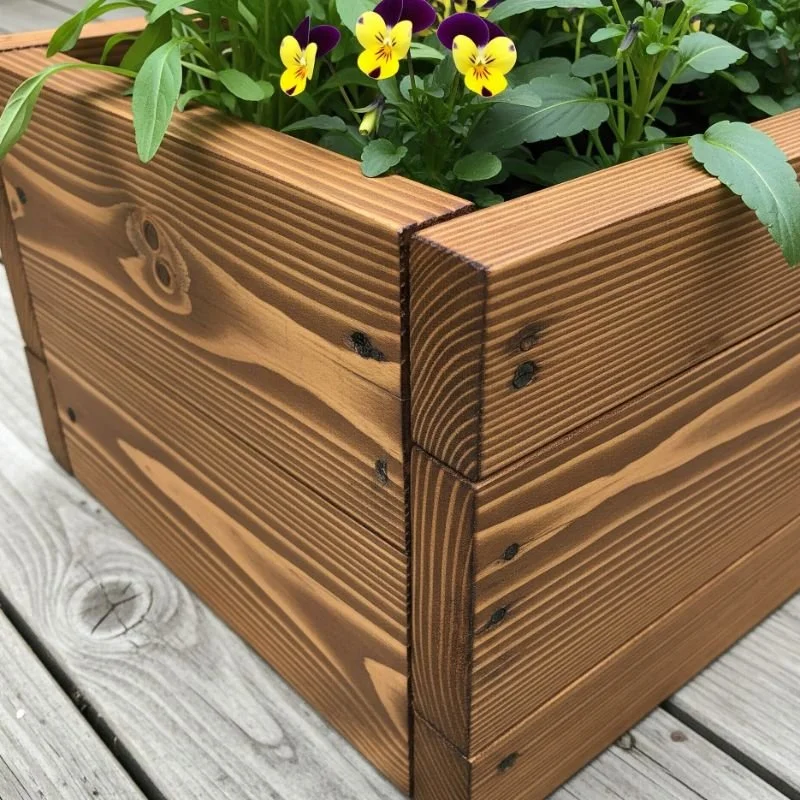
Step 3: Assembling the Corner Framework
Here's where things start getting exciting! Take your 1x2 corner supports and attach them to the inside corners of your side panels. The corner pieces should be flush with the top and bottom edges of the side panels. Use wood glue and 1.5-inch screws for a strong connection.
Make sure everything's square by checking with your square tool. Wobbly planters aren't just unsightly; they're also more likely to fall apart over time.
Step 4: Connecting the Sides
Now comes the satisfying part where your planter starts taking shape! Apply wood glue to the edges of your front and back panels, then attach them to the assembled side pieces. The corner supports you installed earlier will provide extra stability and give you something solid to screw into.
Use 2.5-inch screws driven through the corner supports into the front and back panels. Take your time with this step and make sure everything lines up properly before tightening the screws completely.
Step 5: Installing the Bottom
For proper drainage (which is absolutely crucial for healthy plants), you'll want to space your bottom slats about 1/4 inch apart. Position the three 1x4 bottom pieces evenly across the bottom of your box, leaving small gaps between them. Secure each slat with 1.5-inch screws driven up through the bottom into the side panels.
These gaps will allow excess water to drain out, preventing root rot and other moisture-related problems that can kill your plants.
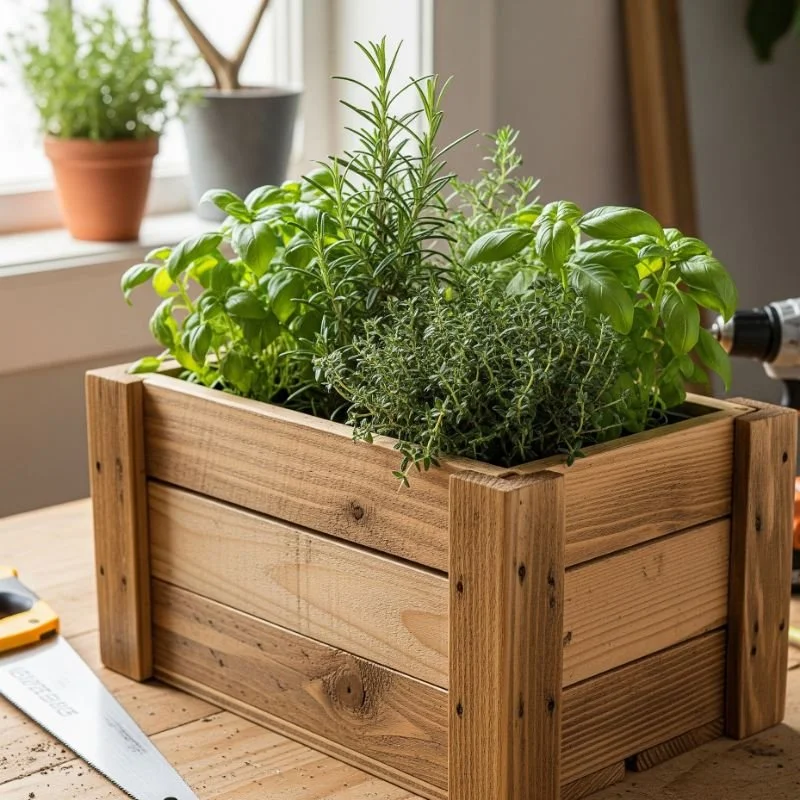
Adding the Finishing Touches
Sanding and Smoothing
Give your assembled planter one final sanding to smooth out any rough spots or imperfections. Pay special attention to corners and edges where splinters are most likely to occur. A well-sanded planter not only looks better but is also safer to handle.
Protective Finishes and Stains
While cedar and redwood are naturally resistant to rot and insects, applying a protective finish can extend the life of your planter significantly. You've got several options here:
Natural Oil Finishes: These penetrate the wood and provide protection while maintaining a natural look. They'll need reapplication every year or two.
Semi-Transparent Stains: These add some color while still showing the wood grain. They typically last longer than natural oils.
Clear Sealers: These provide protection without changing the wood's appearance much.
Whatever you choose, make sure it's safe for use around edible plants if you plan to grow vegetables or herbs.
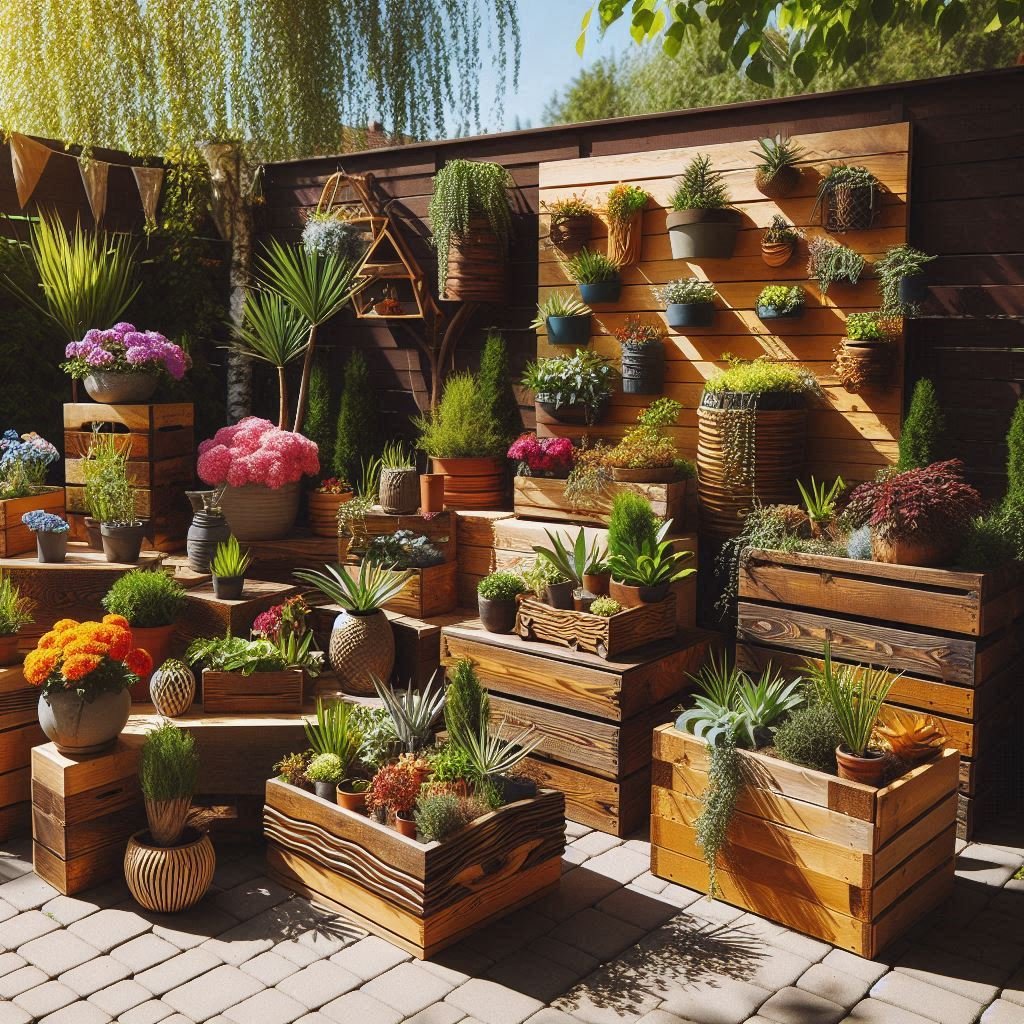
Creative Customization Ideas
Making It Uniquely Yours
Now that you know How to Build a DIY Wood Box Planter Step by Step, why not add some personal flair? Consider these fun modifications:
Decorative Corner Brackets: Add metal or wooden corner brackets for a more industrial or rustic look.
Built-in Trellises: Attach vertical supports for climbing plants like peas, beans, or cucumbers.
Wheels or Casters: Make your planter mobile by adding wheels to the bottom. This is especially handy for larger planters.
Tiered Designs: Build multiple levels within one planter for a cascading effect.
Integrated Water Reservoir: Add a false bottom with a water reservoir for self-watering capabilities.
Maintenance and Care Tips
Keeping Your Planter in Top Shape
Wooden planters are pretty low-maintenance, but a little TLC goes a long way. Check for loose screws periodically, especially after the first season when the wood has had time to expand and contract with weather changes. Clean out old soil completely between plantings to prevent disease buildup.
If you notice the wood starting to look weathered, don't panic! That's totally normal and part of wood's natural aging process. However, if you want to maintain that fresh look, a light sanding and reapplication of finish every couple of years will do the trick.
Troubleshooting Common Issues
When Things Don't Go According to Plan
Even experienced woodworkers run into hiccups, so don't get discouraged if everything doesn't go perfectly the first time. Here are some common issues and their solutions:
Gaps Between Boards: Small gaps are actually fine and can improve drainage. Large gaps can be filled with wood filler or thin strips of wood.
Wobbly Construction: Usually caused by pieces not being square. Check all your angles and tighten any loose screws.
Splitting Wood: Pre-drilling screw holes can prevent this, especially near the ends of boards.
Drainage Problems: If water pools in your planter, you might need to drill additional drainage holes or increase the gaps between bottom slats.
Cost-Effective Building Strategies
Stretching Your Dollar
Building your own planters is already more economical than buying pre-made ones, but here are some ways to save even more:
Buy in Bulk: If you're planning multiple planters, buying lumber in larger quantities often reduces the per-board cost.
Use Reclaimed Wood: Old fence boards or pallet wood can create beautiful rustic planters with character.
Shop Sales: Hardware stores often have sales on lumber, especially at the end of summer.
Tool Sharing: Borrow or rent tools you don't own rather than buying them for a one-time project.
Conclusion
Building your own wooden box planter is one of those projects that's both practical and deeply satisfying. You'll end up with a custom piece that perfectly fits your space while saving money compared to store-bought alternatives. The skills you learn here will serve you well for future woodworking adventures too. Most importantly, every time you see your thriving plants in their handcrafted home, you'll feel that special pride that comes from creating something beautiful with your own hands. Happy building, and here's to many seasons of bountiful harvests!
Frequently Asked Questions
1. What's the best wood for outdoor planters?
Cedar and redwood are ideal due to their natural rot resistance.
2. How deep should my planter be?
Most vegetables need 8-12 inches; herbs can thrive in 6-8 inches.
3. Do I need to line my wooden planter?
No, but landscape fabric can help prevent soil from washing out.
4. How long will a wooden planter last?
With proper care, cedar planters can last 10-15 years or more.
5. Can I use treated lumber for vegetable planters?
Avoid pressure-treated lumber for edible plants; stick with naturally resistant woods.